
Ghost Recon: Advanced Warfighter 2 Tweak Guide
[Page 5] In-Game Settings
In this section I provide full descriptions for the in-game settings of Ghost Recon: Advanced Warfighter 2. I cover the visual and general performance impact of each setting, however bear in mind that it is impossible for me to give precise performance impacts - it all depends on your specific hardware combination and your other game and system-wide settings. The main aim is to show you what the settings do and let you decide what best suits your circumstances and tastes.
To access the in-game settings, click the Options link at the bottom of the main screen. Each section is covered in detail below:
Game Difficulty
At the top right of the Options box you can select the level of difficulty for the singleplayer campaign. The available options are Easy, Normal, Hard and Hardcore. The setting controls how challenging your enemies will be, including their accuracy and tactics, in the single player Campaign mode. It does not apply to the multiplayer component of the game.
SaveGames
This section lists all the games you have saved while proceeding through the single player campaign, as well as set saved points which the game autosaves as you proceed through the campaign. You can select to load one up at any time, or delete certain saves. It does not apply to the multiplayer component of the game.
Game
3D Mouse Sensitivity: This setting controls the sensitivity of your mouse while actually playing the game in 3D mode. It does not affect mouse sensitivity in 2D menus and interfaces (see Mouse Pointer Sensitivity below). The more to the right the slider is moved, the more sensitive your mouse will be to movements. Has no impact on performance so set to suit your taste.
Mouse Pointer Sensitivity: This setting controls the sensitivity of your mouse only while in the game menu screens and other 2D interface screens. The more to the right the slider is moved, the more sensitive your mouse will be to movements while moving around 2D screens. Has no impact on 3D mouse sensitivity or performance so set to suit your taste.
Invert Mouse: This controls whether moving the mouse forward will make your character look down (ticked) or up (unticked). Set to suit your taste, has no impact on performance.
Auto Reload: If ticked, as soon as your character runs out of bullets, he will automatically reload a new magazine of ammunition if available. Has no impact on performance, and there should be no reason to untick this, except perhaps to enhance realism.
Zoom Toggle: If ticked, when you select zoom mode on applicable weapons, you stay zoomed until you again click the zoom button. If unticked, you will only stay zoomed as long as you hold down the zoom button. Set to suit your taste, has no impact on performance.
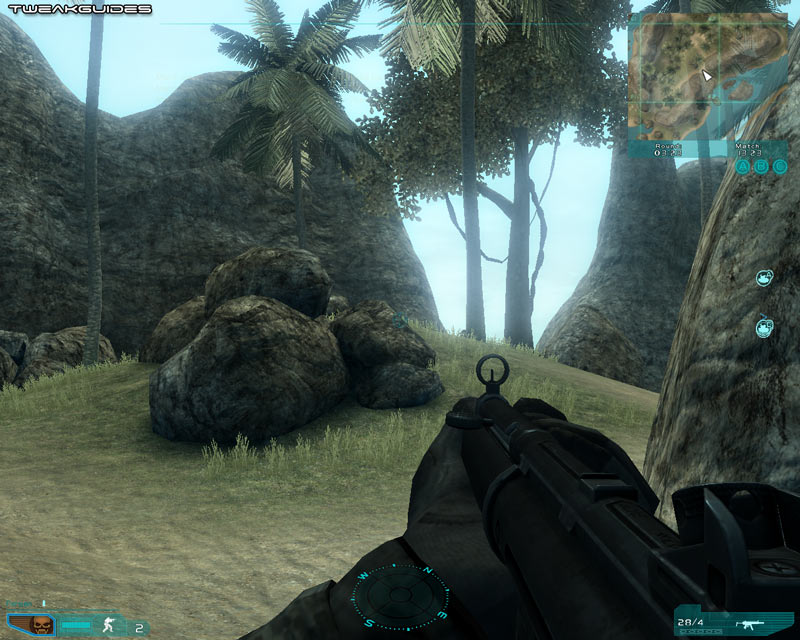
Target Markers: If ticked, all tagged enemies will be flagged as red diamonds on your screen, even if they're not currently visible (See Conclusion section for more details on tagging). This applies to both singleplayer and multiplayer, and if disabled puts you at a great disadvantage. It has no impact on performance so it is strongly recommended that you leave this enabled.
Show Hit Indicator: If ticked, when you are being hit by enemy fire your HUD shows the general quadrant from which it came. You can disable this for greater realism, but it has no performance impact and is best left enabled.
Voice Quotes: This option controls the voice snippets you hear from teammates responding to your commands for example.
Sticky Peeking: If enabled, whenever you press the peek left or peek right button, you will remain in that position until you again press the same or opposite peek button. If unselected, you only peek left or right for as long as you continue holding down the relevant peek button.
Controls
This section has eight separate sub-areas for assigning the specific control key/mouse buttons you want to use for particular actions in the game: Movement, Combat, Tactical Map, Unit Selection, Singleplayer, Multiplayer, Chat and Misc. You should go through and set each to suit your taste.
Some important things to note here:
Refer to the Advanced Tweaking section if you want details of how to change key bindings manually, though it really shouldn't be necessary. For a range of gameplay tips which will help you better understand the importance of certain controls, see the last page of this guide.
Video
Aspect Ratio: The aspect ratio setting relates to the ratio of the width to the height of your monitor and/or desired resolution (see below). It can also restrict the resolutions you can choose from if the 'Show All Resolutions' option is unticked (again, see below). For example a resolution of 1024x768 has a 4:3 aspect ratio. Typically you should select the aspect ratio which matches your monitor's maximum resolution, as this is the correct aspect ratio for your monitor size. Standard CRT monitors are usually 4:3, most standard LCD monitors are 4:3 or 5:4, and widescreen LCD or Plasma monitors are 16:9 or 16:10. The best way to know if you have the correct aspect ratio is to look at round objects in the game (e.g. your sniper sights or car wheels) - they should appear perfectly round, not oval.
Resolution: This setting allows you to select the resolution of the game image, measured in pixels wide by pixels high. For example 1280x1024 means 1,280 pixels wide by 1,024 pixels high. The higher the resolution, the more detailed the image on screen, and importantly the less jagged lines there will be (also see Antaliasing further below), but the lower your performance. For more details see the Resolution section of my Gamer's Graphics & Display Settings Guide. The number of resolutions available here are limited by what both your graphics card and monitor can handle, and the Aspect Ratio setting covered above (unless 'Show All Resolutions' is unticked).
Note for Widescreen users: The retail version of GRAW 2 now supports proper widescreen resolutions without cutting off any part of the image.
Refresh Rate: Refresh Rate is covered in detail on this page of my Gamer's Graphics & Display Setting Guide. Once you've selected your desired Aspect Ratio and Resolution, you should select the highest available refresh rate here for optimal viewing. If you're having problems with choosing a refresh rate you know is supported by your monitor but is not displayed here, see the Advanced Tweaking section.
Fullscreen: If ticked, this option forces GRAW 2 to run in full screen mode. If for some reason you wish to run the game in a window on your Windows Desktop, then untick this option. In general for stability and performance I always recommend full screen mode, as there can be memory and resource management issues when a game is run in windowed mode.
Show All Resolutions: As discussed under Aspect Ratio further above, if ticked this option determines whether all supported resolutions on your monitor are displayed irrespective of the Aspect Ratio you've chosen. Usually if this option is not ticked, only the resolutions which match the Aspect Ratio selected will be shown. I recommend leaving this unticked at first, selecting your Aspect Ratio and Resolution, and only if you can't find the right supported resolution should you tick this option. If this still doesn't work, check the Advanced Tweaking section for other ways of possibly forcing another resolution.
To access the following settings you will need to click the 'Show Advanced Settings' button at the bottom of the Video options screen.
Brightness: This slider controls how bright or dark the in-game image will be. It has no impact on performance so set to suit your taste.
Environment Detail: This slider determines the level of detail in the general environment, but the main impact it has is on how much grass is displayed. You can see an animated visual comparison of Environment Detail by clicking this link: GRAW2_EnvDetail.gif (588KB). Since grass can reduce performance, lowering the slider from 1.00 towards 0.00 will improve FPS at the cost of a minor drop in the level of realism. More importantly, by removing grass you can gain a legitimate gameplay advantage in multiplayer, since enemies cannot hide in grass for example.
Physics: This setting determines the level of physics interactions in the game. If you do not have a PhysX-capable Card, then the only available option is Normal. If you do have a PhysX-capable card, then you can select PhysX High or PhysX Extreme. At these higher settings, physics effects such as explosions, debris and particles are much more detailed and realistic, and certain objects are destructible, however it is at the cost of some reduction in performance. A comparison of PhysX effects in GRAW 2 is provided here. In general given hardware PhysX physics is not utilized in multiplayer mode (to maintain fairness), non-PhysX owners will experience quite good physics effects even at Normal, and PhysX owners should only enable the higher settings for single player mode.
Note that even if you don't have a PhysX-capable card on your system, you can still enable some of the advanced physics effects - see the Advanced Tweaking section for details. Also note that GRAW 2 has to install the PhysX drivers for the game to work properly regardless of whether you have a PhysX-capable card or not. Don't uninstall this driver. If you have problems with the physics or the installation of these drivers, see the Troubleshooting Tips section of the guide.
Update: GeForce 8 series and newer owners can now access the enhanced effects of the PhysX High or PhysX Extreme settings in GRAW 2 with improved performance courtesy of GPU-based PhysX and the latest GRAW 2 1.05 Patch. Full details of how to enable and configure GPU-based PhysX are on this page of the Nvidia Forceware Tweak Guide.
Texture Quality: Textures are the 2D surfaces on all 3D objects in the game. This setting controls how detailed the surfaces of objects will appear in the game. The higher this setting, the crisper and clearer surface textures will be, at the cost of reduced performance and more likelihood of loading pauses/stuttering as you walk around and see new objects/characters. There are three settings here: Low, Medium and High, though note that unless your graphics card has 512MB of Video RAM or more, then you will not see the High option by default - see the Advanced Tweaking section for another way of forcing High texture quality. For an animated visual comparison of texture quality, click this link: GRAW2_Textures.gif (641KB). Pay attention to the details on the ground, the pole to the right, and the weapon - these become noticeably blurry at Low.
The next section continues the look at the in-game settings and their impact.
|
|