
Crysis 3 Tweak Guide
[Page 15] Advanced Tweaking (Pt.4)
Lighting
e_GI = 1
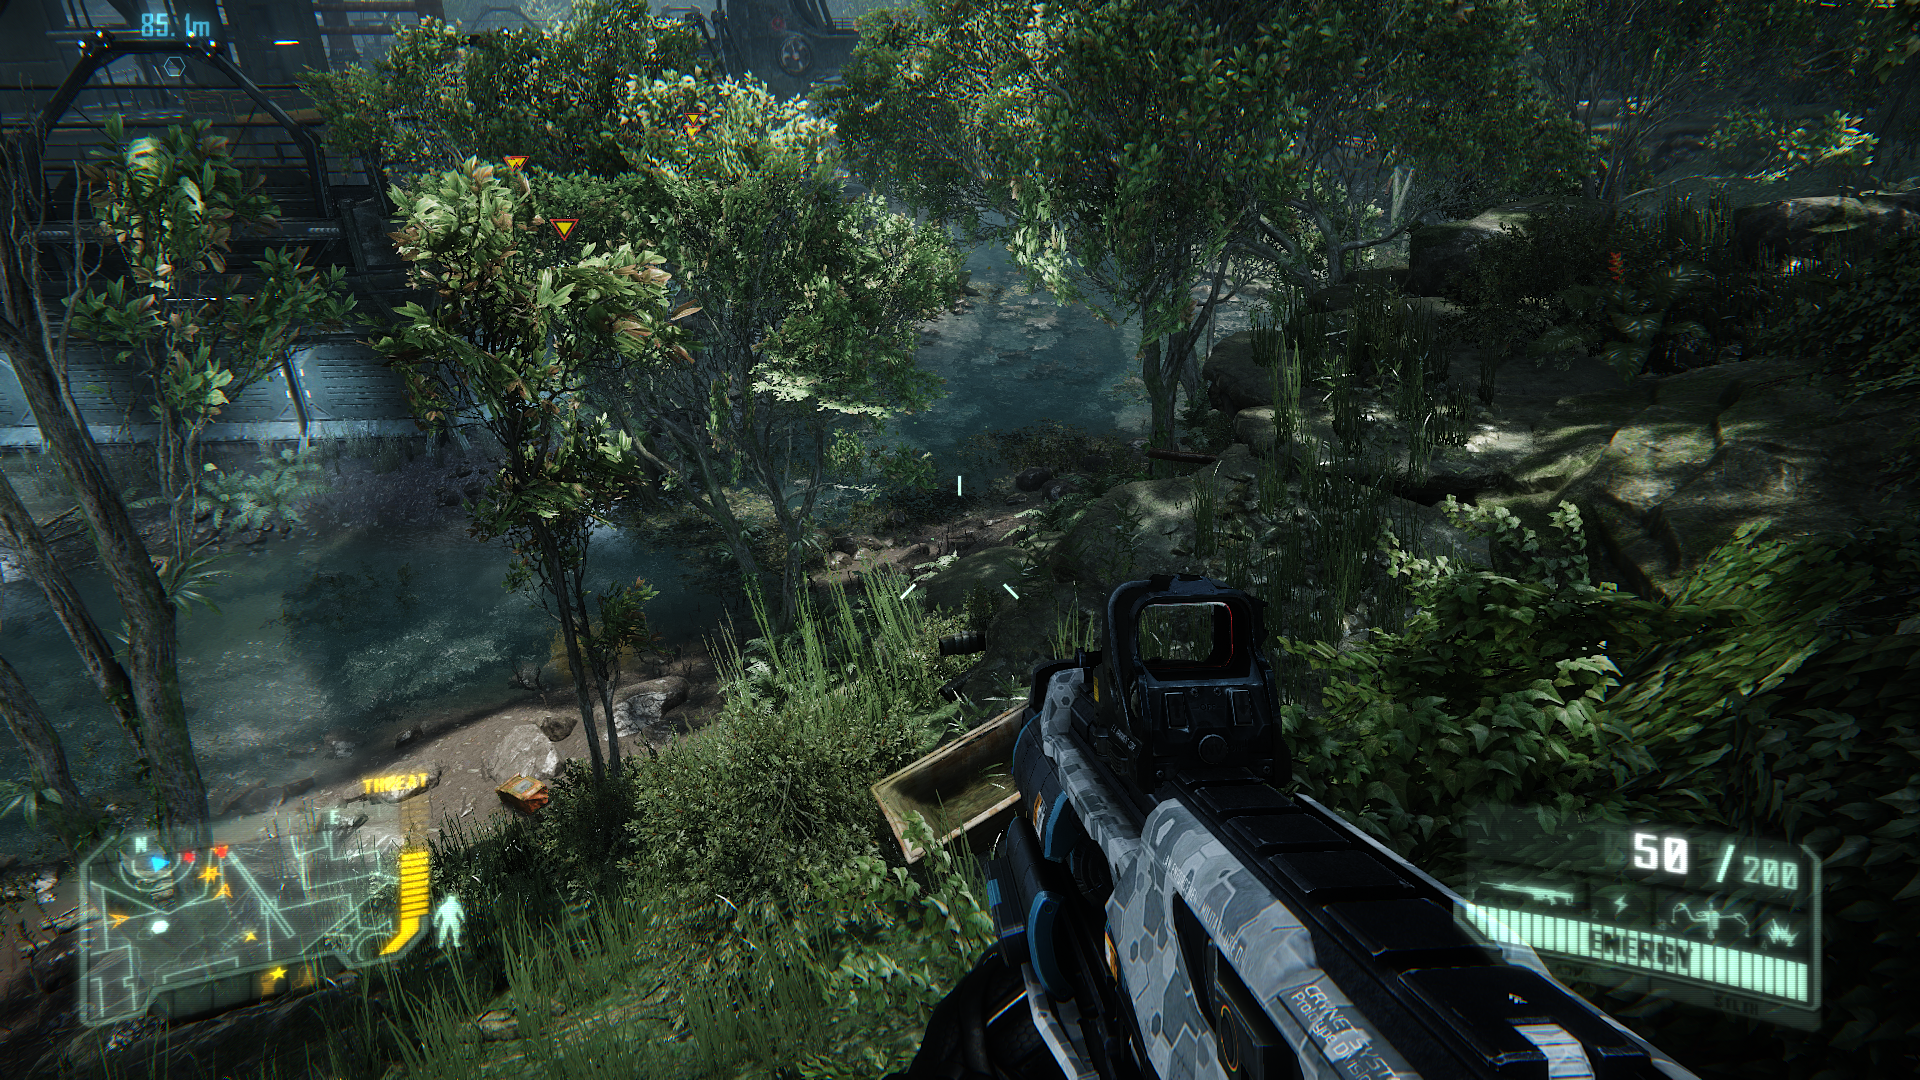
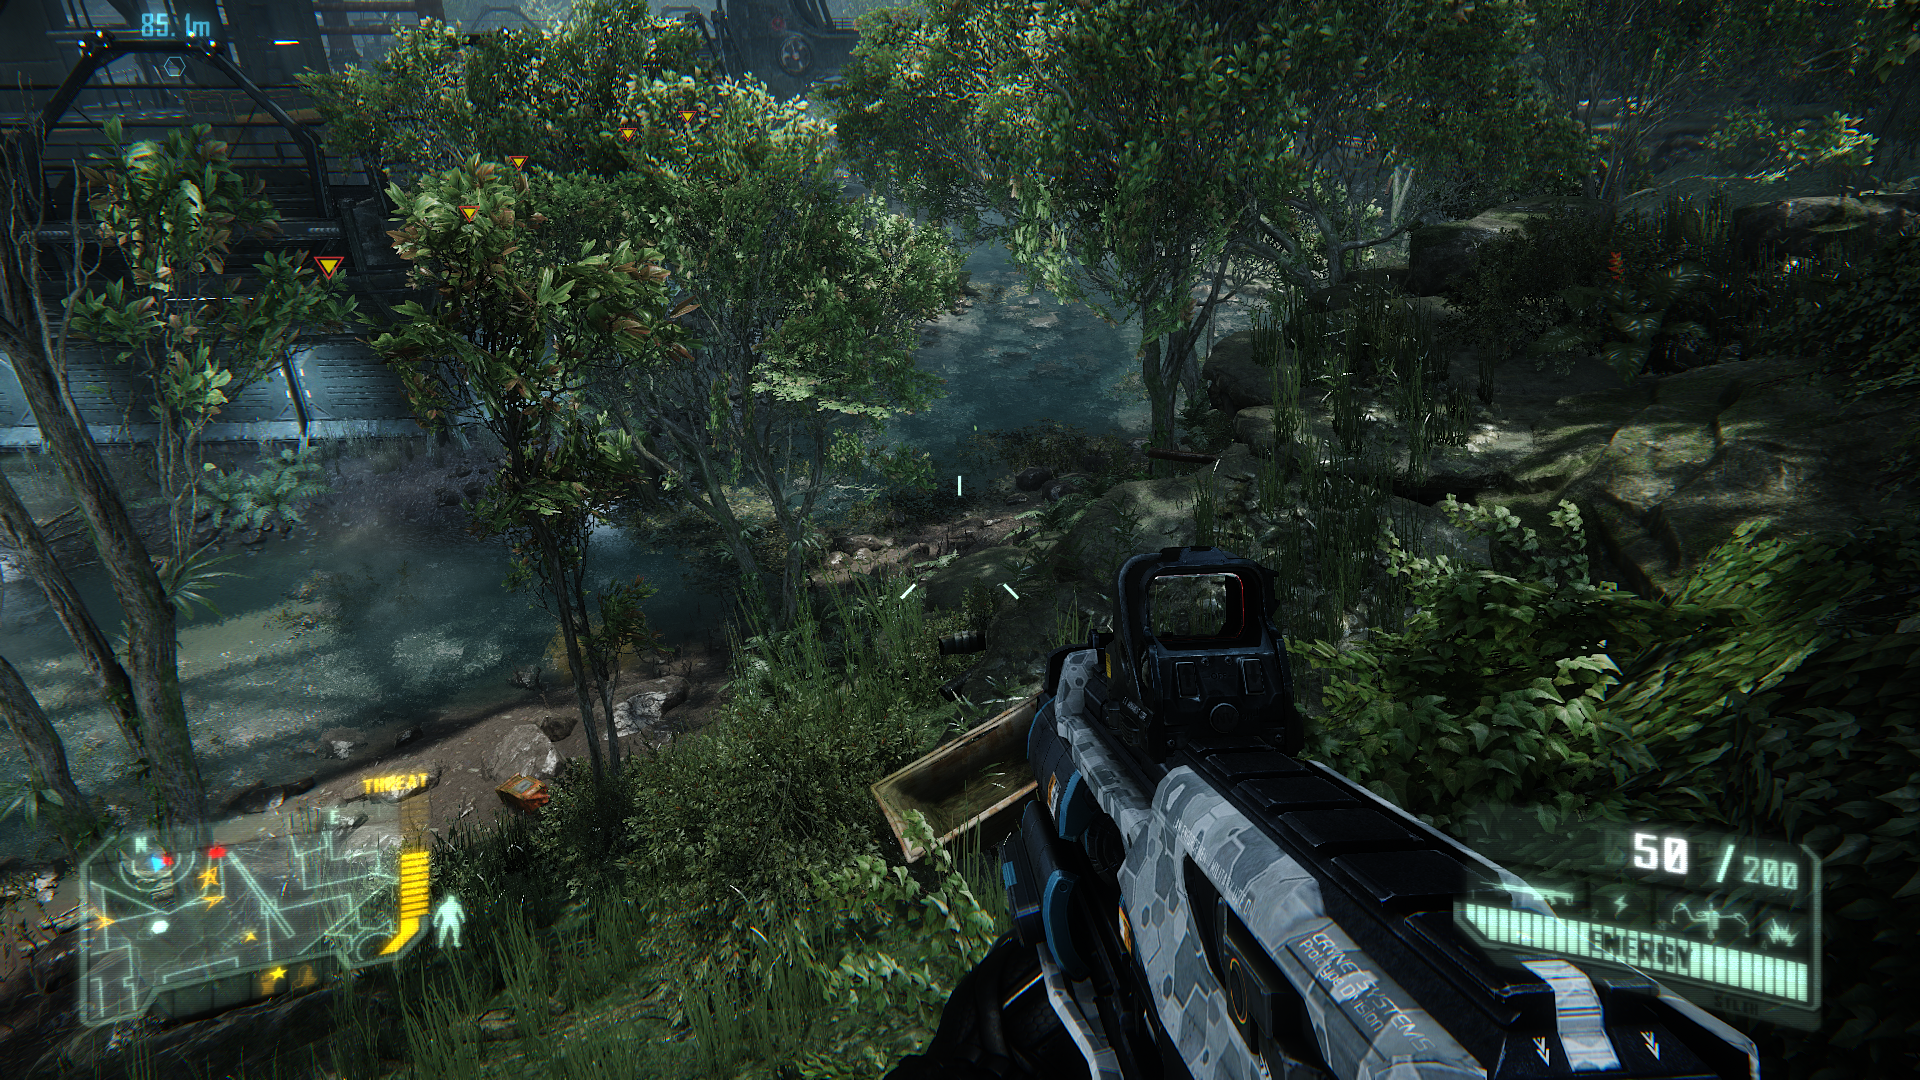
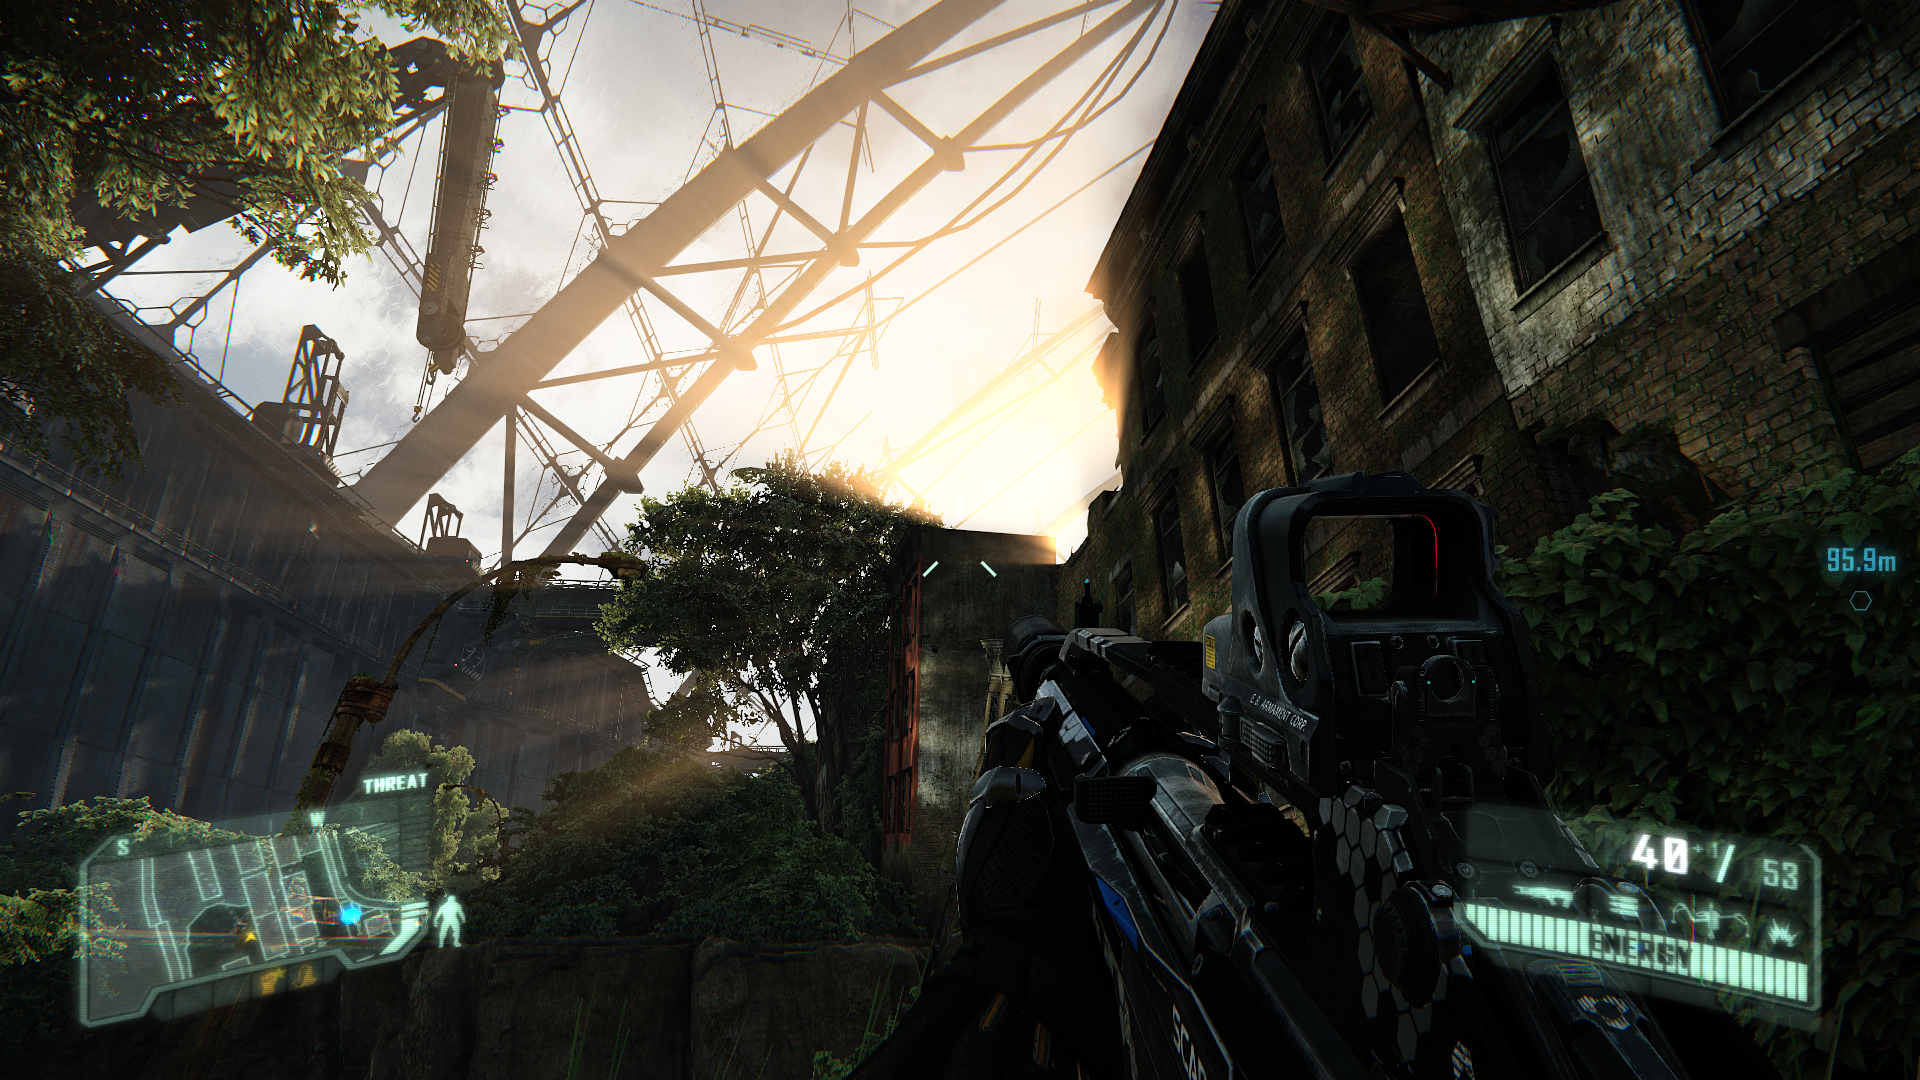
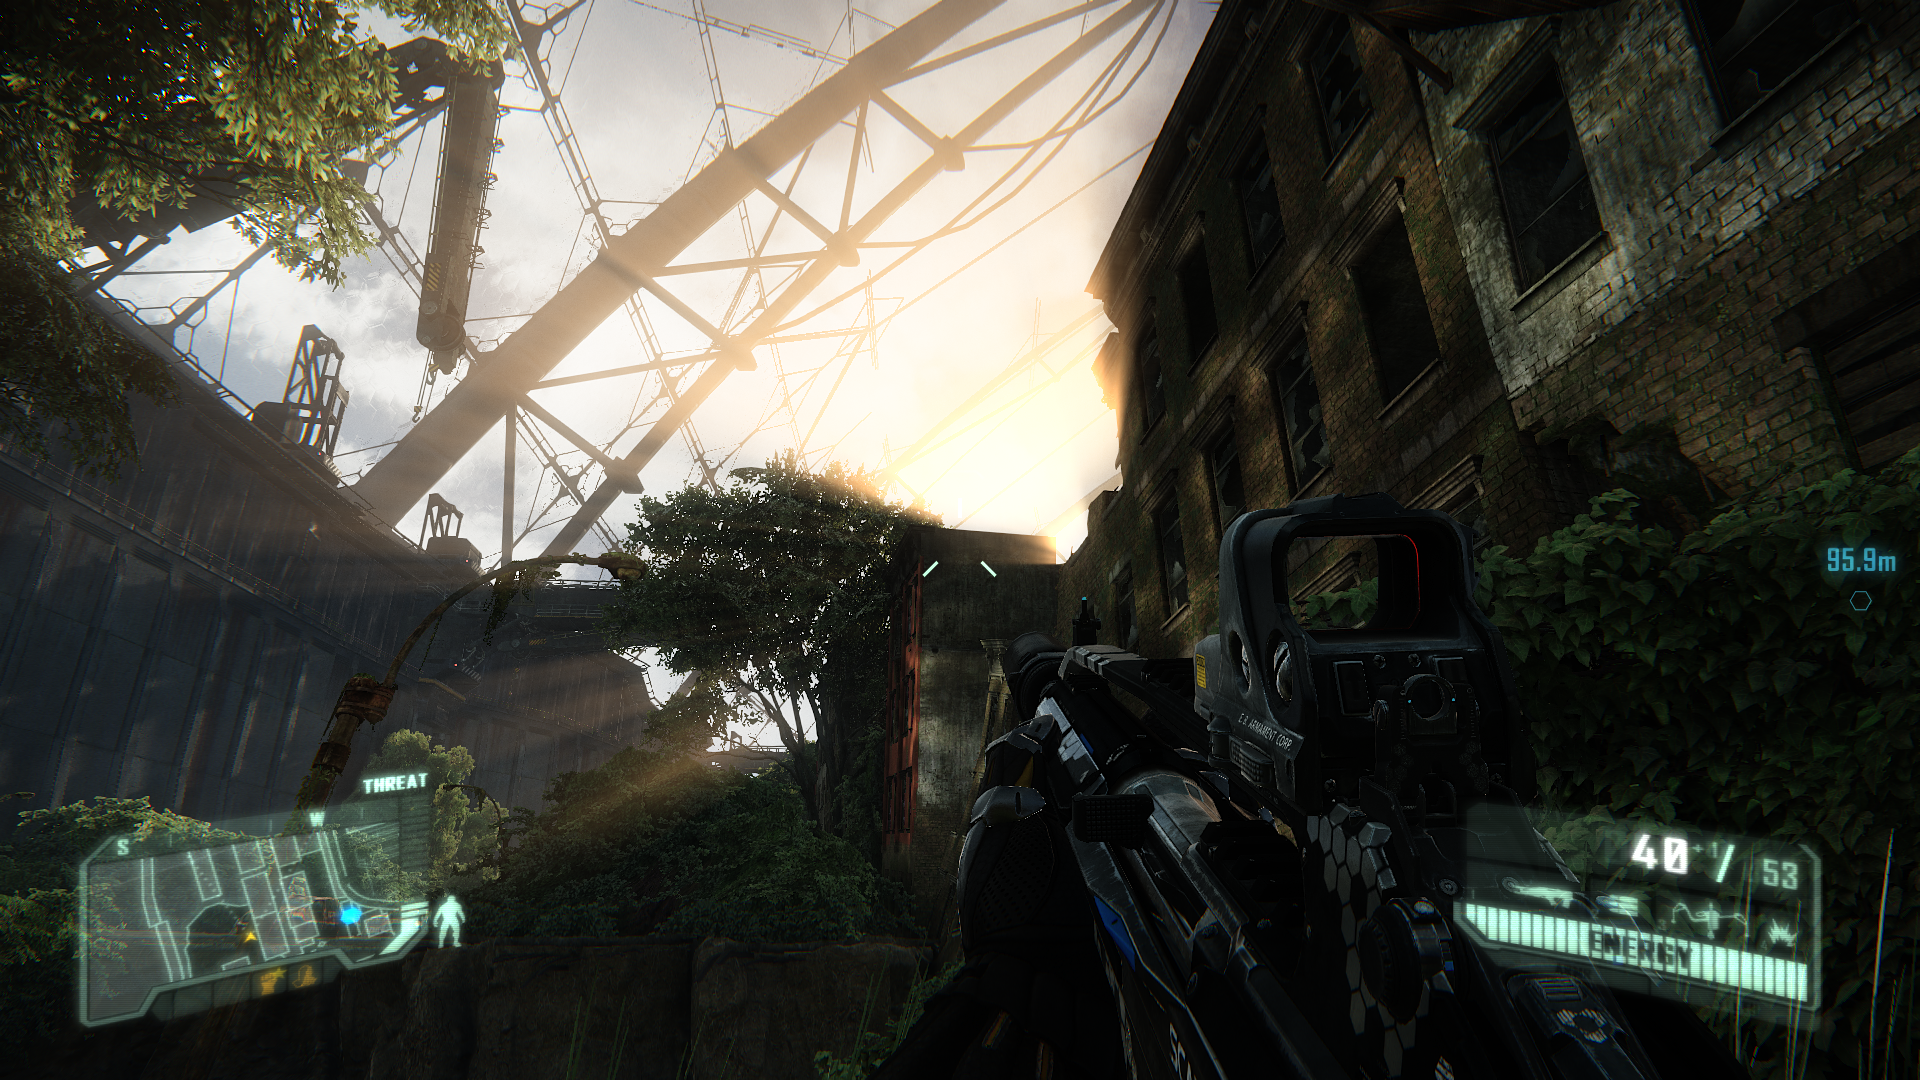
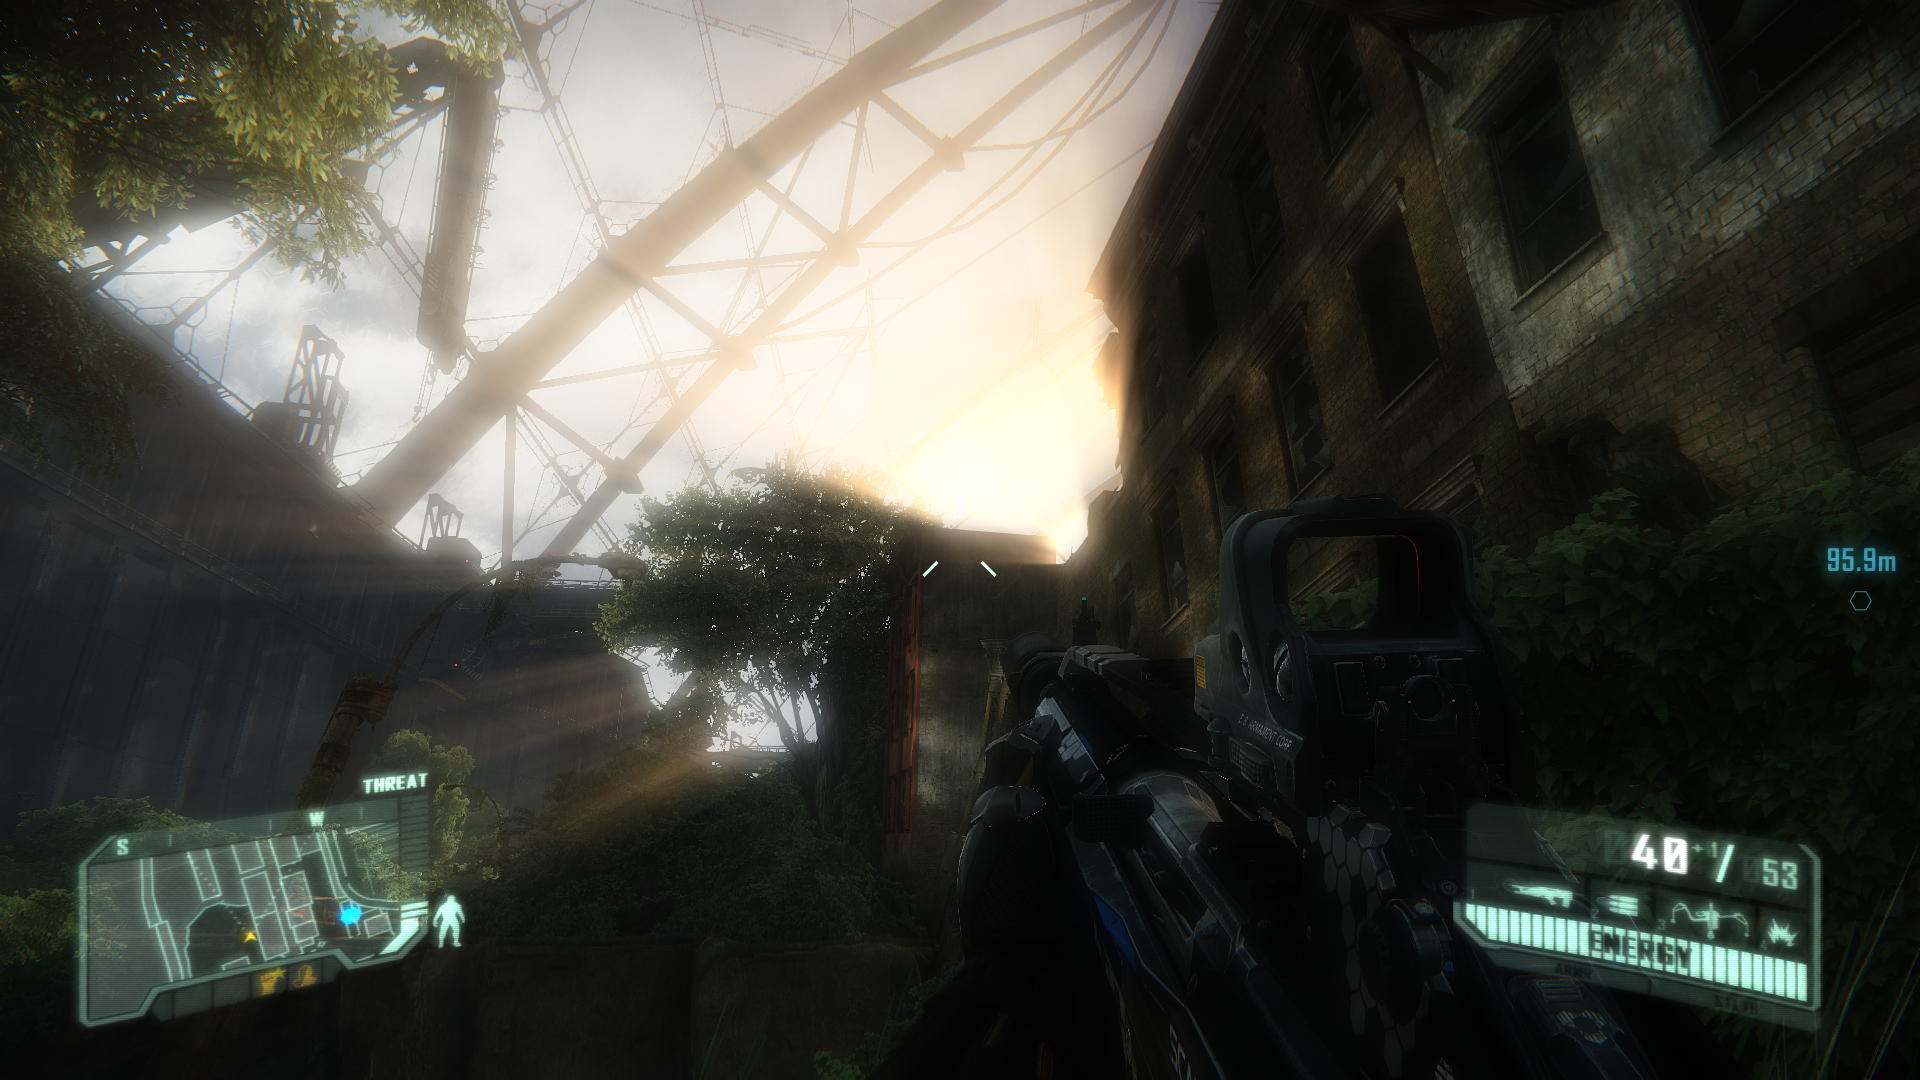
This command controls the Real-Time Global Illumination feature, which affects the general appearance of lighting in Crysis 3. When it is enabled (= 1), the world lighting will interact with various objects throughout the scene to produce more accurate shadows, reflections and refraction (distortion of light). Alternatively, you can disable (= 0) Global Illumination to improve performance at the cost of some realism. The screenshots above demonstrate the difference with this setting disabled (left) and enabled (right), and although there is a clear distinction between the two, in practice the visual impact of disabling GI is not large in most scenes.
e_GICache = 7
This command controls the number of frames to cache before Global Illumination is updated; in practice the default of 7 seems fine, as altering the command doesn't appear to yield any visual or performance quality differences.


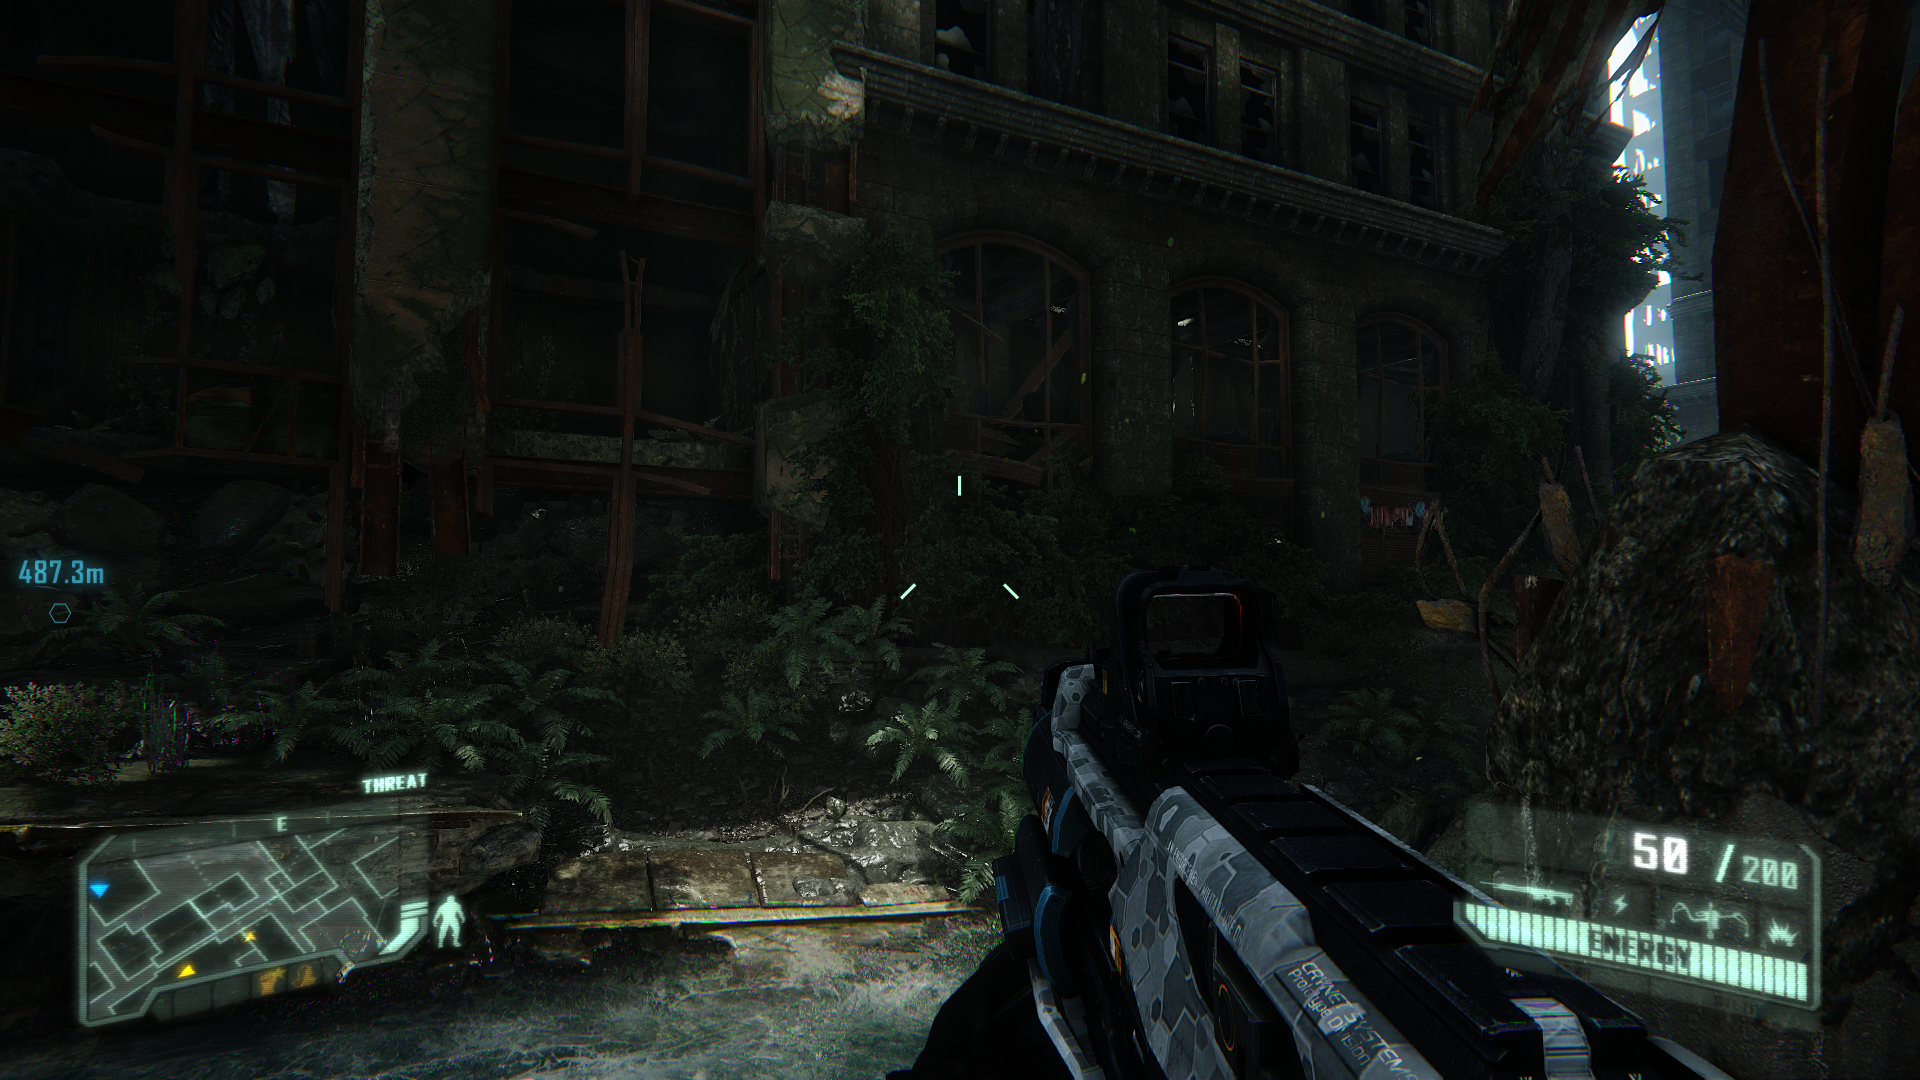
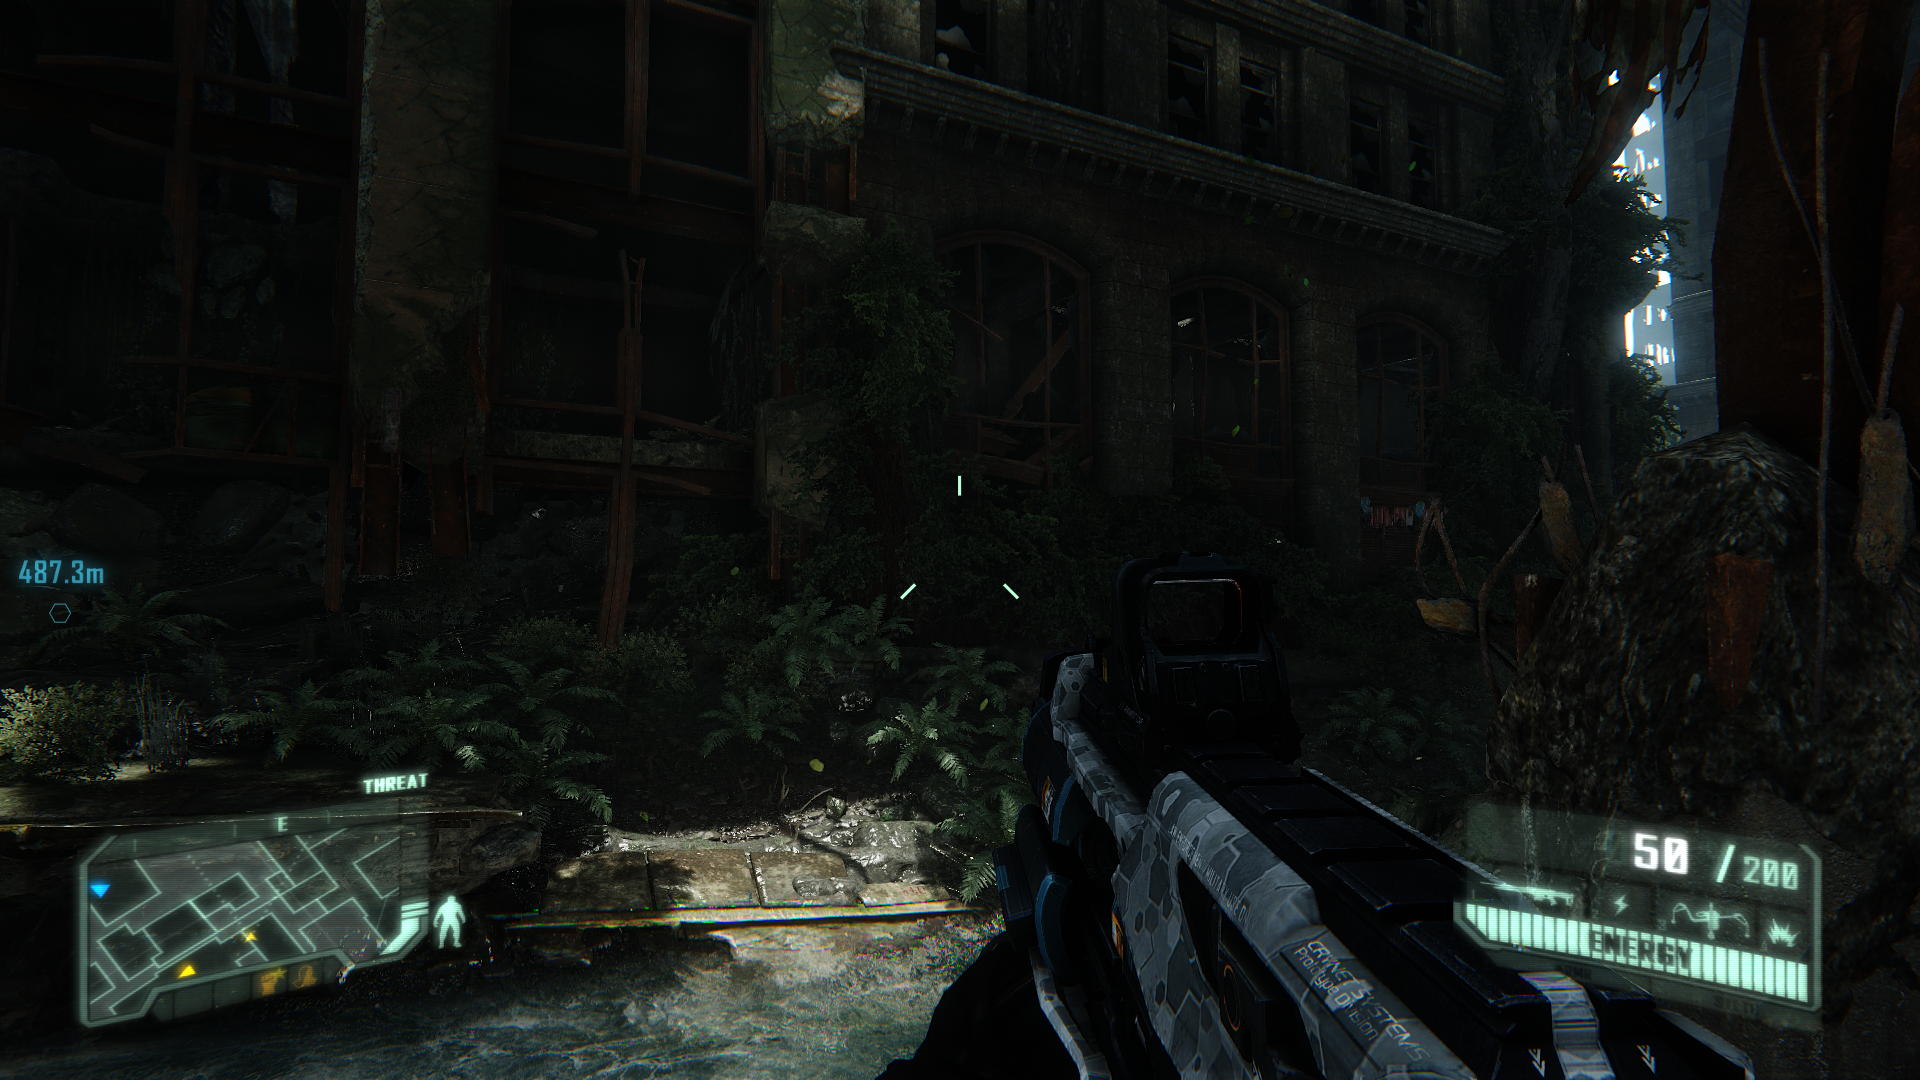
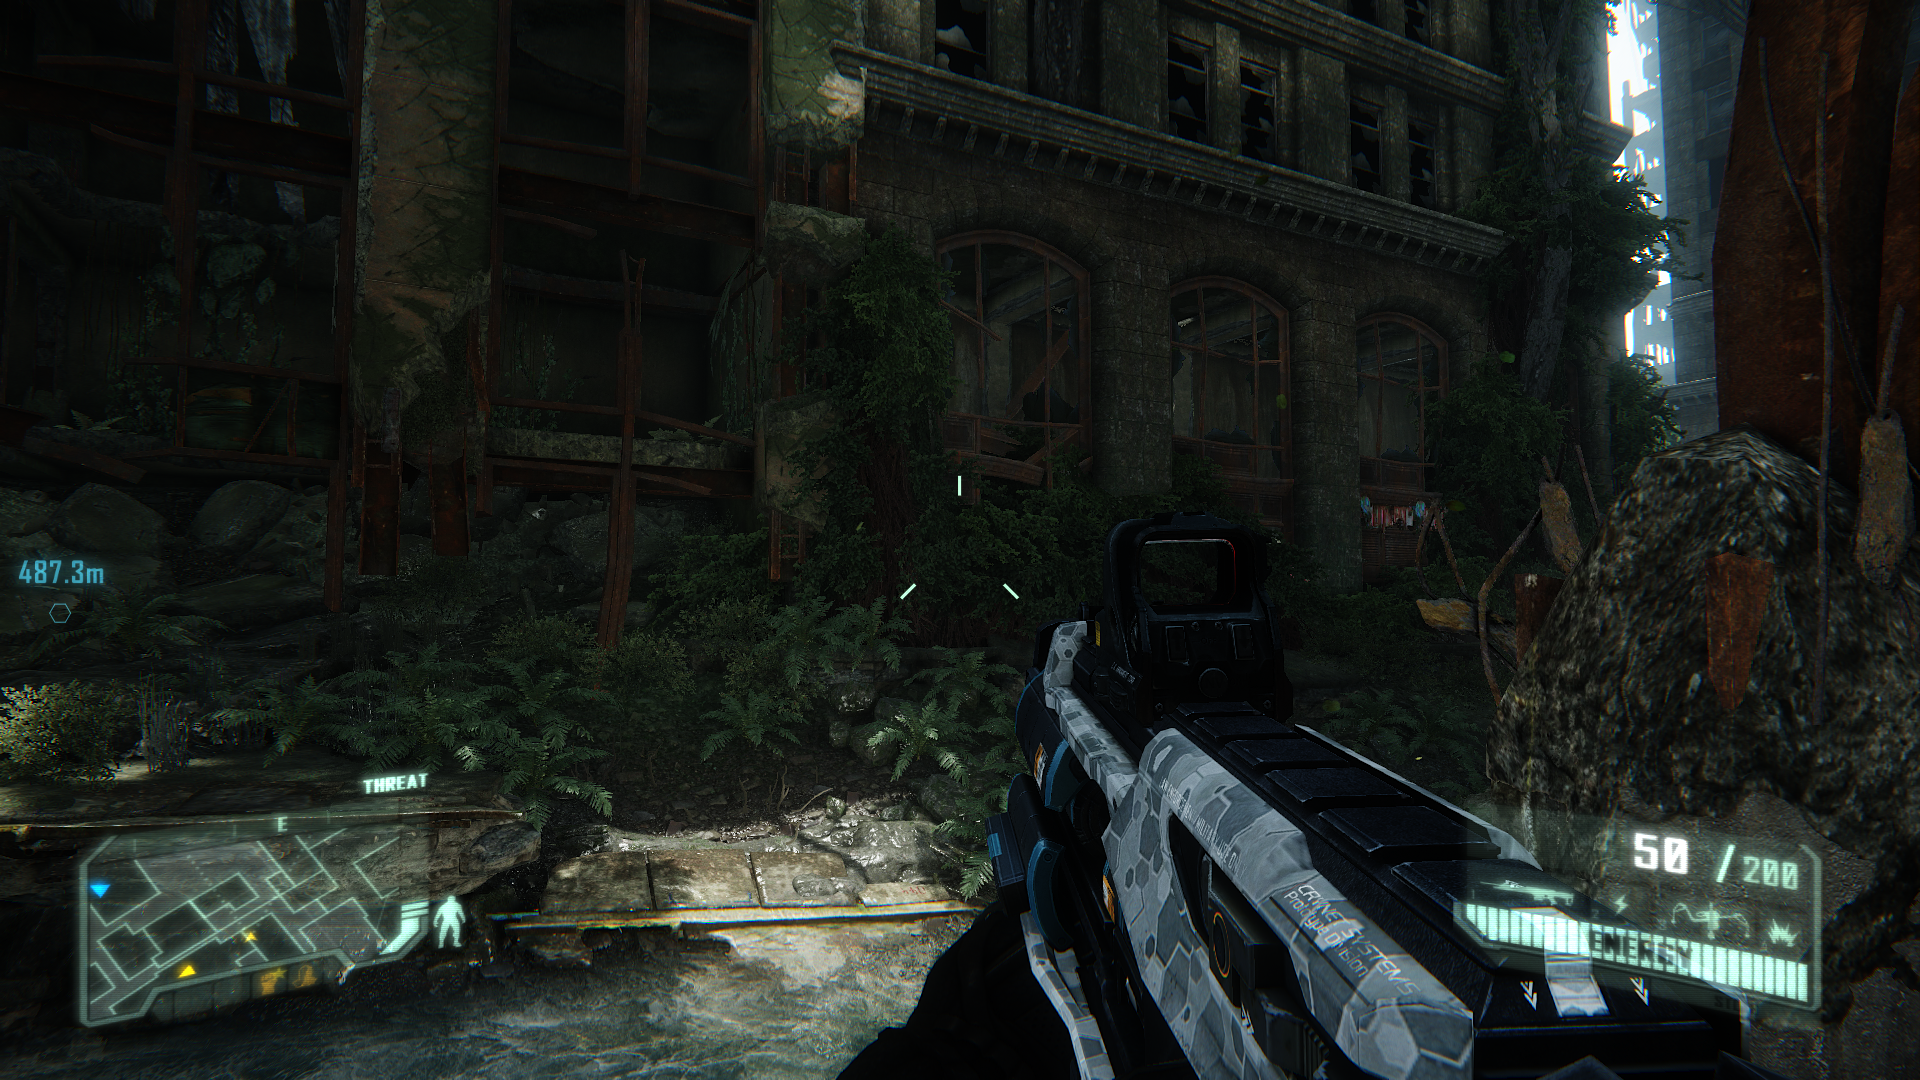
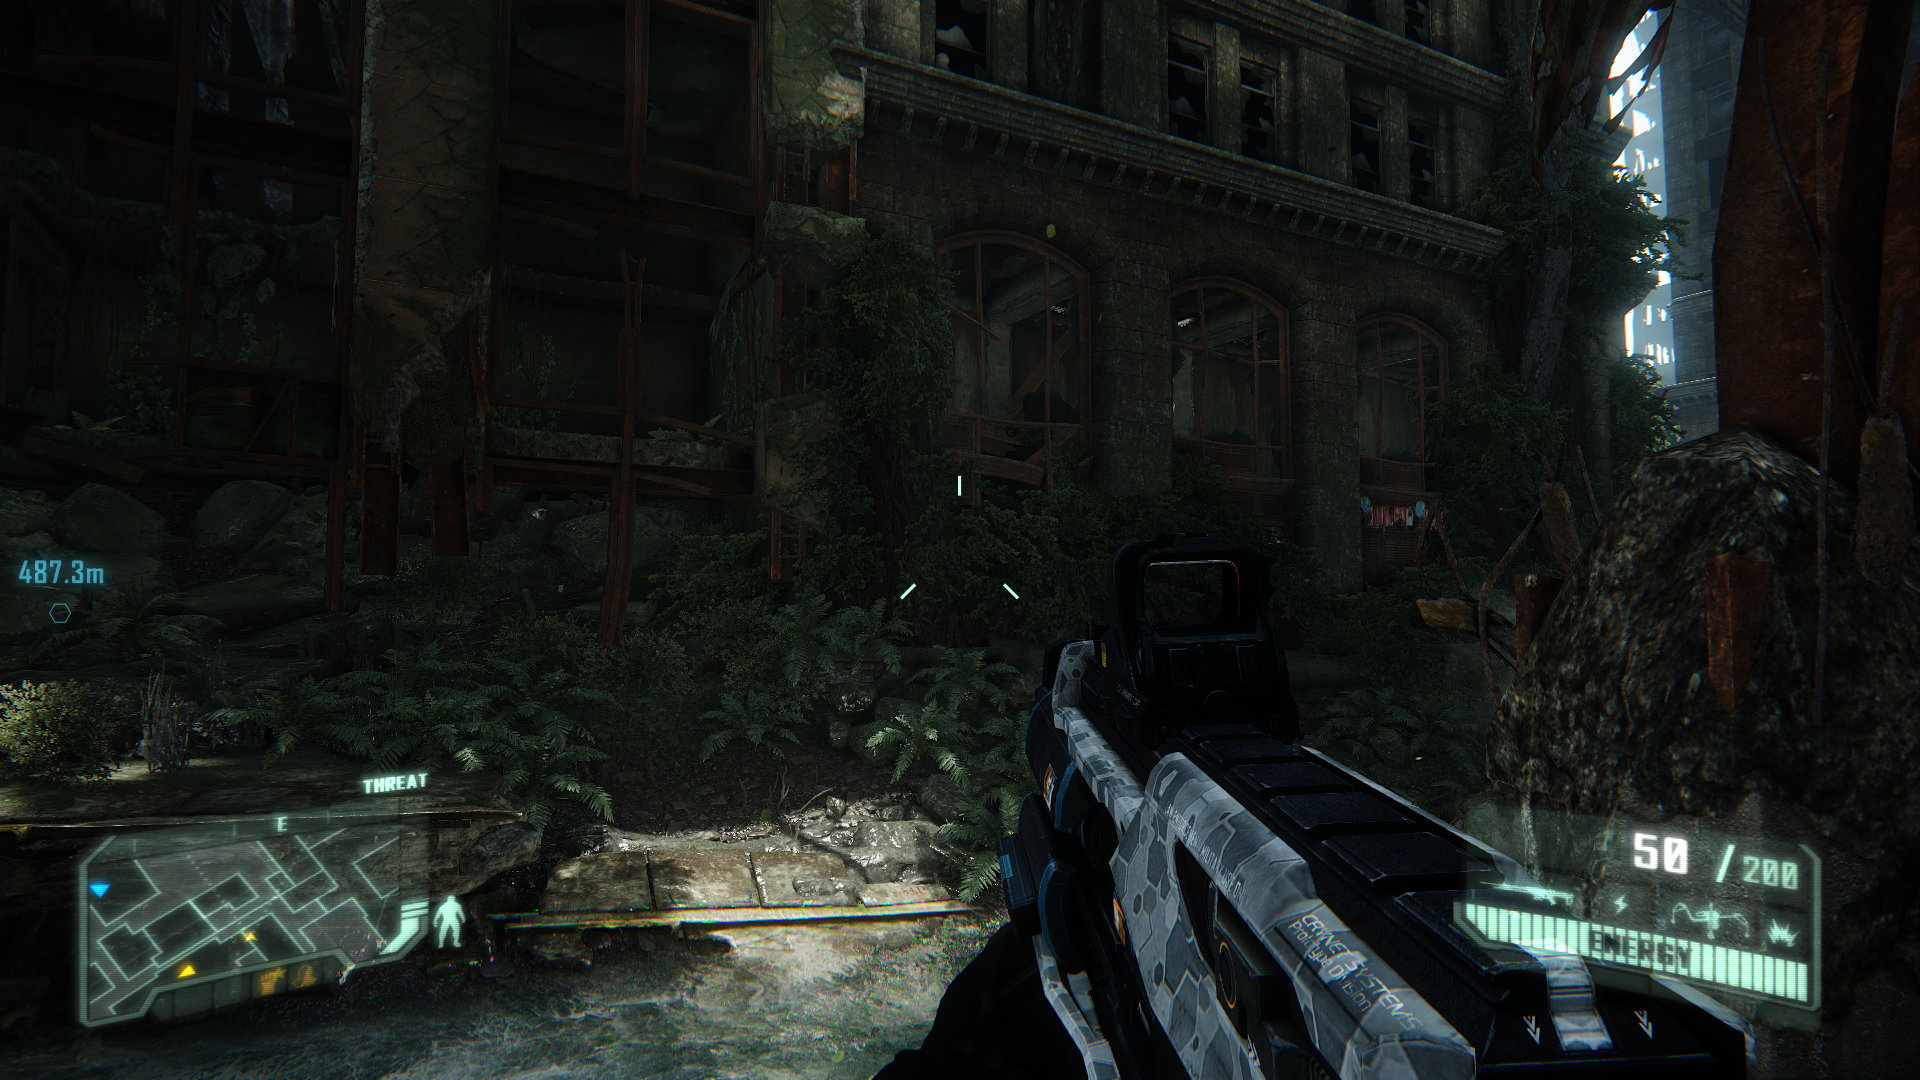
r_SSReflections = 1
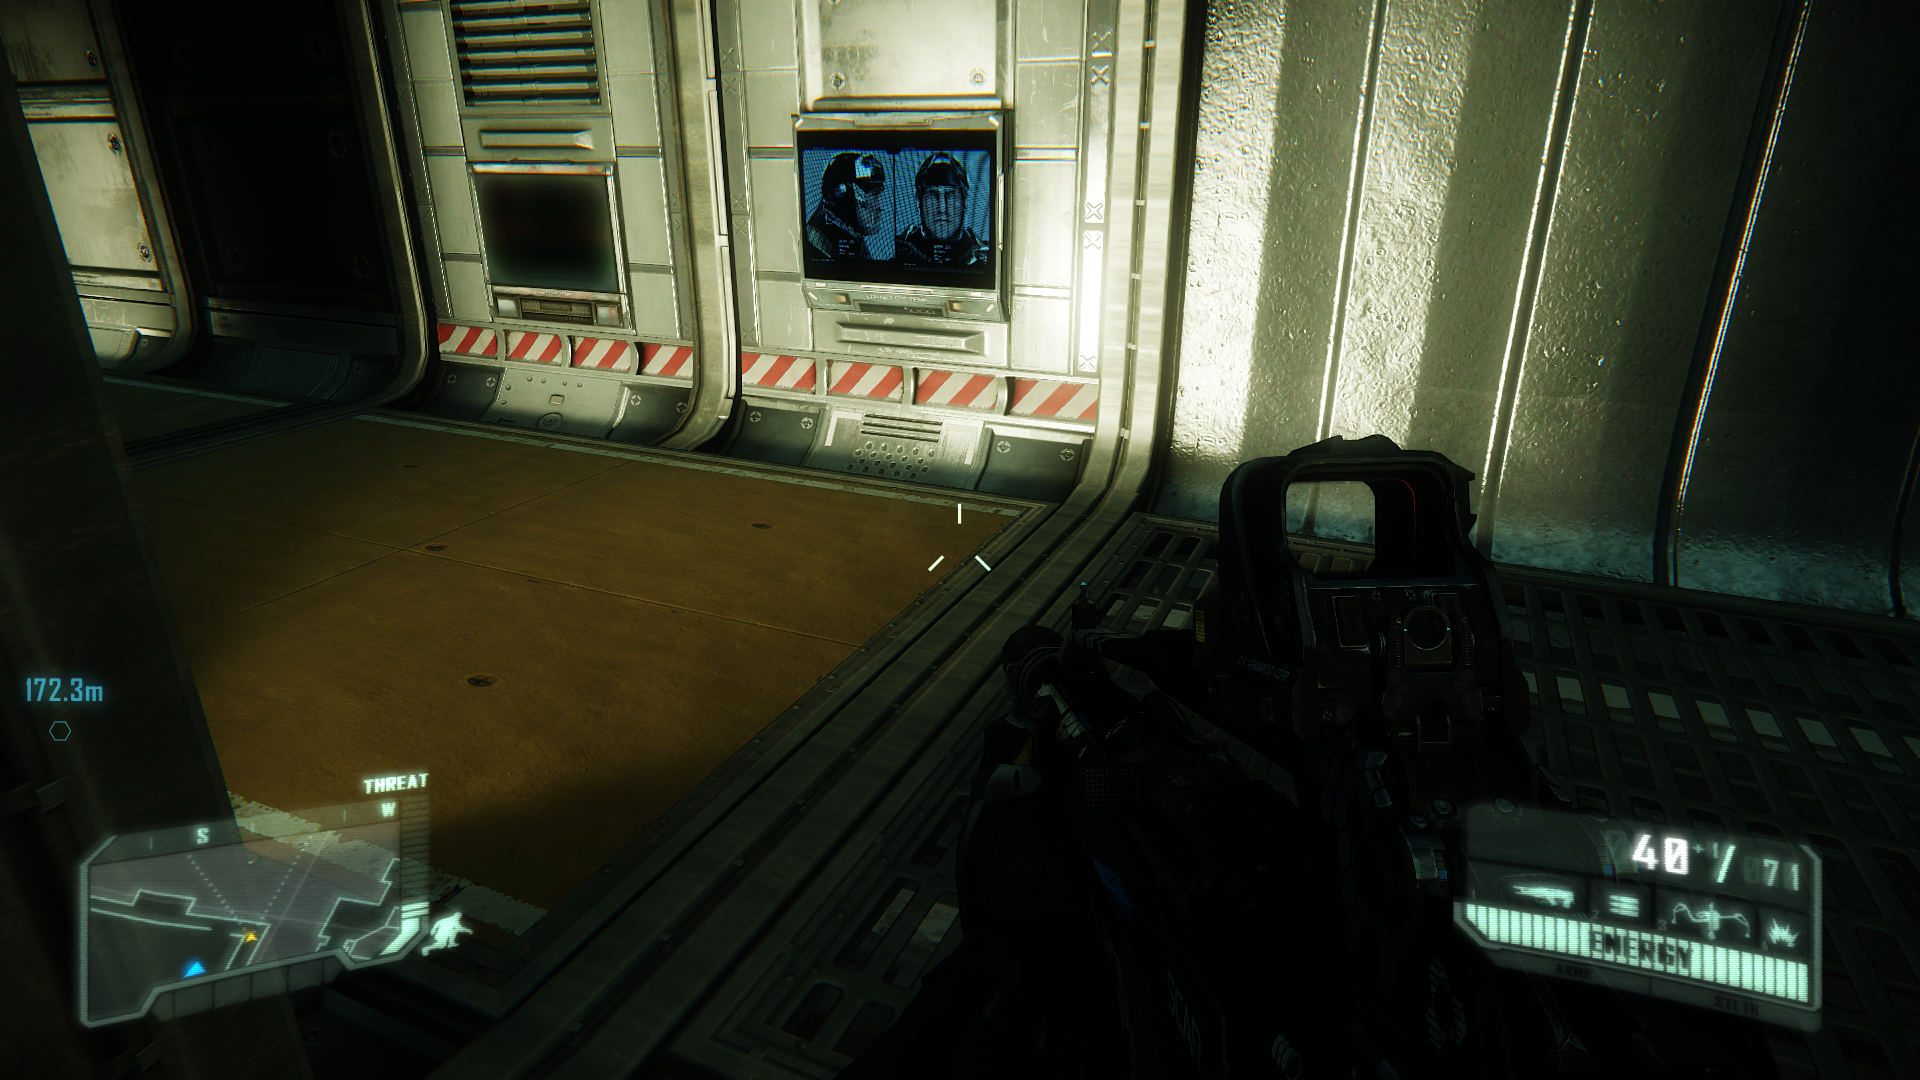
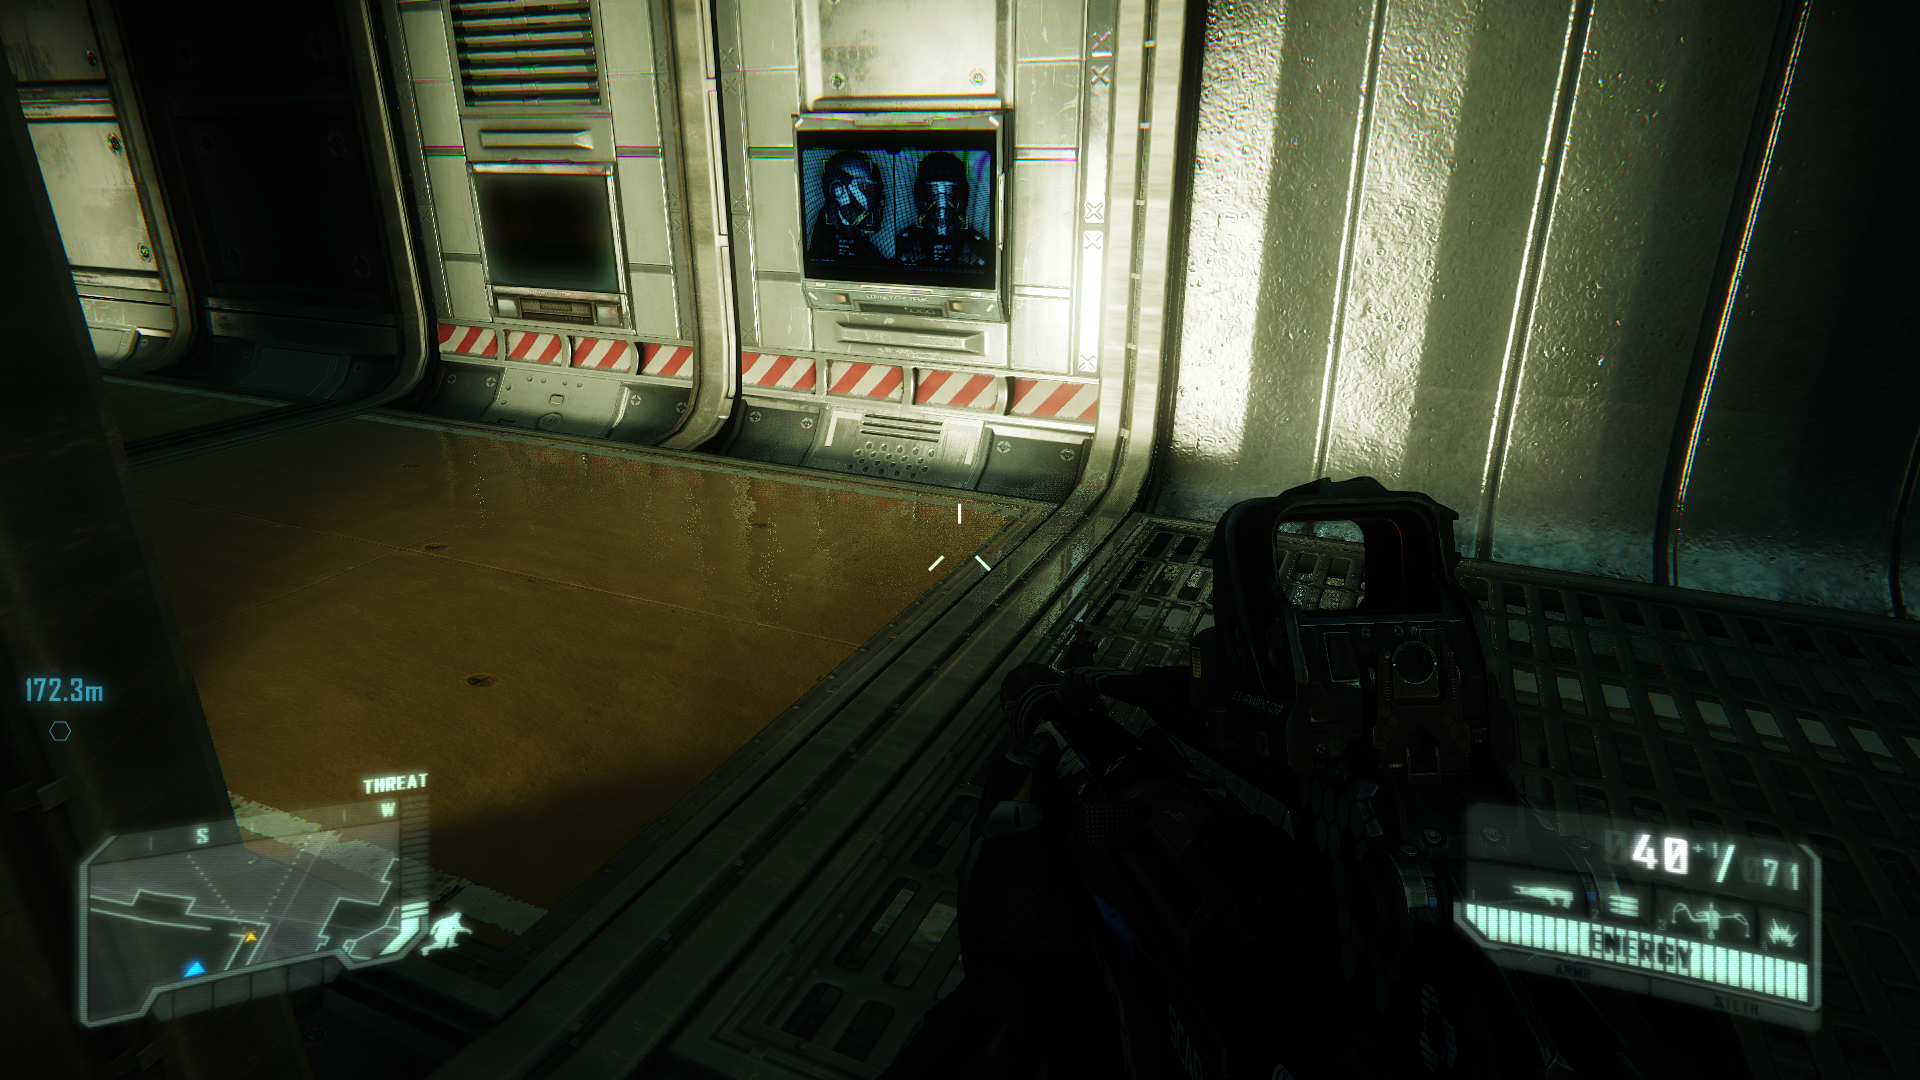
This command determines whether the Screen Space Reflections (SSR) feature is enabled, and the quality of the reflections it creates on glossy surfaces. The screenshots above best demonstrate the differences: at a value of = 0, SSR is disabled, hence the glossy floor shows no reflections. At a value of = 1, reflections appear on the floor, but they are unfiltered and quite harsh. At a value of = 2, the reflections are blurred slightly, best seen on the light reflection just to the right of the crosshair. At a value of = 3, the reflections are fully blurred, and blend more cleanly with the floor surface. If you need extra performance, you can disable SSR, or reduce its value to make it less GPU-intensive.
r_HDRBrightLevel = 1.0
r_HDRBloomRatio = 0.15
The two commands above control the appearance of the bloom lighting effect, which simulates the haziness and over-bright effect when looking towards areas of bright light. However, while changing r_HDRBrightLevel doesn't have any noticeable impact in many cases, the r_HDRBloomRatio command has a major role to play in controlling the strength of bloom, as shown in the screenshots above. The lighting is clearly sharper at a value of = 0; the default of = 0.15 adds some mild haze; and a much higher value of = 0.60 makes everything extremely hazy. Just using this one command, you should be able to arrive at an amount of bloom that suits your tastes.
All the variables above can be tested in the console and should be placed in Autoexec.cfg.
Shadows

Click here for an interactive comparison between Both Off and SSAO = 3.
Click here for an interactive comparison between Both Off and SSDO = 2.
Click here for an interactive comparison between SSAO = 3 and SSDO = 2.
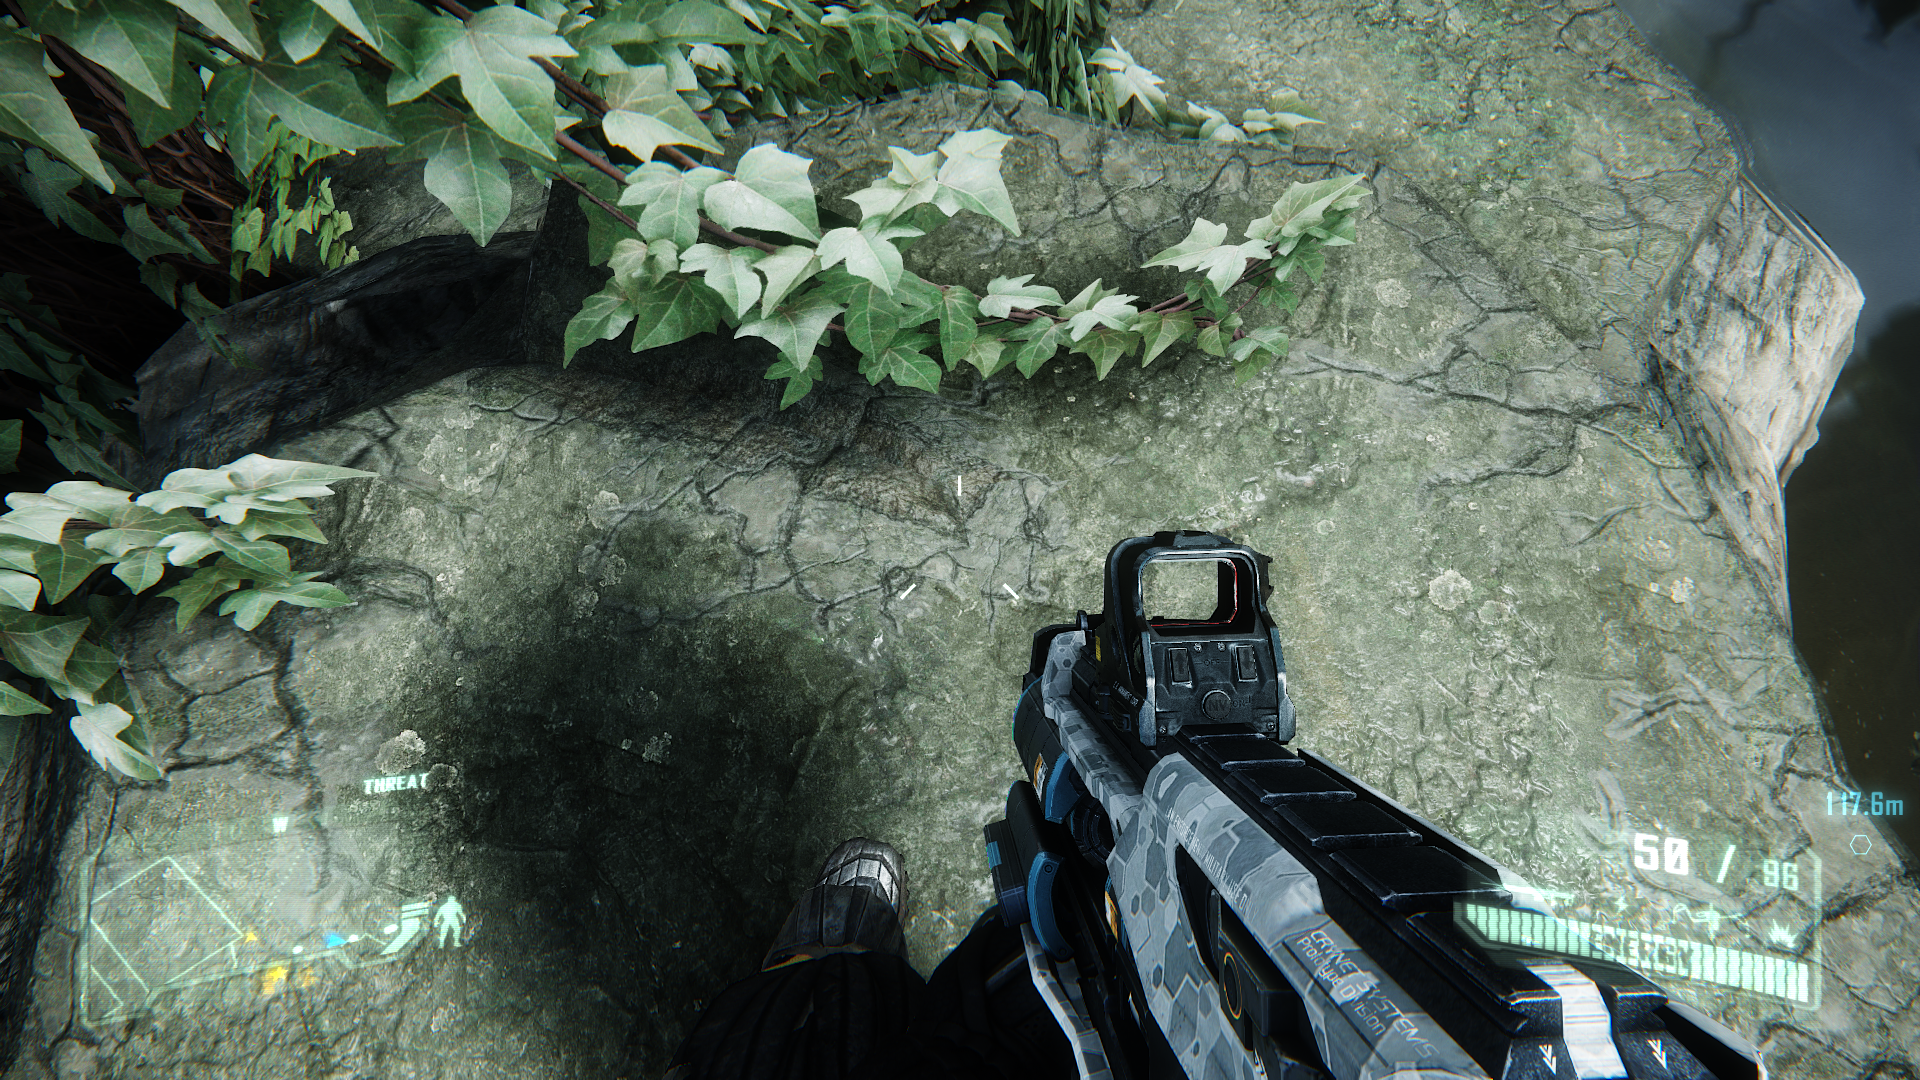
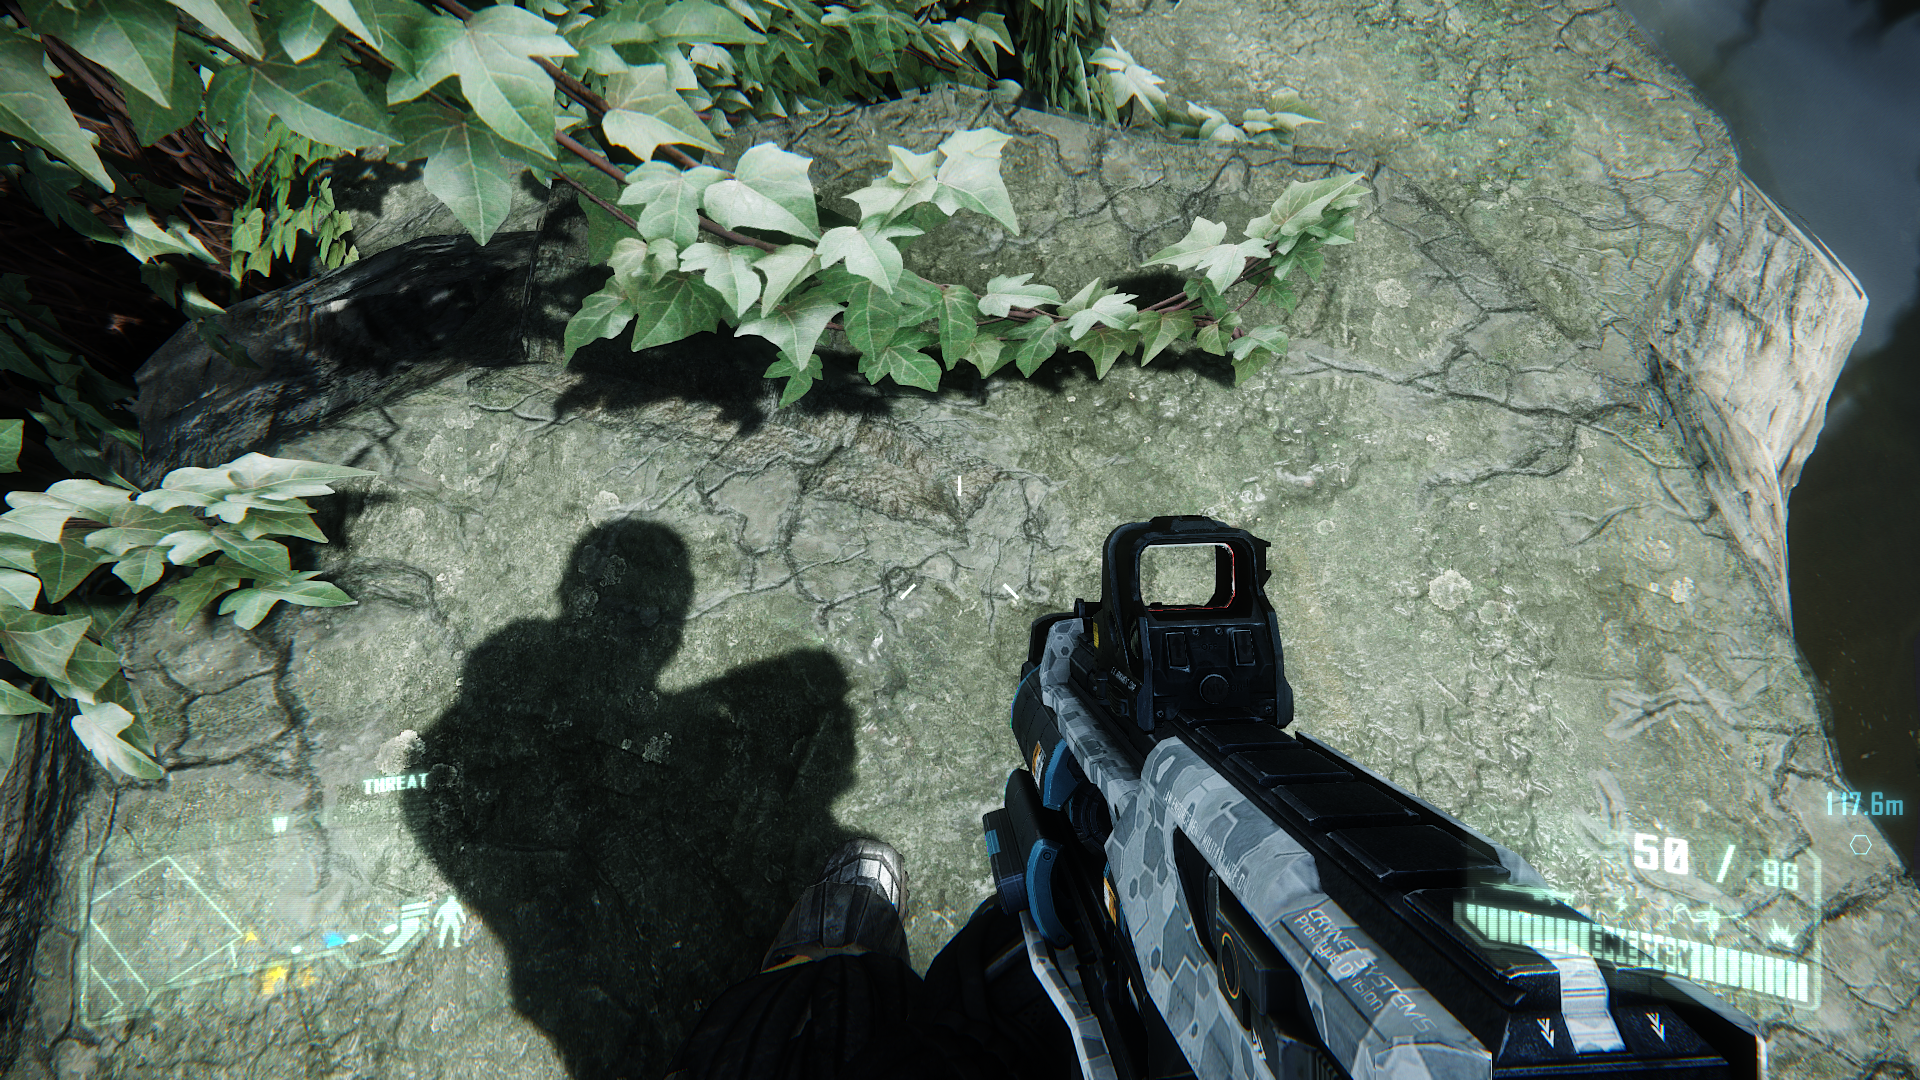
r_ssao = 0
r_ssdo = 2
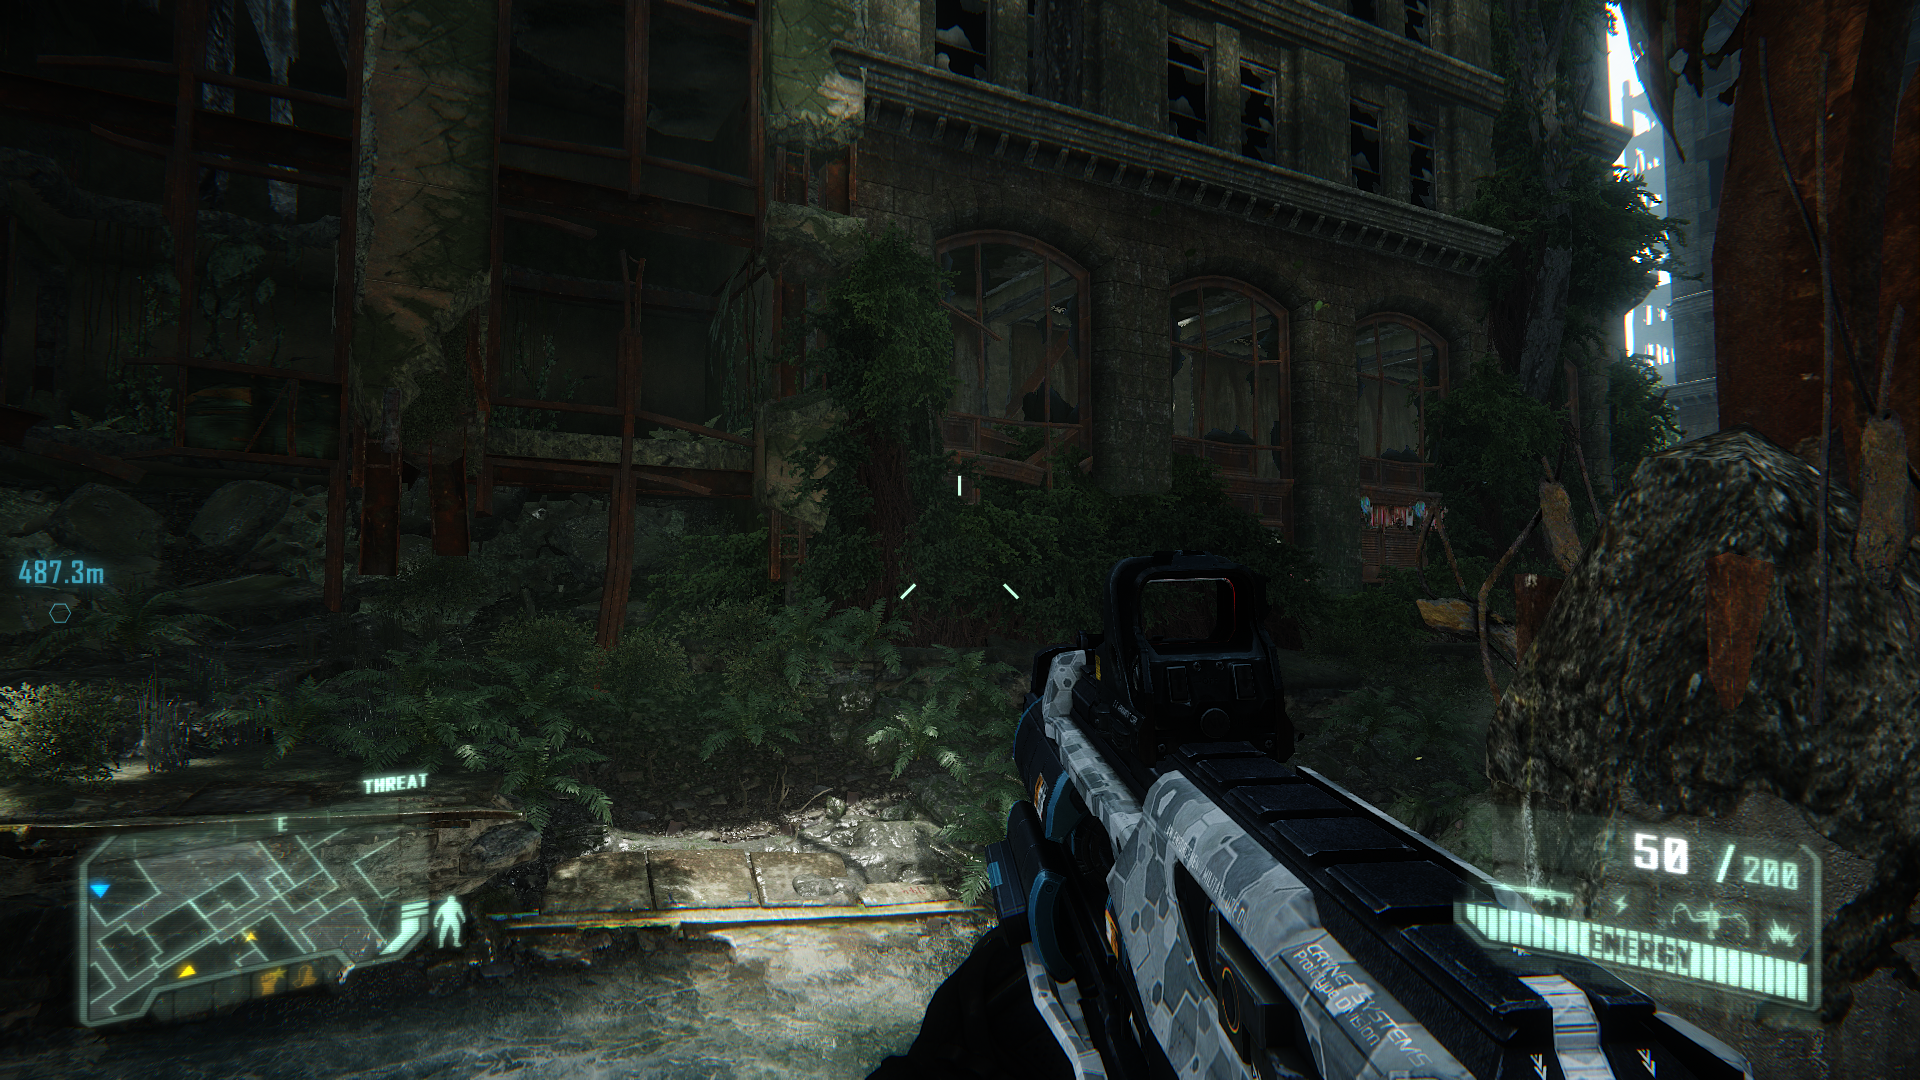
The ambient occlusion method in Crysis 3 can have a substantial impact on the performance and general atmosphere of the game world, by determining how ambient lighting generates shadows. The two commands above control the type of ambient occlusion used, with r_ssao enabling various types of Screen Space Ambient Occlusion (SSAO), and r_ssdo instead enabling Screen Space Directional Occlusion (SSDO), which is a more accurate method. They are mutually exclusive, so when SSAO is enabled, SSDO should be disabled (= 0) and vice versa.
There are eight different variations of SSAO or SSDO possible using these commands, and these are captured in the screenshots above. They range from both SSAO and SSDO being disabled (both = 0), through the five levels of SSAO (= 1, = 2, = 3, = 4 and = 5), and then two levels of SSDO (= 1 and = 2). As a general rule, performance drops when SSAO = 1 or = 2 are used, while SSAO = 3 is the default used in Crysis 3, and performs quite well and looks good, along with SSAO = 4 and = 5 which are similar. SSDO = 1 is lighter and slightly faster than SSDO =2, which is the default at Very High, and the most performance intensive.
Since ambient occlusion can have a major impact on framerate, it is advisable to experiment with these commands to find a look that is acceptable to you, but which nets you some performance gains. If you're struggling for FPS, simply disabling both SSAO and SSDO, which is not possible using the in-game settings, will give you a large jump in framerate and can still look quite good, as the first screenshot above shows.
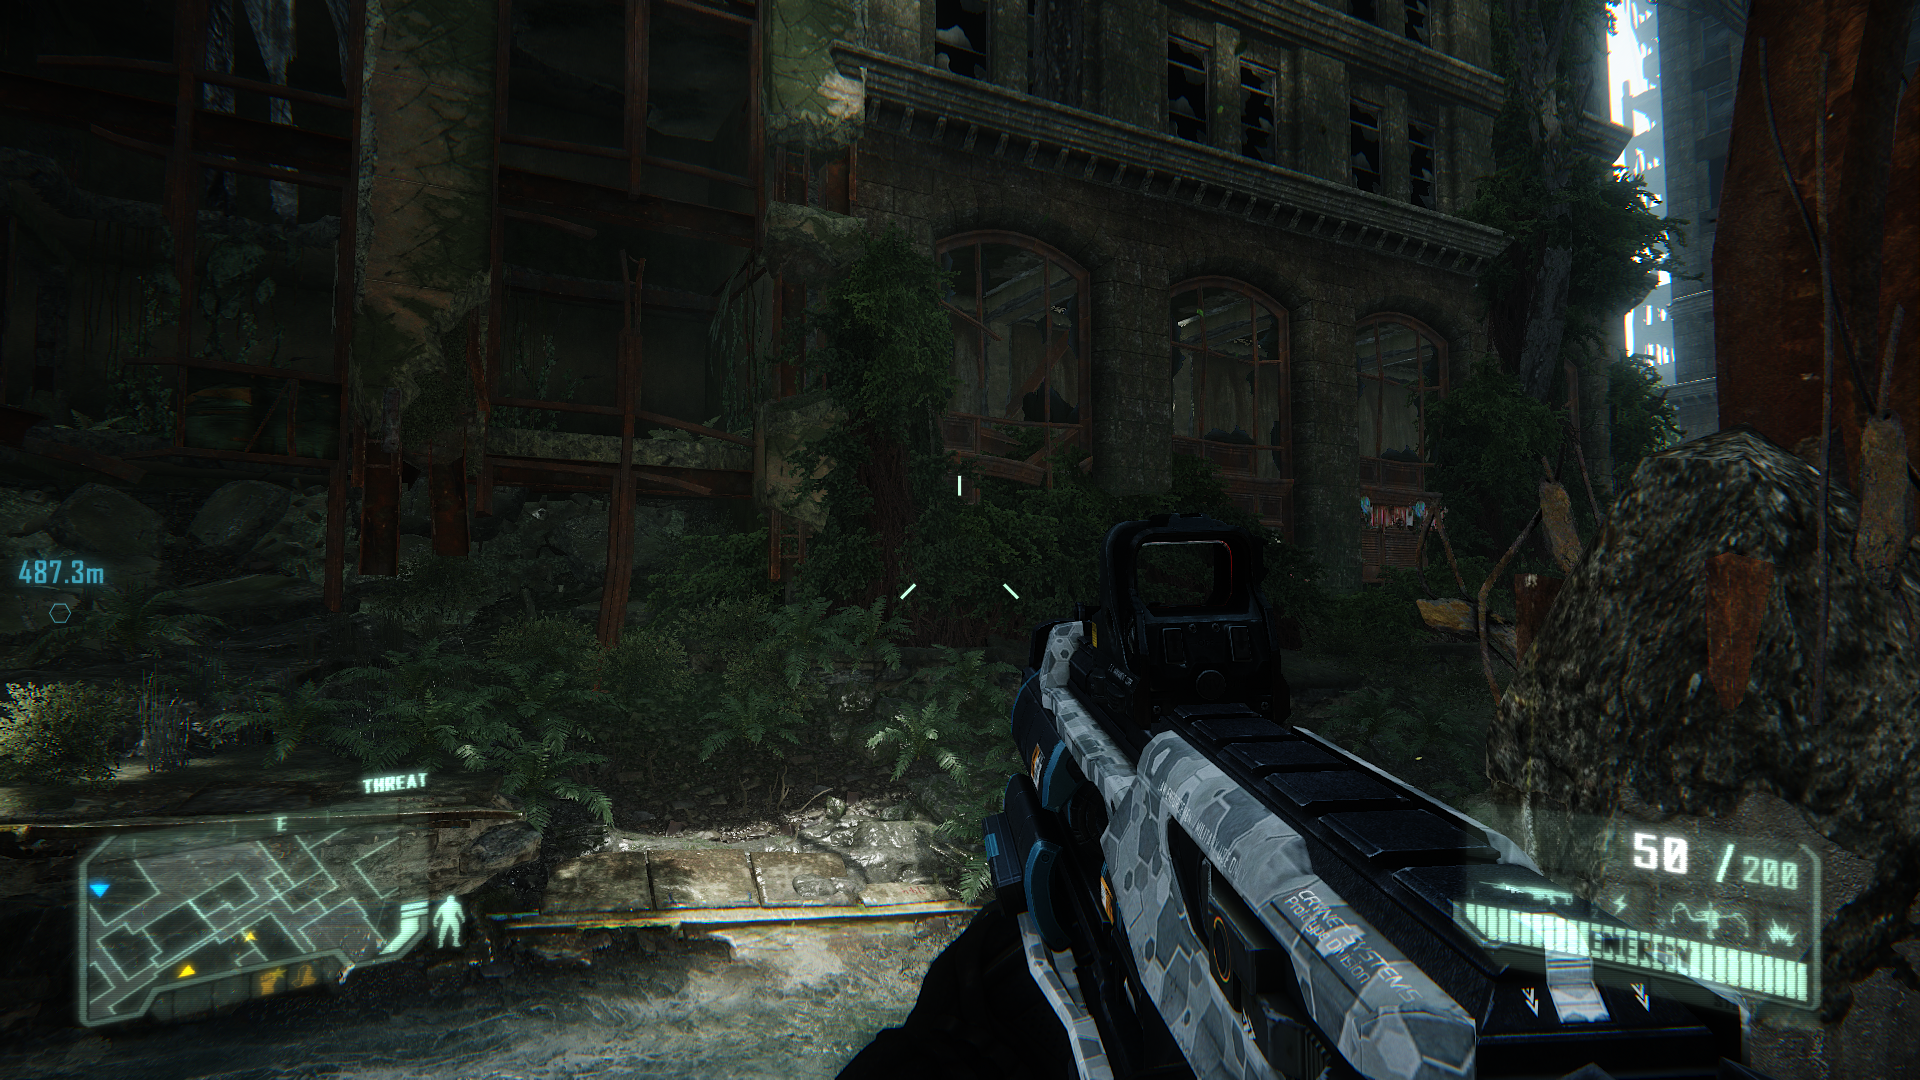
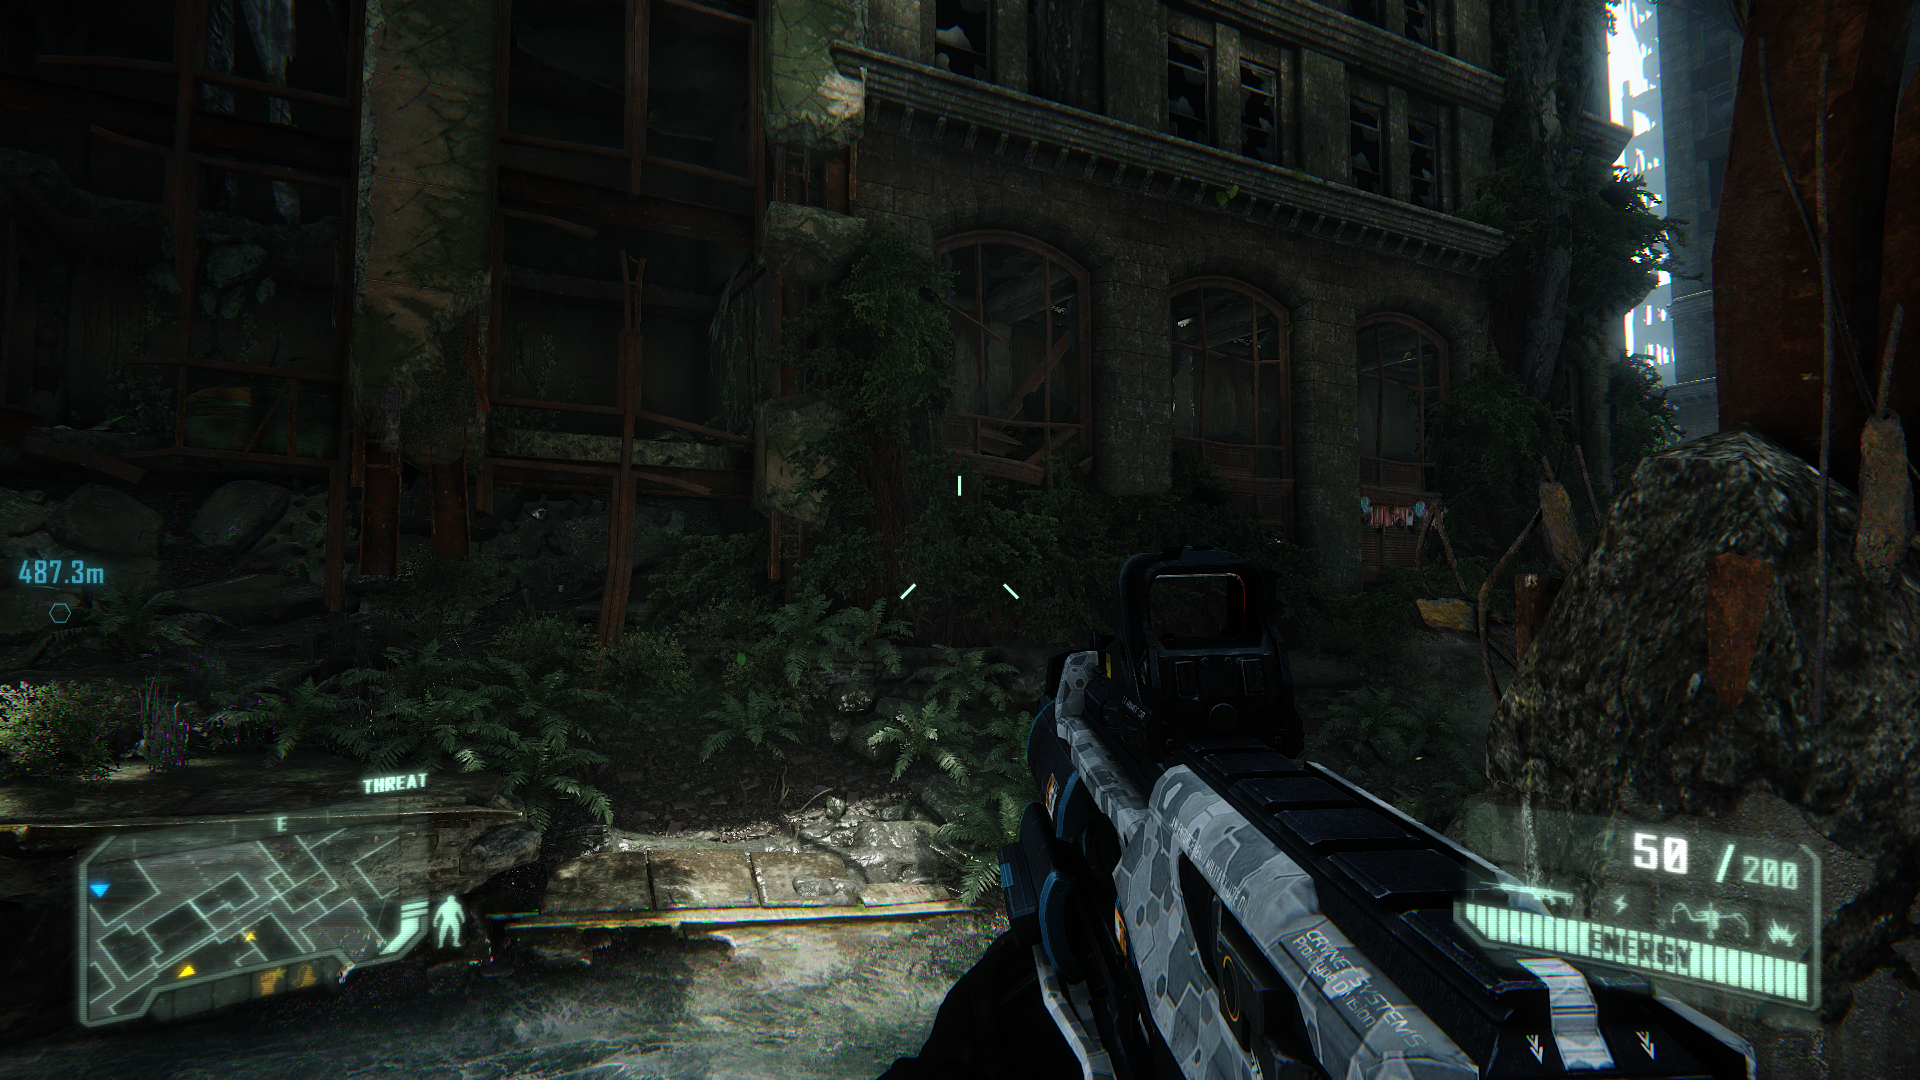
r_FogShadows = 1
The command above controls the Real-Time Volumetric Cloud Shadows effect, which is described and demonstrated with screenshots under the Shadows setting earlier in this guide. In practice it is a subtle effect, and is an easy choice to turn off (= 0) if you need extra performance at the Very High setting. Keep in mind that disabling this effect does not disable regular sun shafts.

e_ShadowsMaxTexRes = 1024
This command controls the resolution of shadows cast by the Sun. The lowest value used in the game is 512, and the maximum possible using the in-game settings is 1024, but you can alter it to other values, such as 256 or 128 for blurrier shadows that can boost performance, or 2048 or 4096 for more detailed shadows that will greatly reduce performance. The screenshots above show the effects on outdoor shadows of a low value of = 128 on the far left, then the standard = 1024, then the higher = 2048, and lastly, the framerate-crippling = 4096.
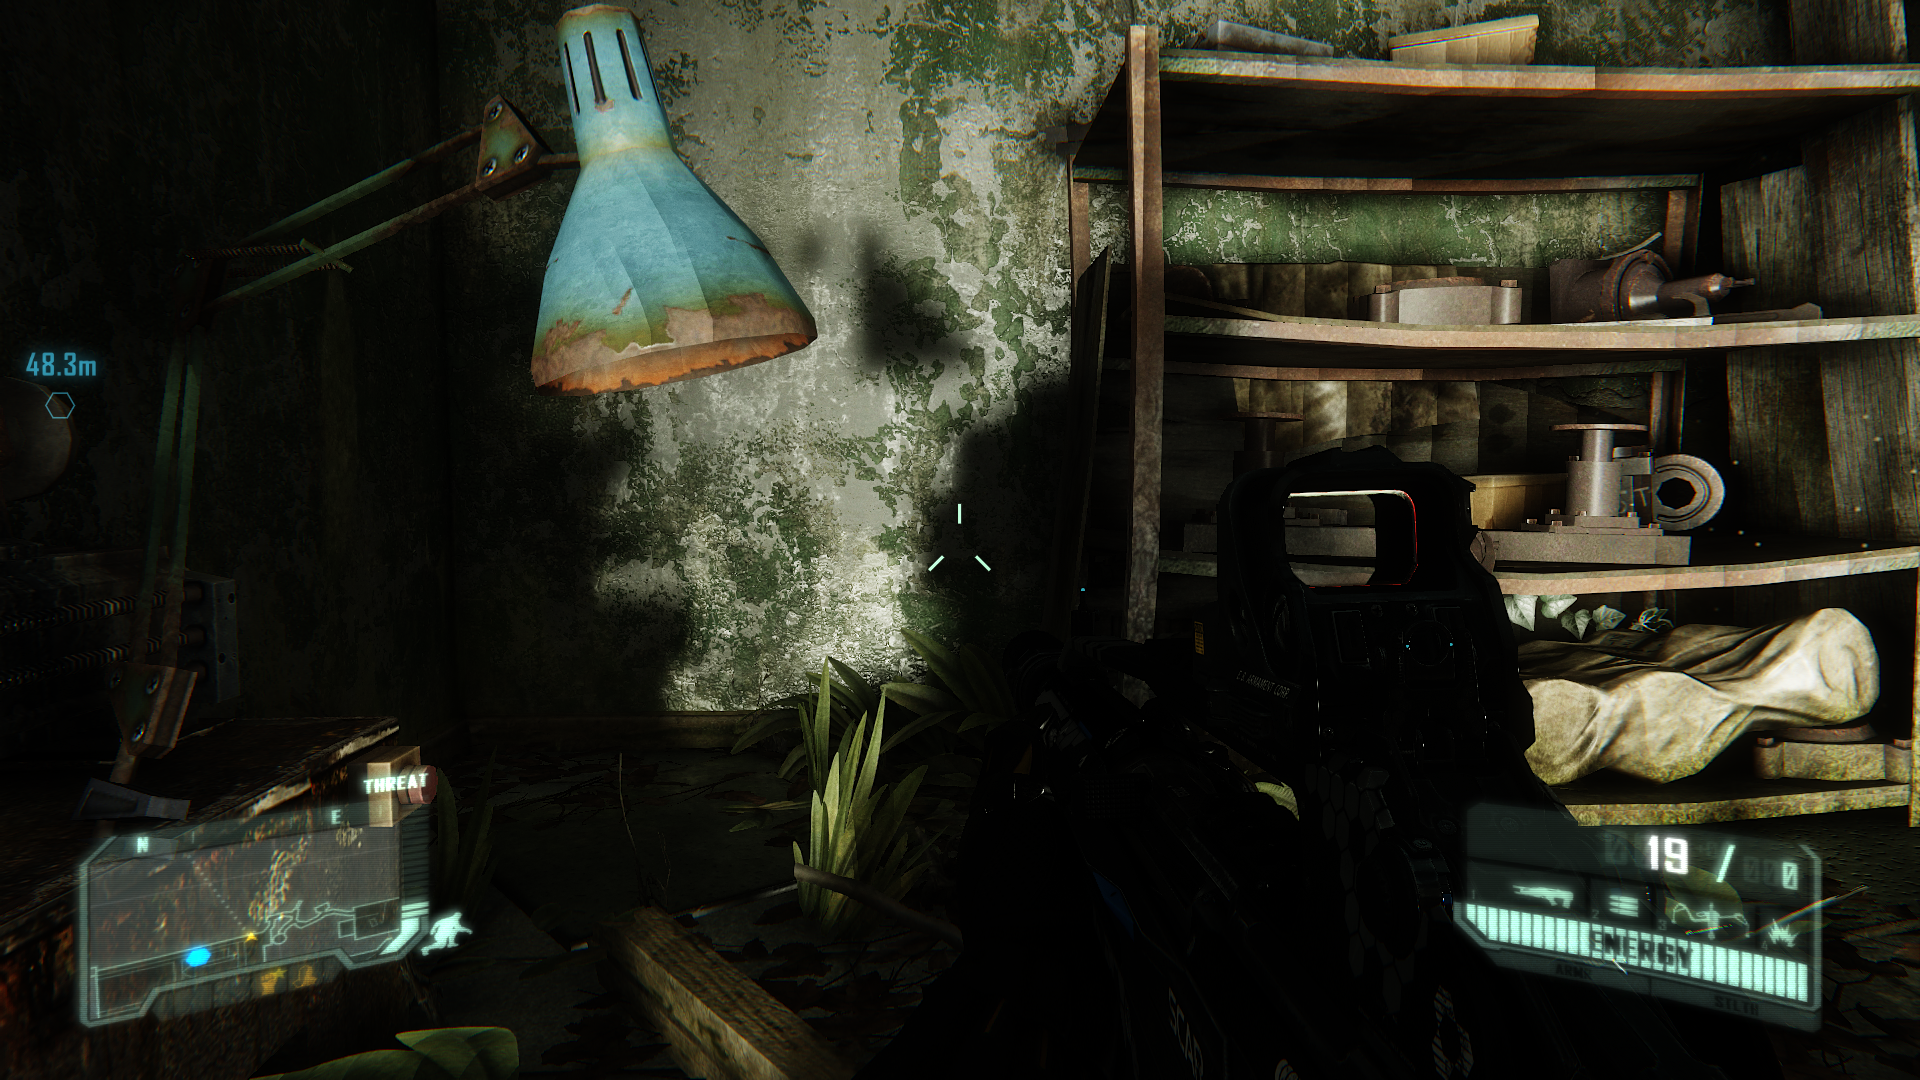
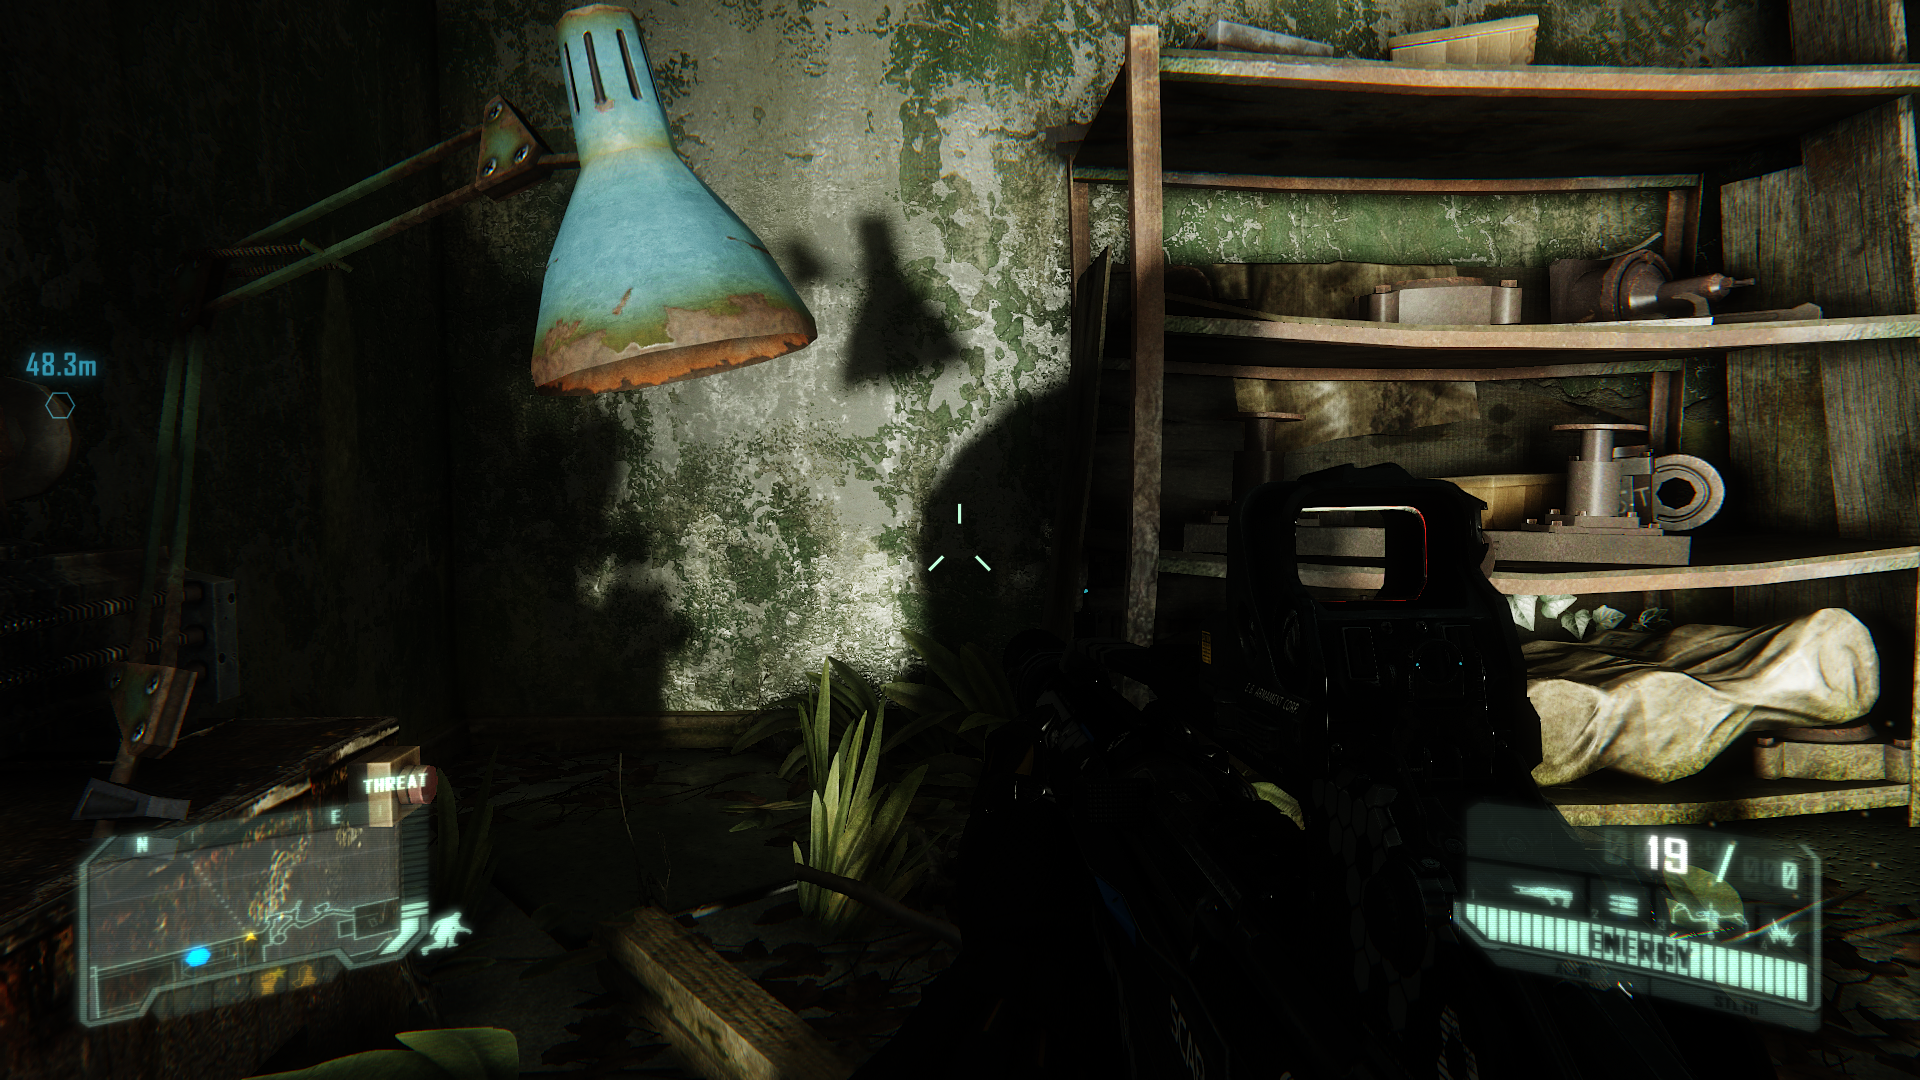

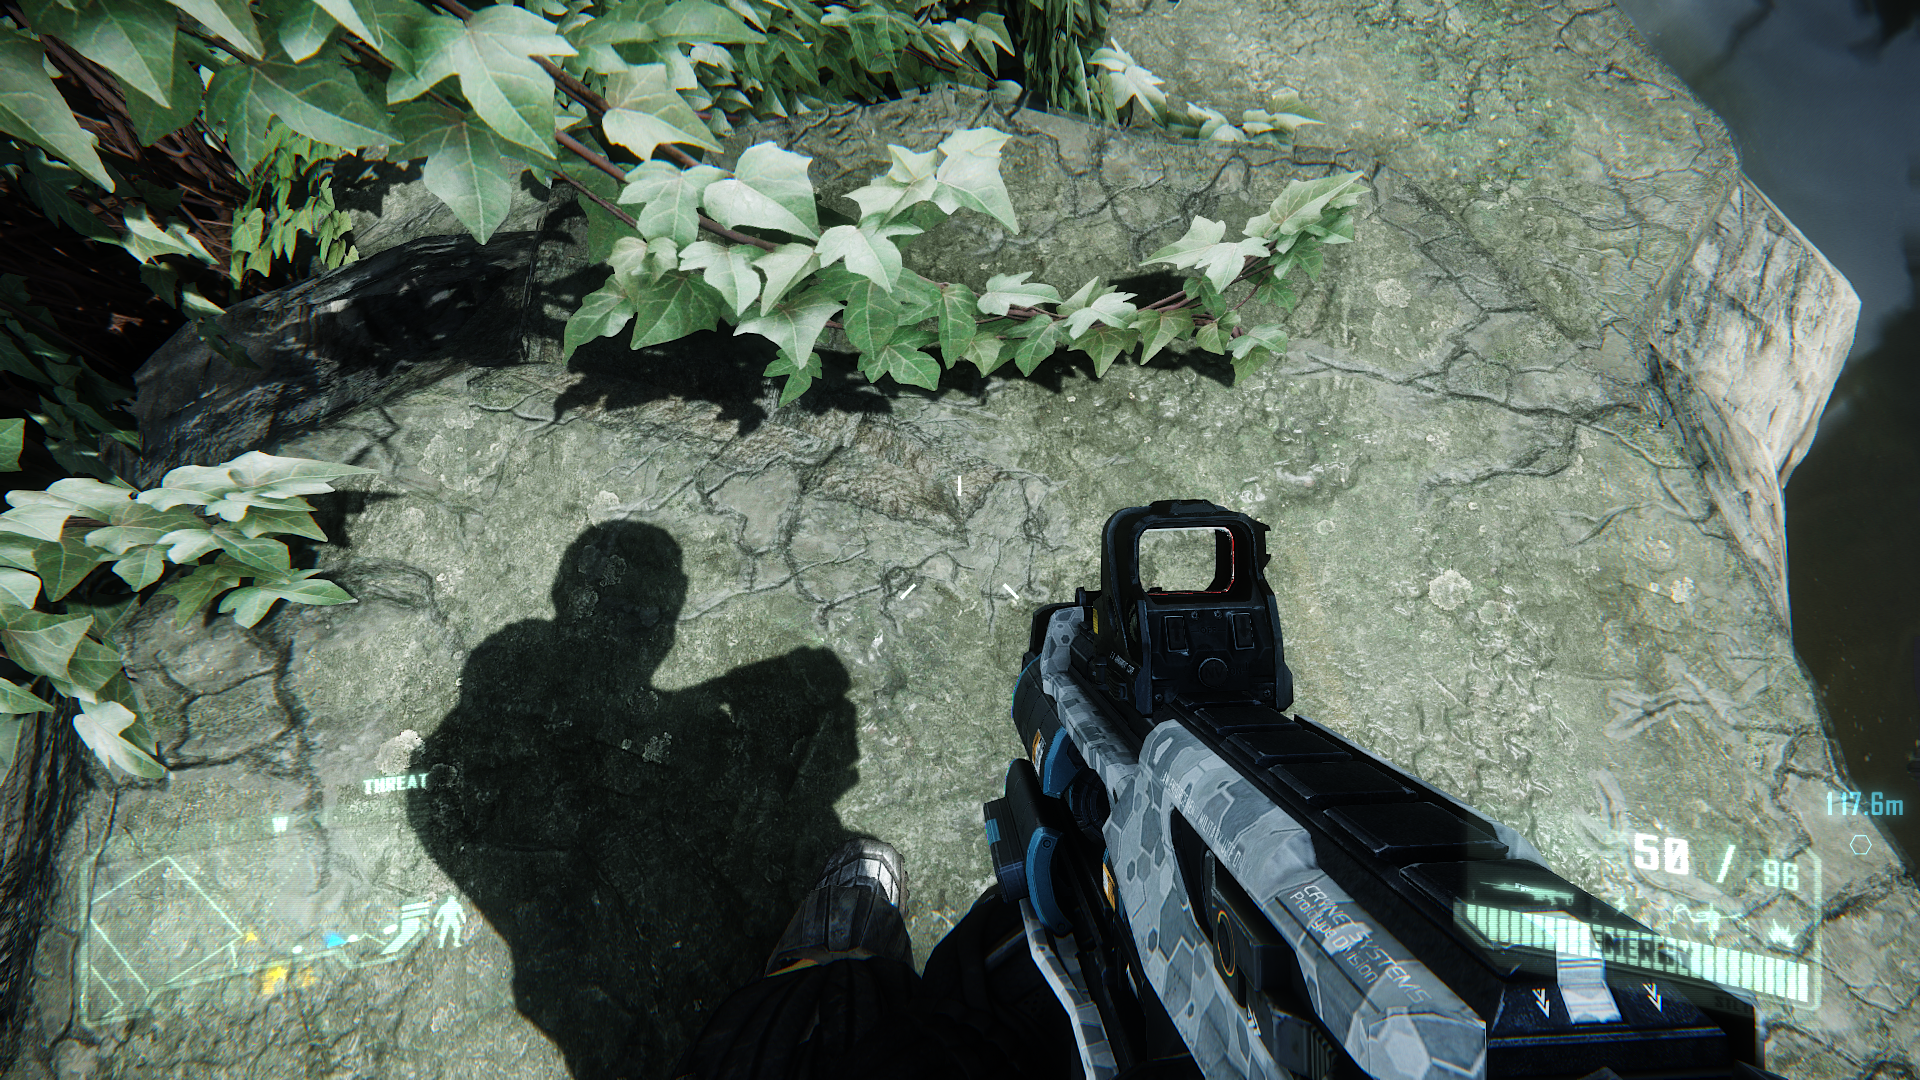
e_ShadowsResScale = 40
This command determines the resolution of shadows cast from individual lights in the game world, not including the Sun. Typically, this means lights found in indoor areas. You can increase this value to gain quality, or decrease it to gain performance. The screenshots above show the increase in the resolution of the shadows cast on the wall when this command is raised from 0.1, to 40, and then to 100. It's more noticeable during actual gameplay, because lower resolution shadows will shimmer and look much more blocky while in motion.
e_GsmCache = 1
This command, if enabled (= 1), will update distant shadows less frequently. This can improve performance at the cost of some realism - though in practice the difference is typically unnoticeable in most scenes. Conversely, if you want to make sure shadows are displayed at their best, set this variable to = 0 to update them more frequently.
e_ShadowsPoolSize = 4096
This command sets the maximum amount of resolution available for shadows cast by dynamic lights other than the Sun. The lower the pool size, the more chance there is for performance issues and shadow glitches, so the default is recommended, or you can manually set it to 4096 to even 8192 if your Shadows setting is at its maximum, and/or you have manually increased shadow quality using some of the commands above.
The commands above can all be tested in the console, and should be placed in Autoexec.cfg.
The next page continues the graphics-related advanced tweaks.
|
|