
Crysis 3 Tweak Guide
[Page 14] Advanced Tweaking (Pt.3)
The following command variables control graphics effects in Crysis 3, and are sorted by general category.
Image Post-Processing
There are several post-processing image effects that have a negligible performance impact, but can noticeably alter the look of the game. The in-game Post Processing setting controls most of these, but in practice, doesn't allow much leeway to alter or disable the individual effects, so you can turn to using the commands below to achieve your desired look.

r_ColorGrading = 2
This command controls the color grading effect, which is a stylistic filter that affects how the colors in the game look. By default, color grading is always on in Crysis 3. When this command is set to = 0, color grading is turned off, and when = 1 it's on. The default is = 2, which looks much the same as = 1. In the screenshots above, taken from the multiplayer Airport map, you can see that the same scene is much warmer when color grading is disabled. In other scenes the opposite may be true, and in some cases, no visible difference will be noticeable when the command is changed, so it is a dynamic effect. It can be tested in the console, and to implement it, add it to Autoexec.cfg.
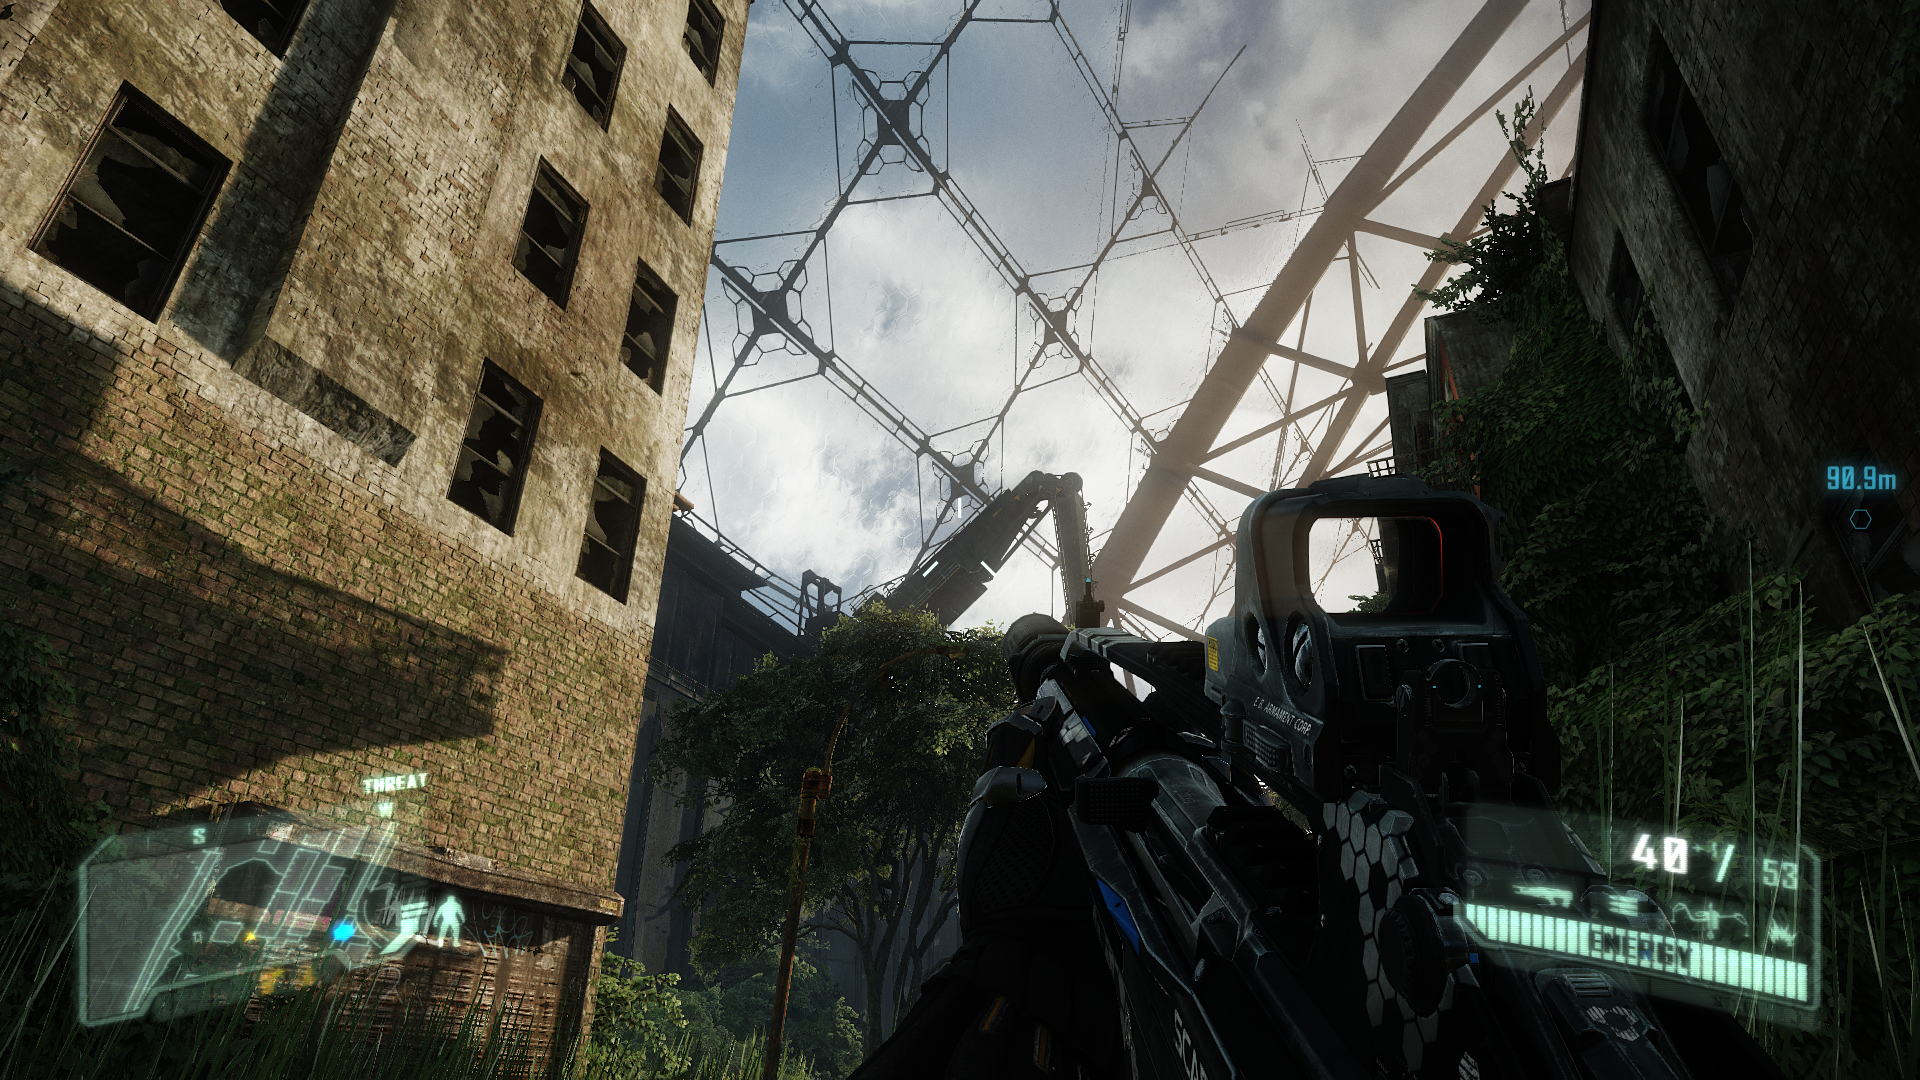

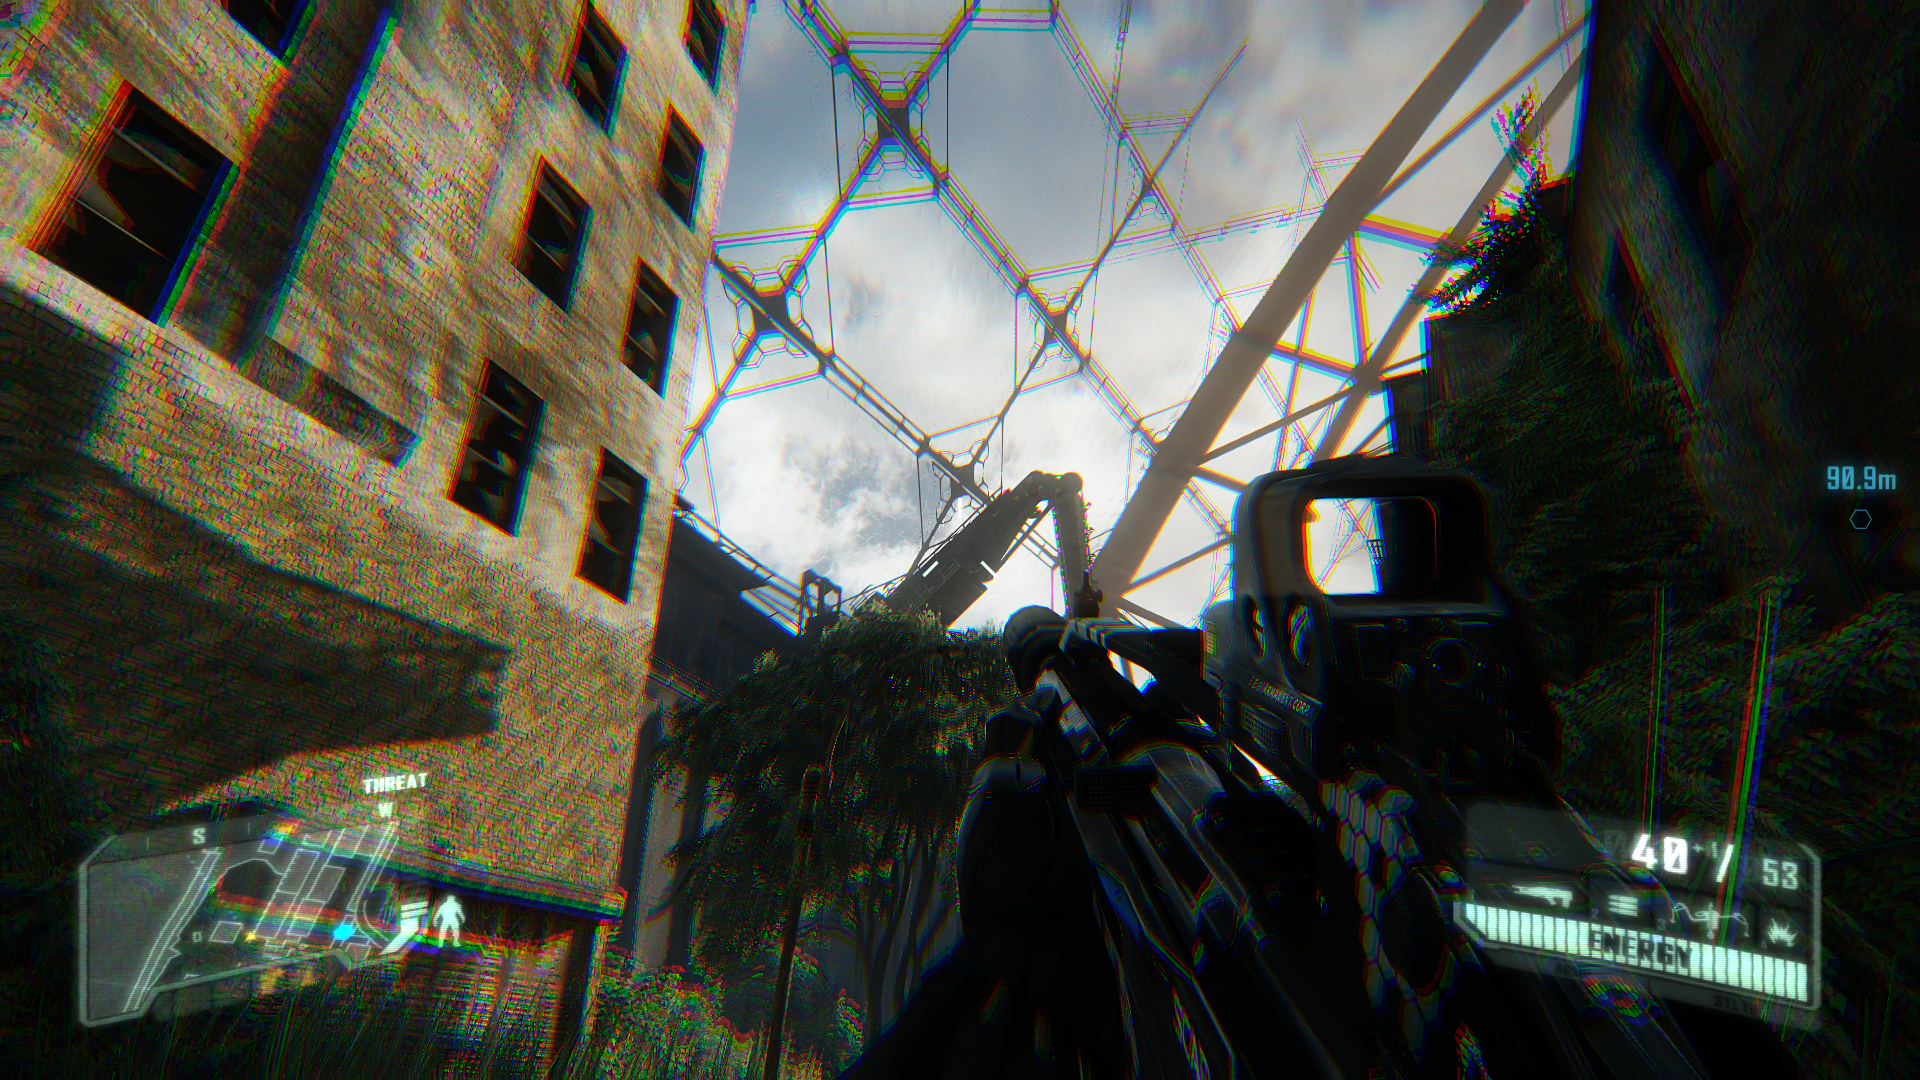
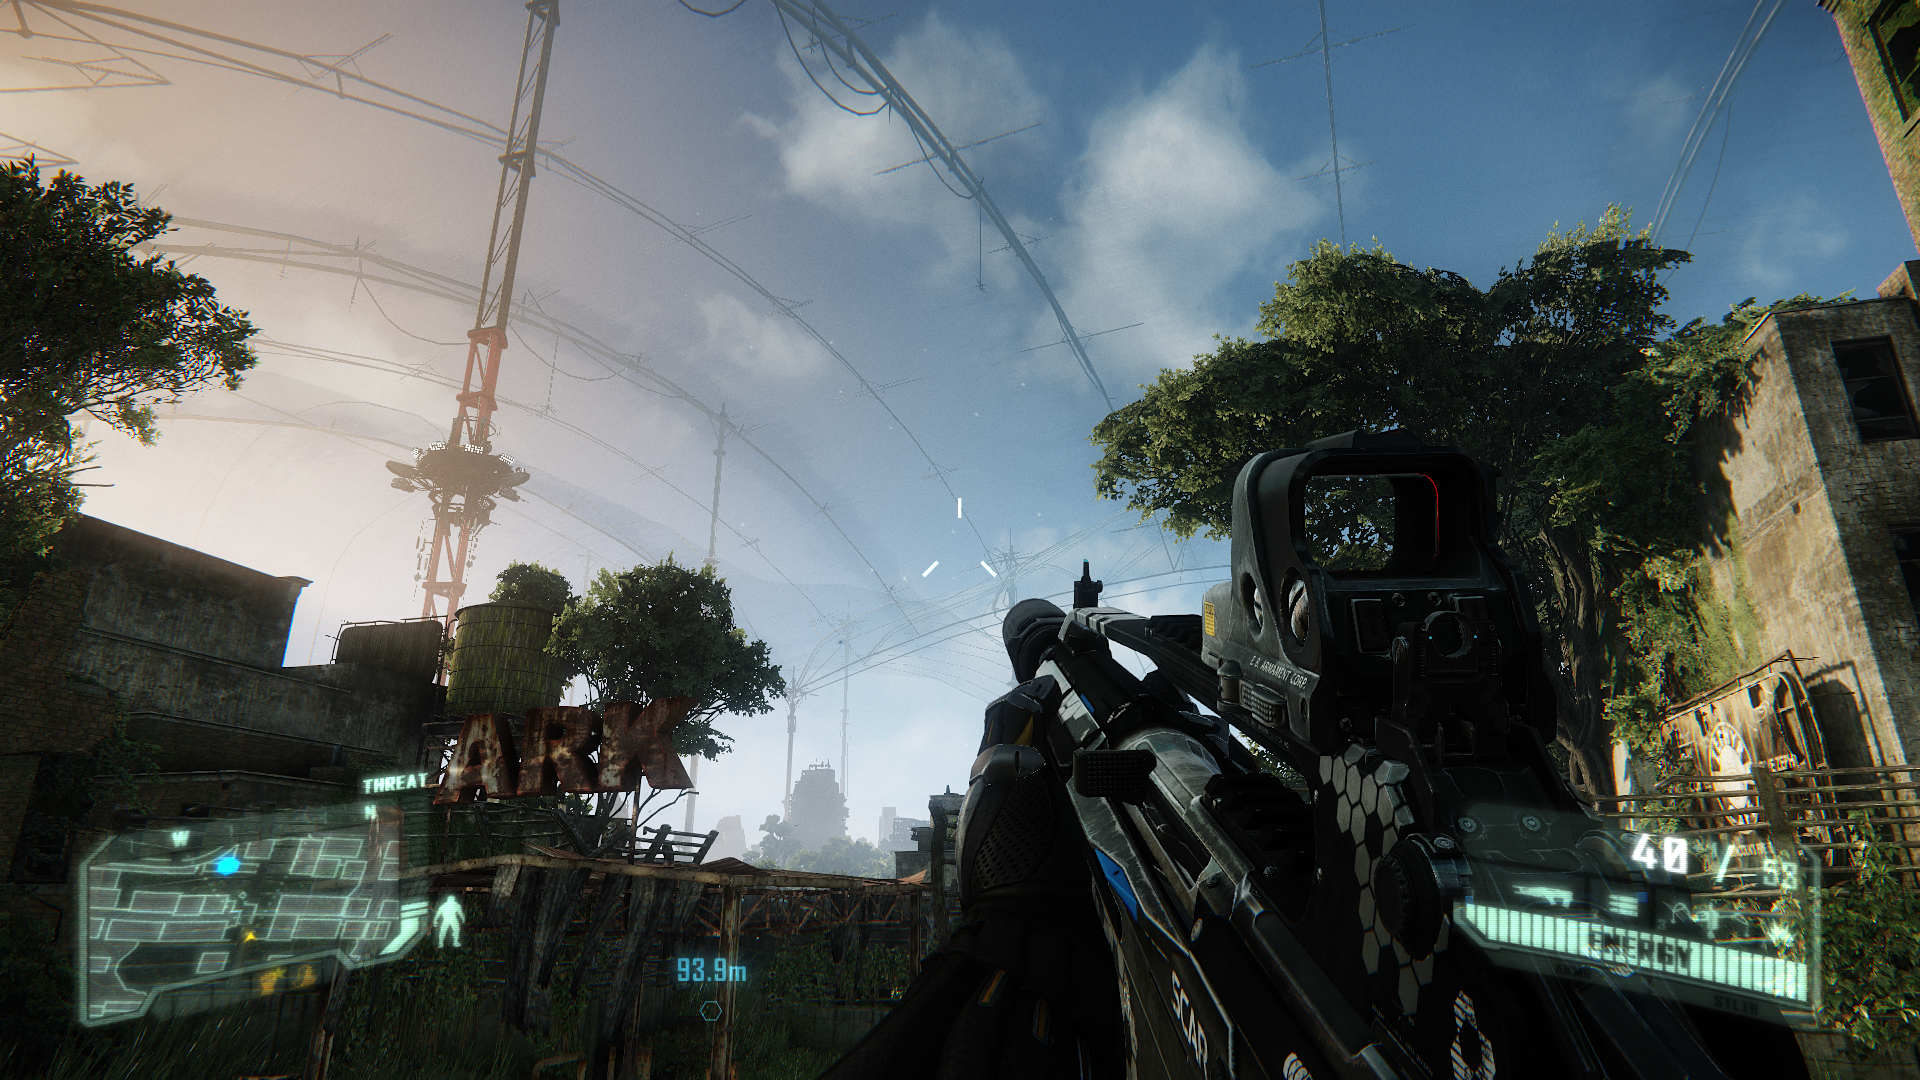
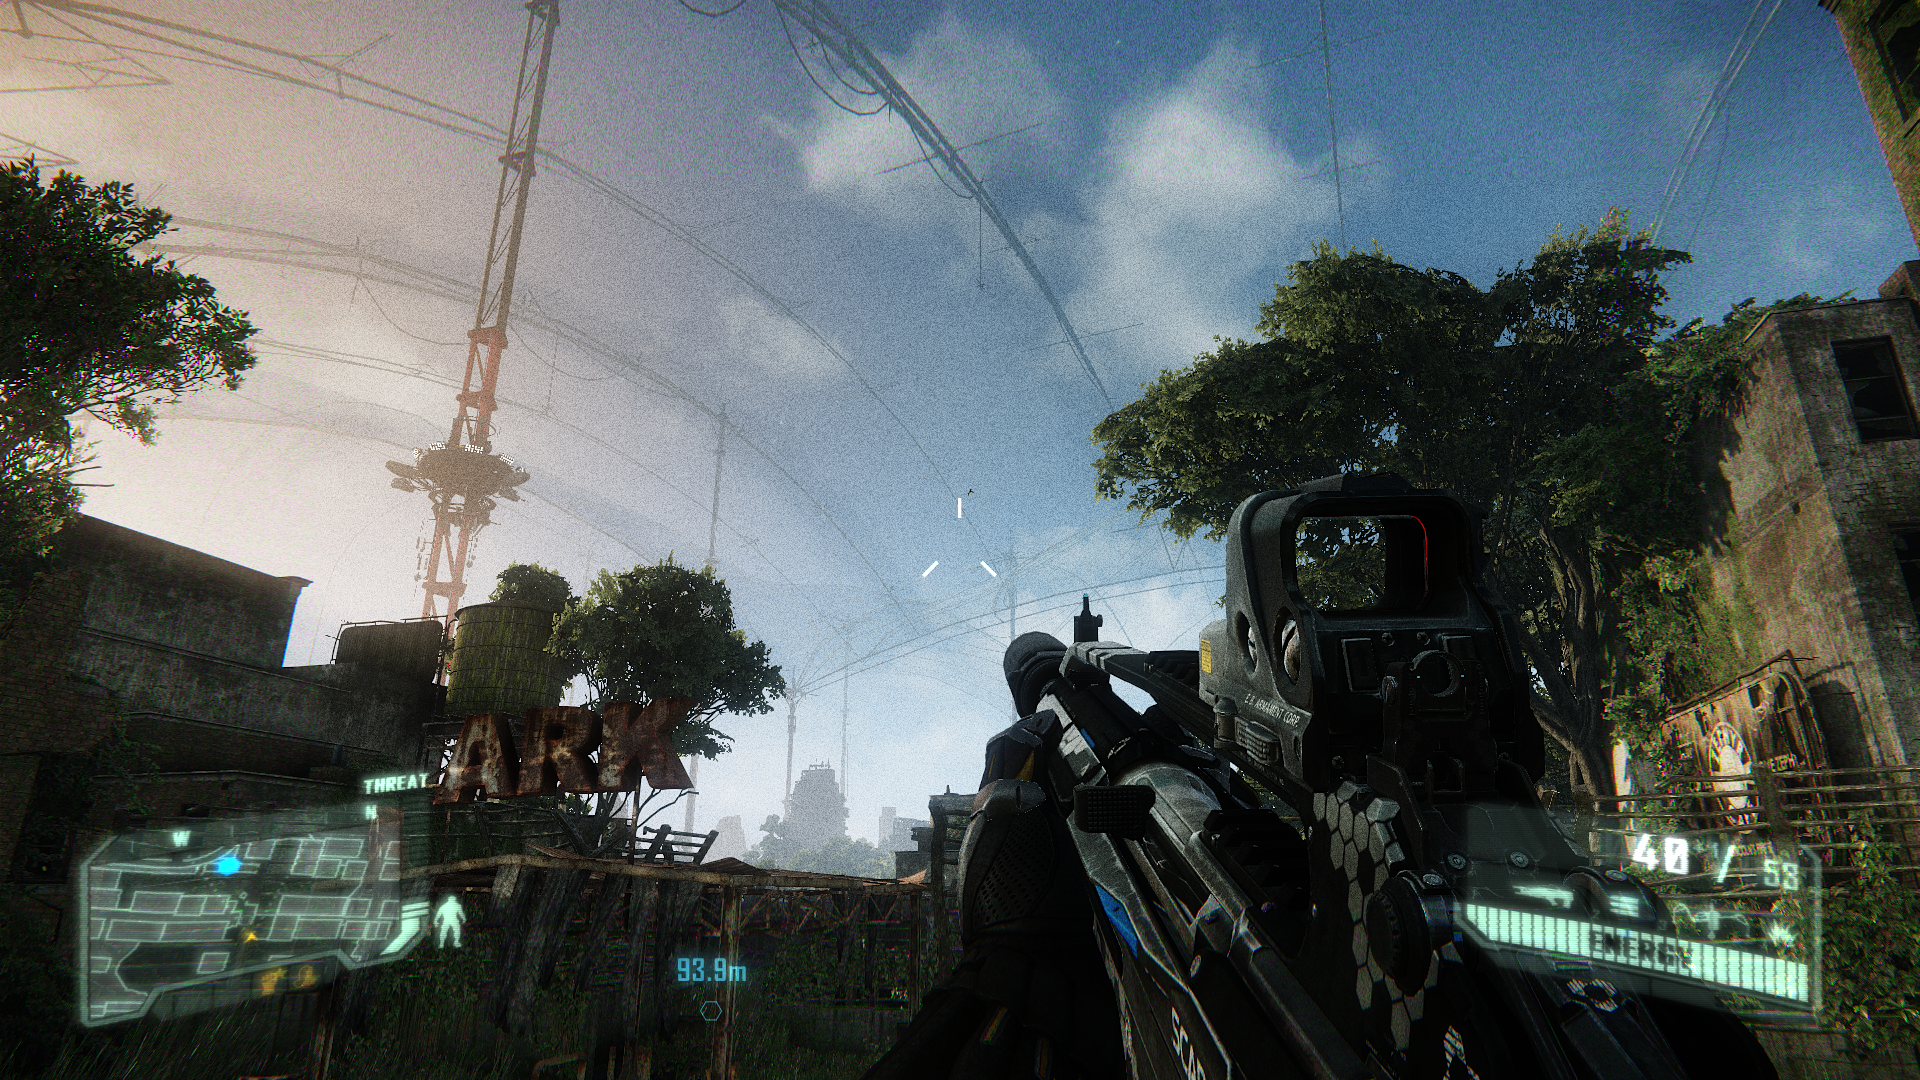
r_ChromaticAberration = 1.5
The Chromatic Aberration effect adds color-tinged fringes to more distant objects, and those towards the edges of the screen, almost as though the viewer is looking through a prism or distorted lens. It is enabled at a very subtle value of 1.5 by default in Crysis 3, as shown in the middle screenshot above. You can disable it completely if you find it annoying by setting this command to = 0, as shown on the left screenshot, or you can increase the effect, as shown in the exaggerated screenshot on the right, which uses a value of = 20.
r_Sharpening = 0.25
This command controls an image sharpening feature that is usually in effect at only a very mild (= 0.25) level. You can disable the effect altogether, or raise it to get very noticeable artificial edge enhancement. This can also be useful if you want to offset some of the blurring from certain Anti-aliasing modes, such as FXAA or TXAA. For example, use r_Sharpening 0.40 to regain crispness in the image when using FXAA. The screenshots above demonstrate the difference between the effect being completely disabled (= 0) on the left, and enabled at a value of = 1 on the right.
r_HDRGrainAmount = 0
By default, this command is set to = 0 in Crysis 3, but you can use a higher value to implement an increasing amount of artificial moving "film grain" to the image. The main purpose for using this grain, aside from a matter of personal taste, would be to reduce the perception of banding due to a lack of color precision on some displays. The screenshots above demonstrate the obvious difference between a value of = 0 on the left, and = 1 on the right.
r_motionblur = 0
While you can control motion blurring via the Motion Blur Amount in-game setting, if you want more precise control over it, you can use the command above. A value of = 0 for the command will disable motion blurring; a value of = 1 will enable motion blurring for camera movements; and a value of = 2 enables object and camera motion blurring. Note that there is a separate r_radialBlur command for the blurring that emanates from explosions, but it is locked, and can't be disabled. Furthermore, particle motion blurring is controlled by the e_ParticlesMotionBlur command, covered later in this guide.
All of the commands above are testable in the console and can be set in Autoexec.cfg.
Water
r_WaterTessellationHW = 1
The command above controls whether the surface of bodies of water can be tessellated for increased complexity (= 1) or not (= 0). A screenshot comparison which shows the subtle impact of water tessellation is provided under the Water in-game setting description earlier in this guide. Ripples and waves will be slightly less complex with this command disabled, but for the most part it is hard to notice the difference.
r_fogShadowsWater = 1
This command is similar to the Real-Time Volumetric Cloud Shadows effect that casts shadows through fog volumes, but in this case, such shadows are cast through water volumes. In testing the visual impact of this setting, it was difficult to find any body of water that demonstrated any discernible difference in lighting and shadows - whether underneath or above the water's surface - when this command was changed. Rays of light and shadowing under the water remained constant regardless. You can disable it to boost framerates without any noticeable drop in image quality.
The commands above can both be tested in the console, and should be placed in Autoexec.cfg.
The next page continues our look at advanced tweaking of graphics-related commands.
|
|