
Crysis 3 Tweak Guide
[Page 16] Advanced Tweaking (Pt.5)
Level of Detail
r_silhouettePOM = 1
This command controls the Pixel Accurate Displacement Mapping (PADM) feature, which is covered in more detail under the Object in-game setting description earlier in this guide. When enabled (= 1), it creates a noticeable difference on certain objects. However, PADM is also a very performance-intensive effect, and in scenes which contain objects that have their complexity increased by it, you will notice a substantial drop in FPS. Fortunately, PADM isn't used in most areas of the game, but if you notice slowdowns in certain areas, you can experiment with disabling this effect (= 0) to see if it helps improve your performance, typically with no real loss in overall image quality.
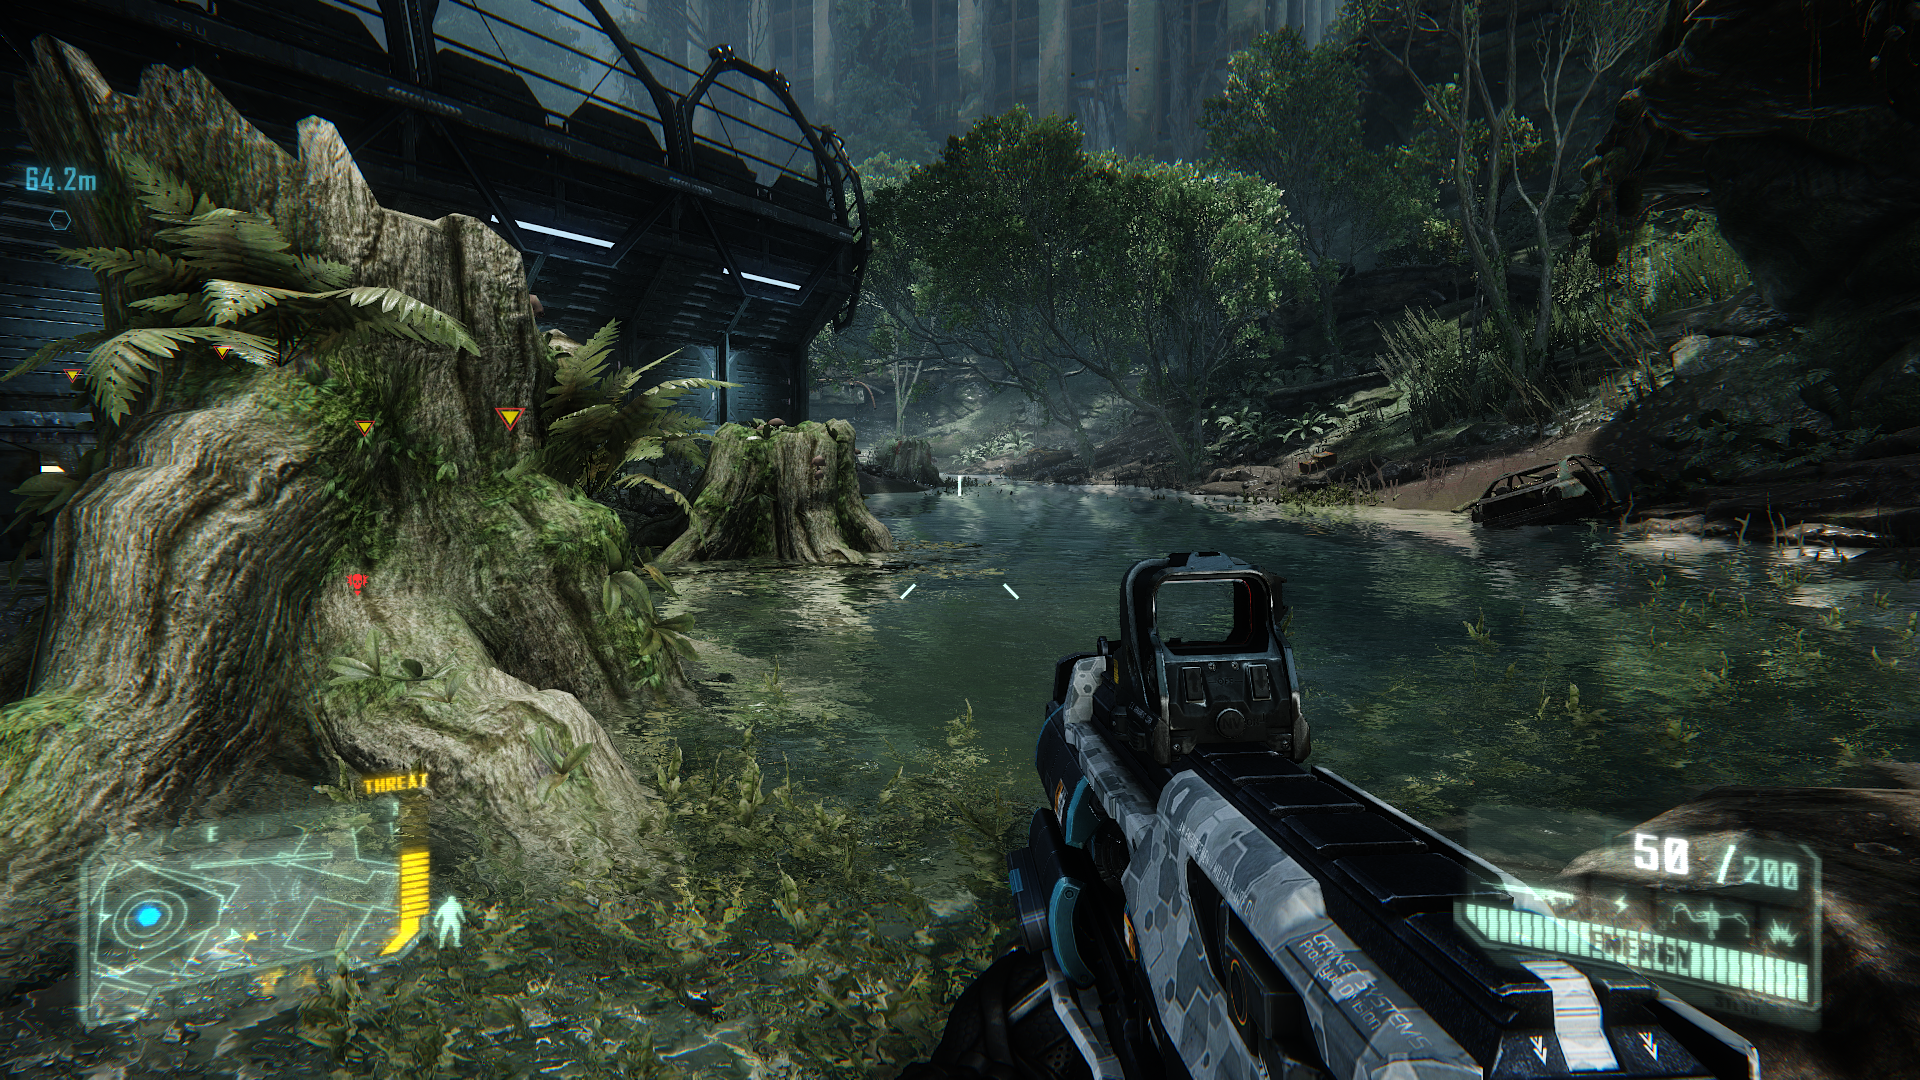
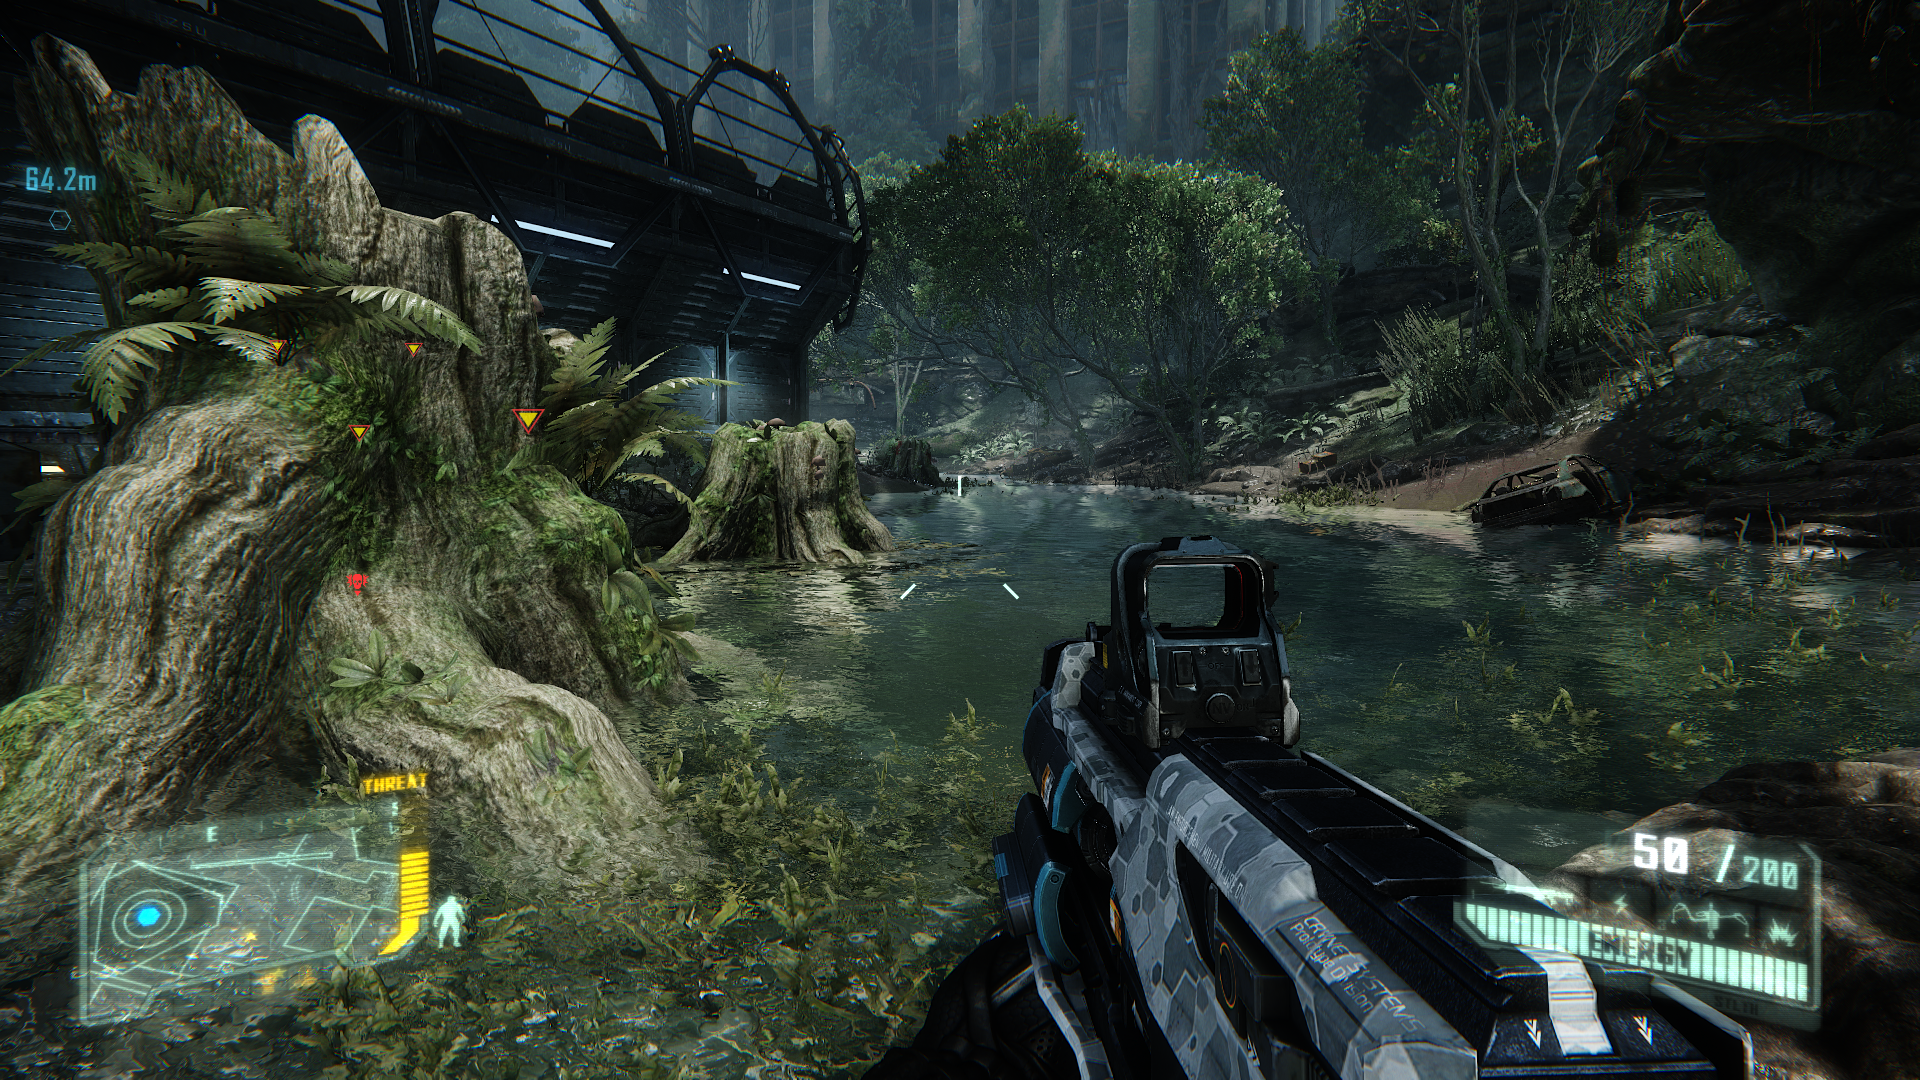
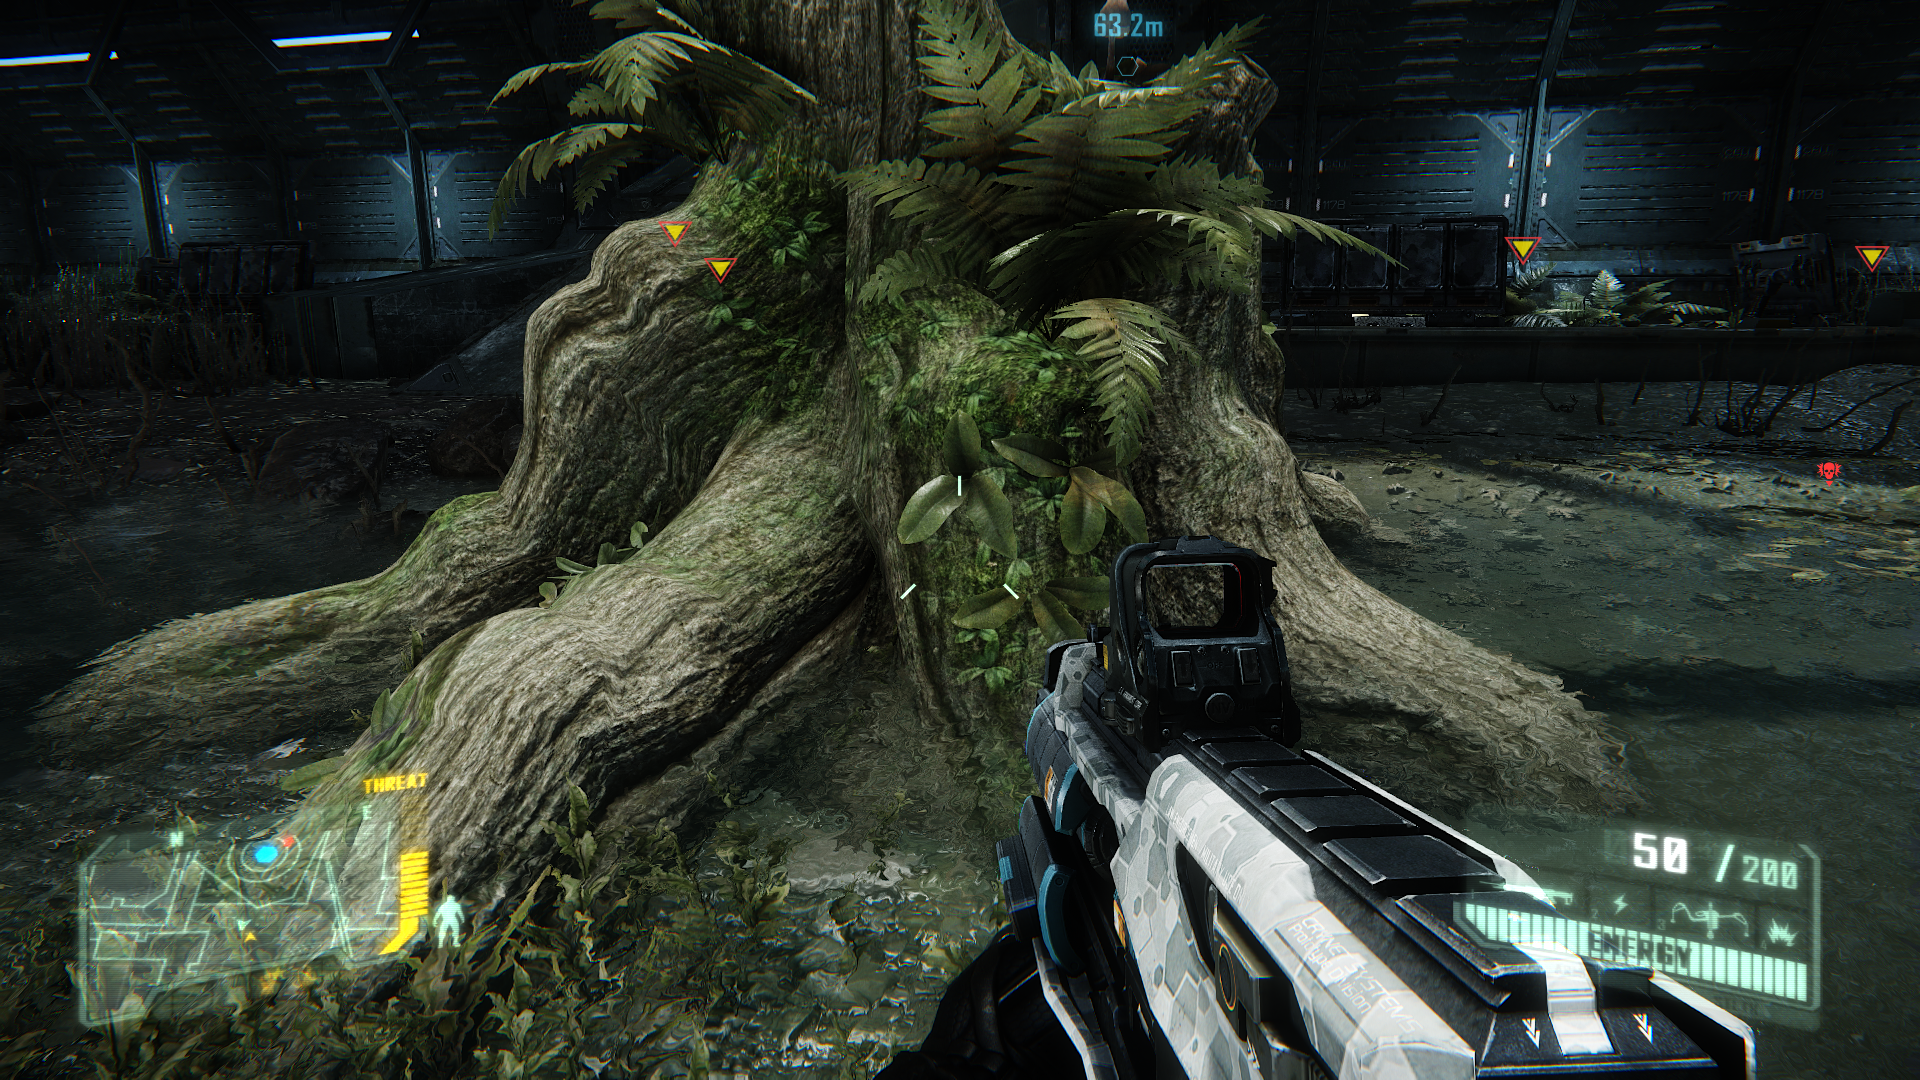
r_TessellationMaxDistance = 30
The command above determines the distance from the player out to which objects are tessellated, if Tessellation is enabled. In other words, it controls the complexity of nearby objects and characters. Tessellation can be quite a performance intensive effect, and as shown under the Objects in-game setting section of the guide, it is also a very subtle effect. If you have Tessellation enabled, then lowering this command's value can help improve performance. Conversely, if you have the horsepower to spare, you can raise this value to increase world complexity slightly at the cost of performance. The screenshots above demonstrate the difference at 0, 30 and 500 distance values for this command. The most noticeable change is the tree stump to the left gaining a bit more volume at a value of 30 and above.
Note: Since the e_Tessellation command, which controls overall tessellation, is locked at the time of writing, you can use the r_TessellationMaxDistance = 0 command to effectively disable tessellation instead.
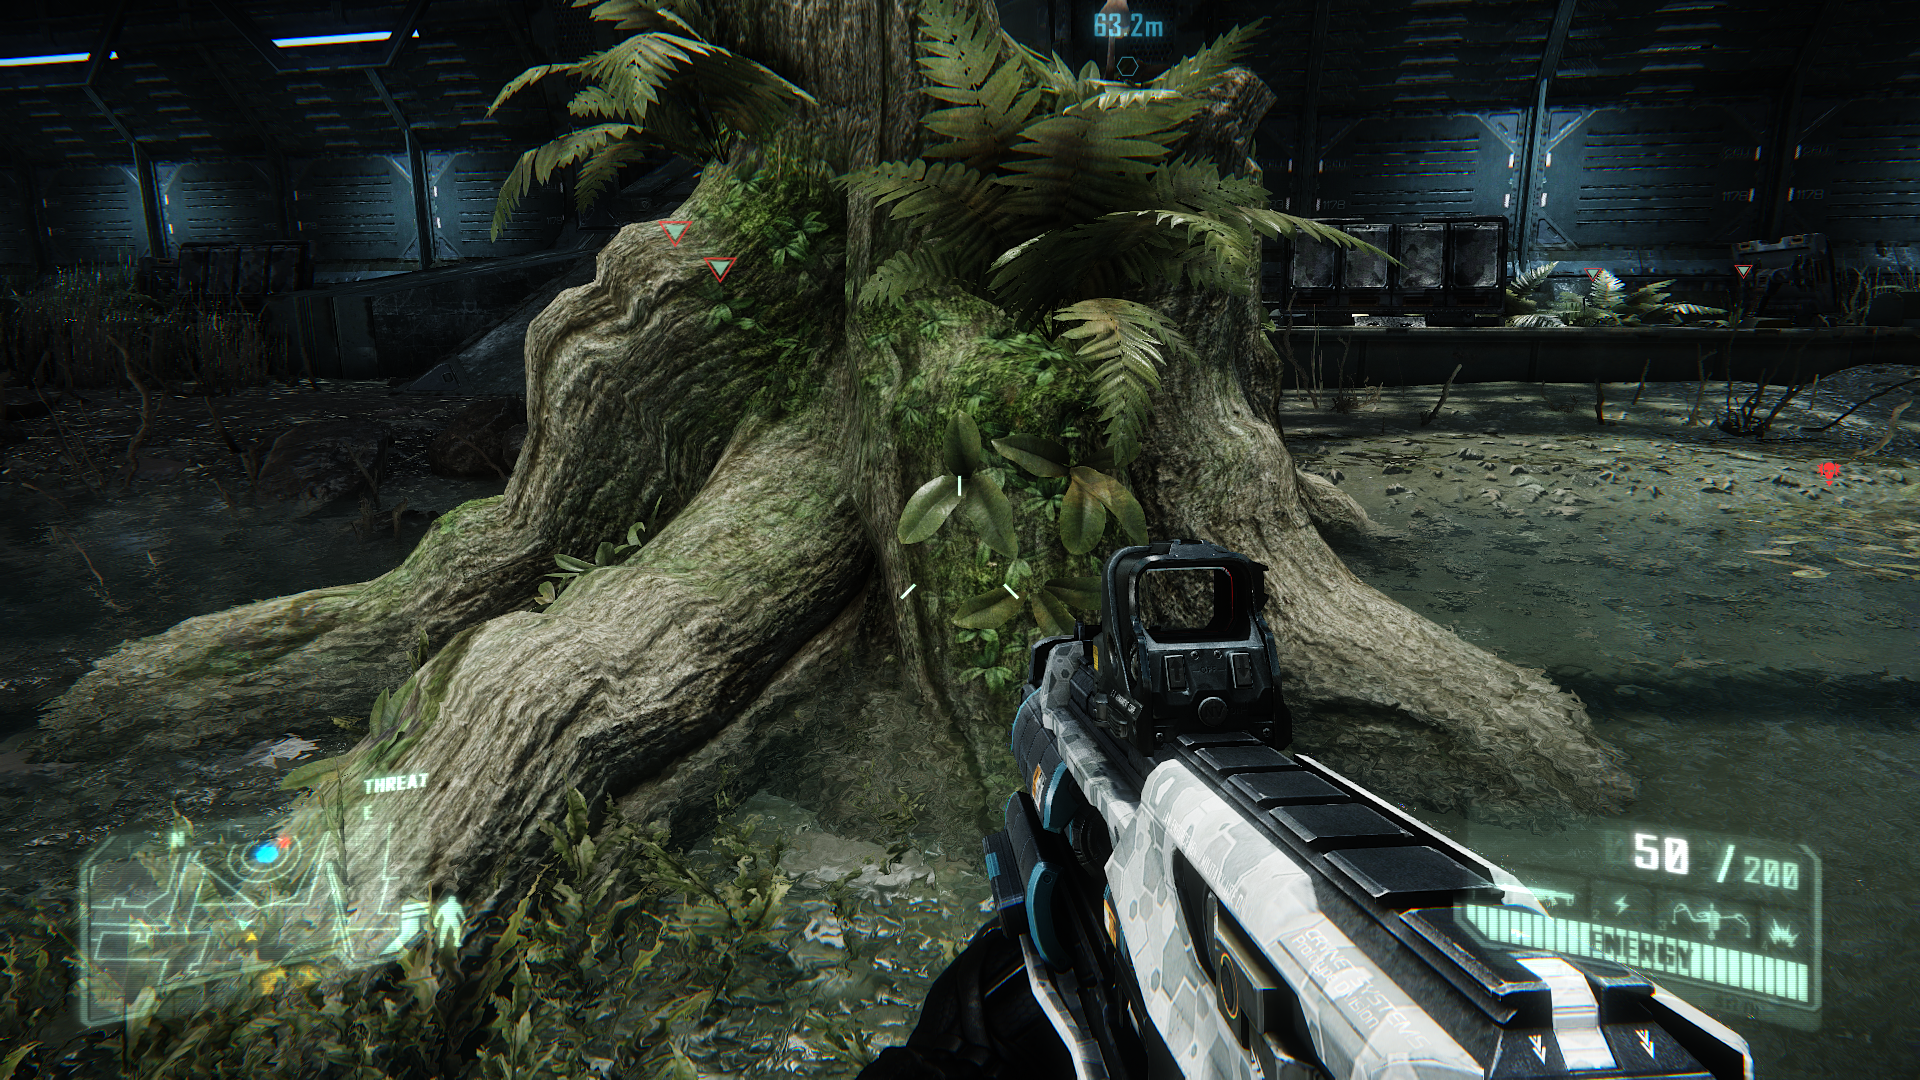
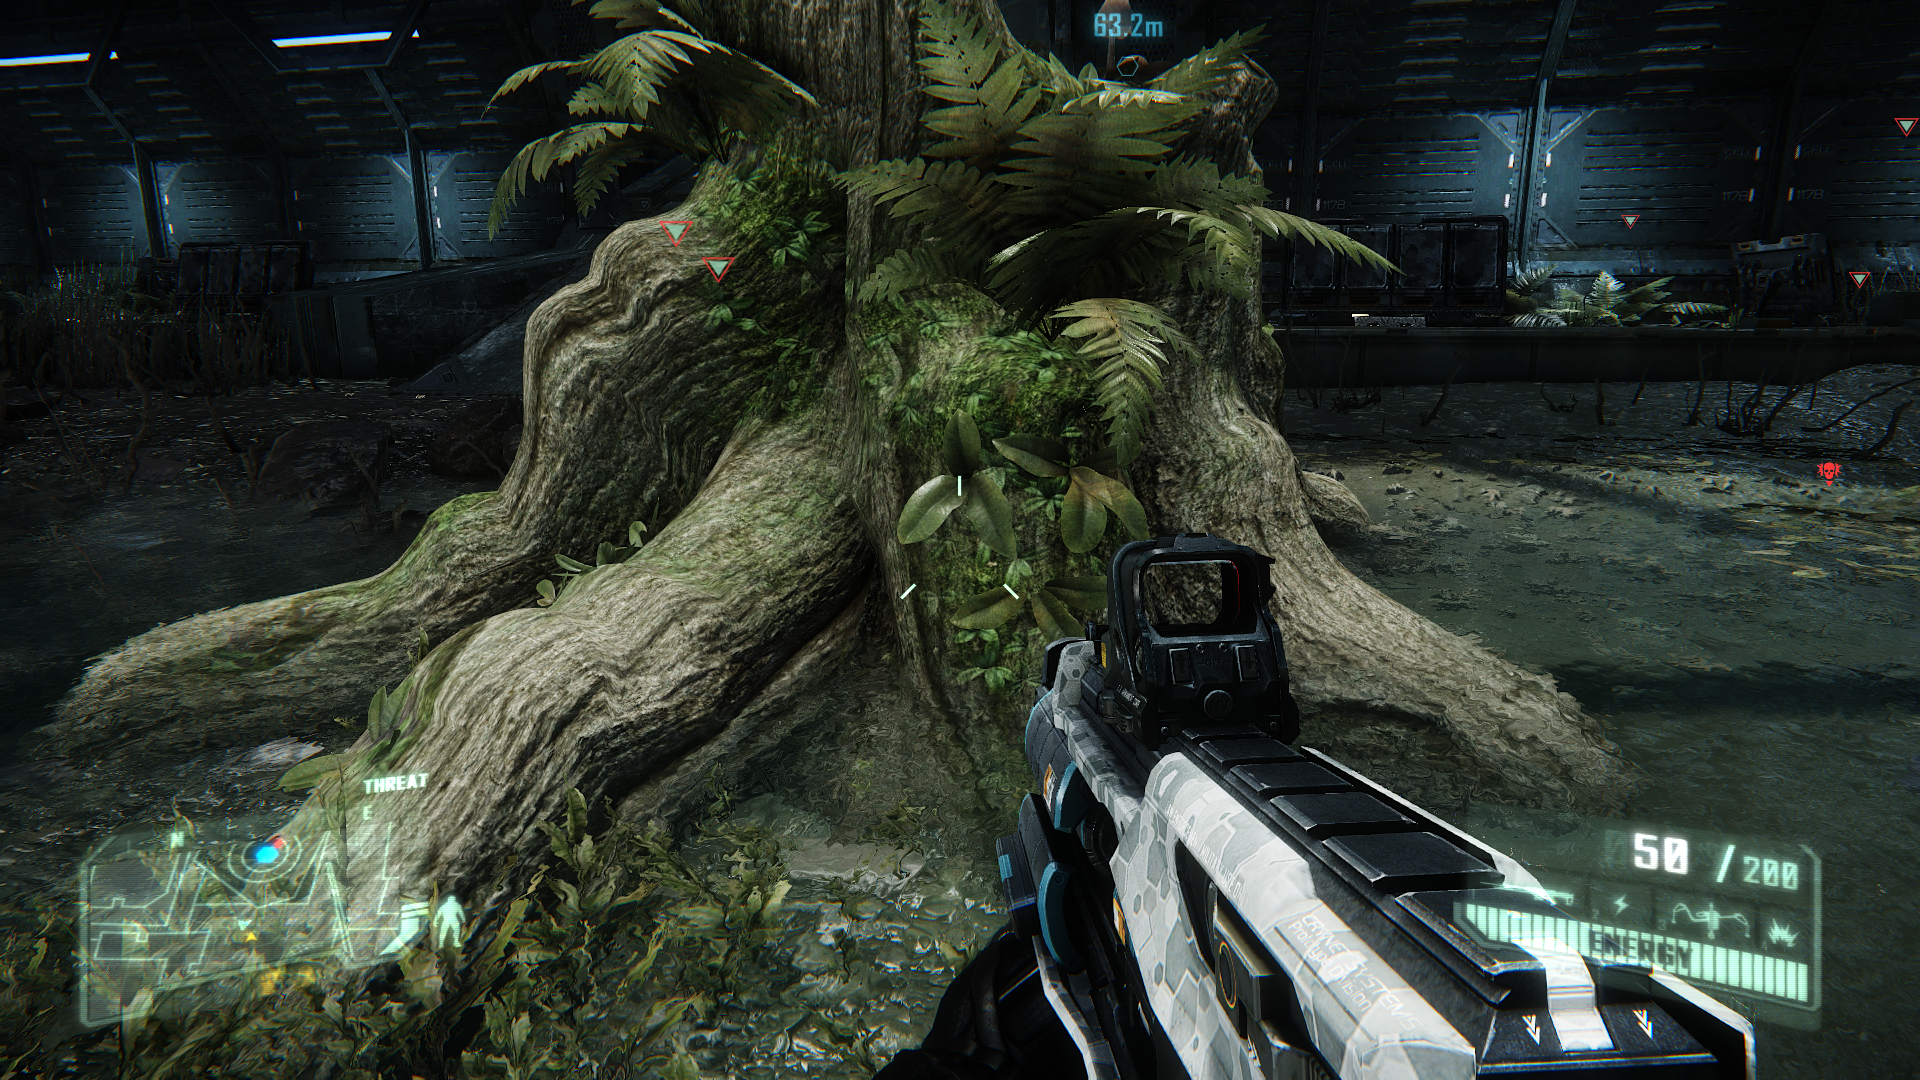
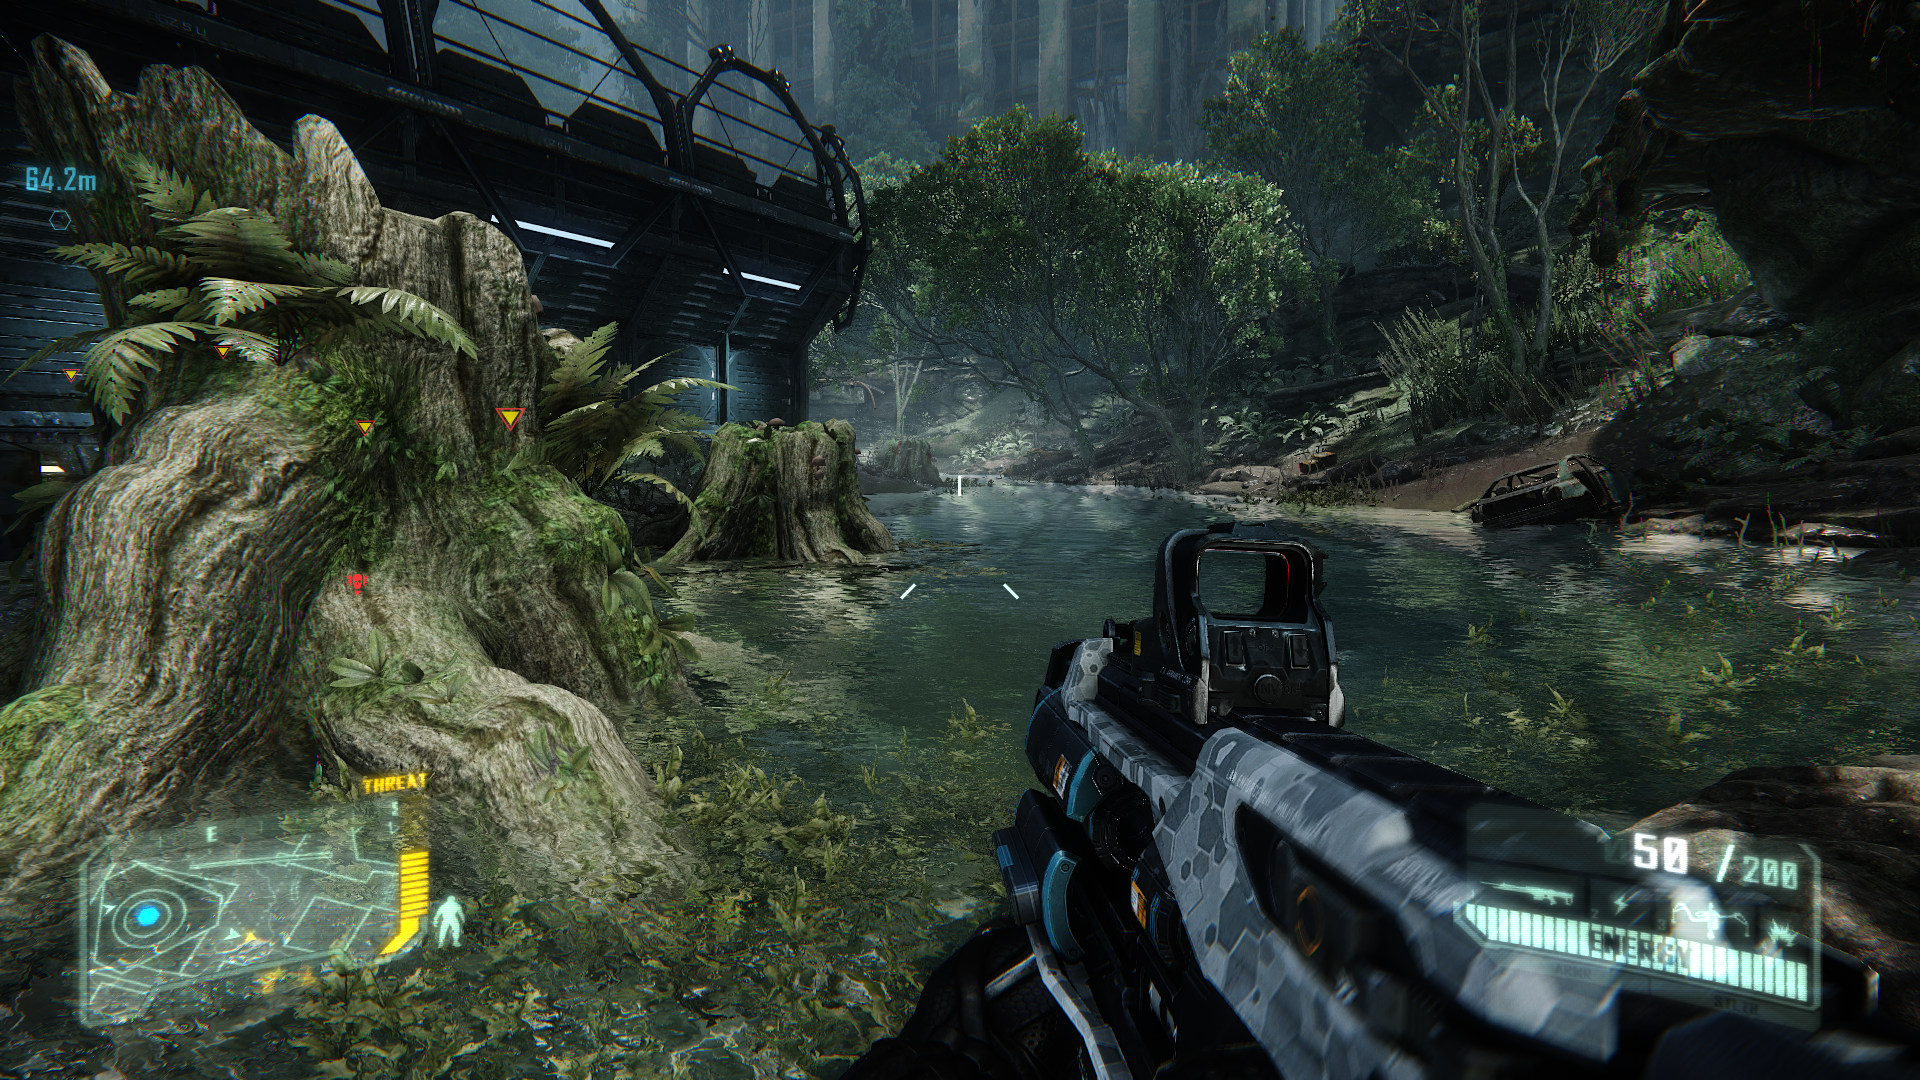
r_TessellationTriangleSize = 8
Tessellation increases the number of polygons used to render an object, and this command controls the overall size of these, which in turn affects object and character smoothness. The lower the value, the more complex a tessellation object will appear to be - i.e., rounder and smoother. The screenshots above show the transition on our tessellated tree, first at a value of = 20; then at = 8, whereby the tree becomes noticeable smoother in its curves; then finally at = 1, which shows minimal difference from = 8. The command is most useful for those wanting to keep tessellation enabled, but who are trying reduce its performance hit - increase this value to slightly reduce tessellation complexity.

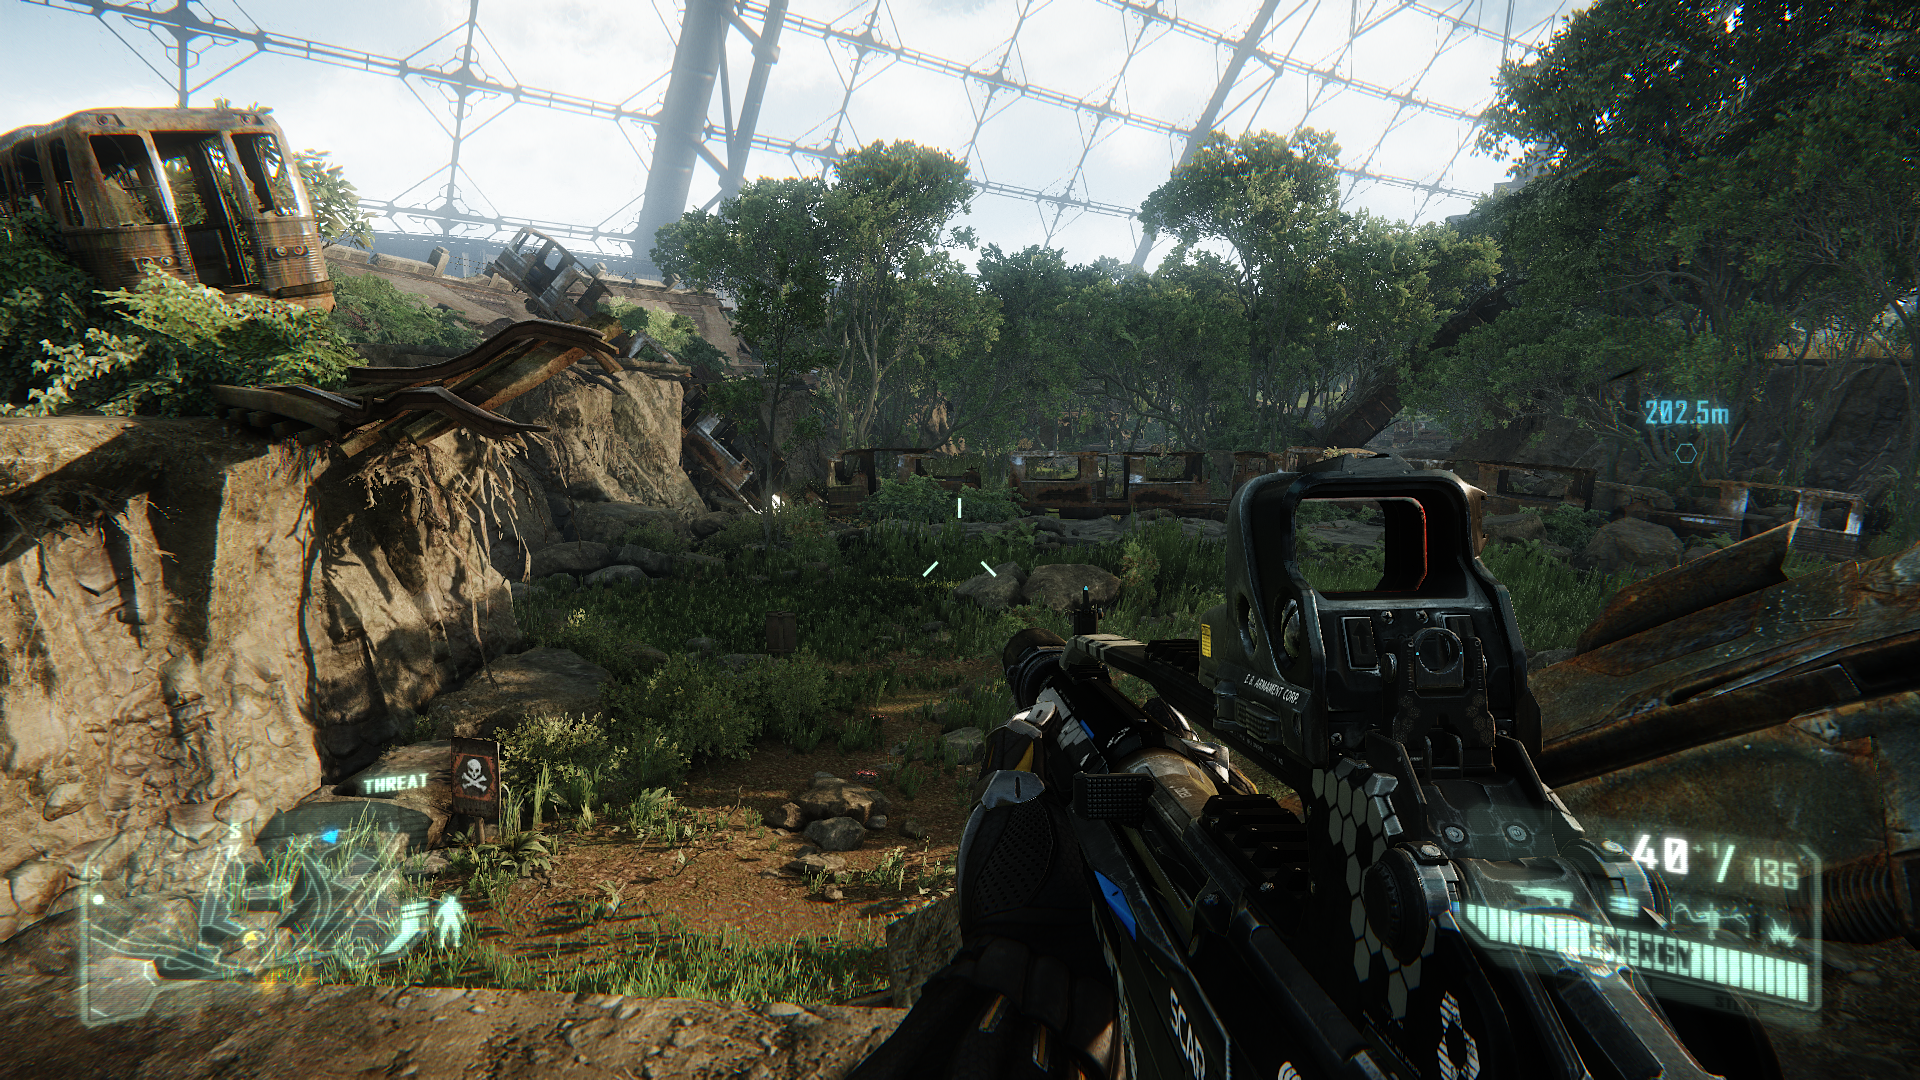
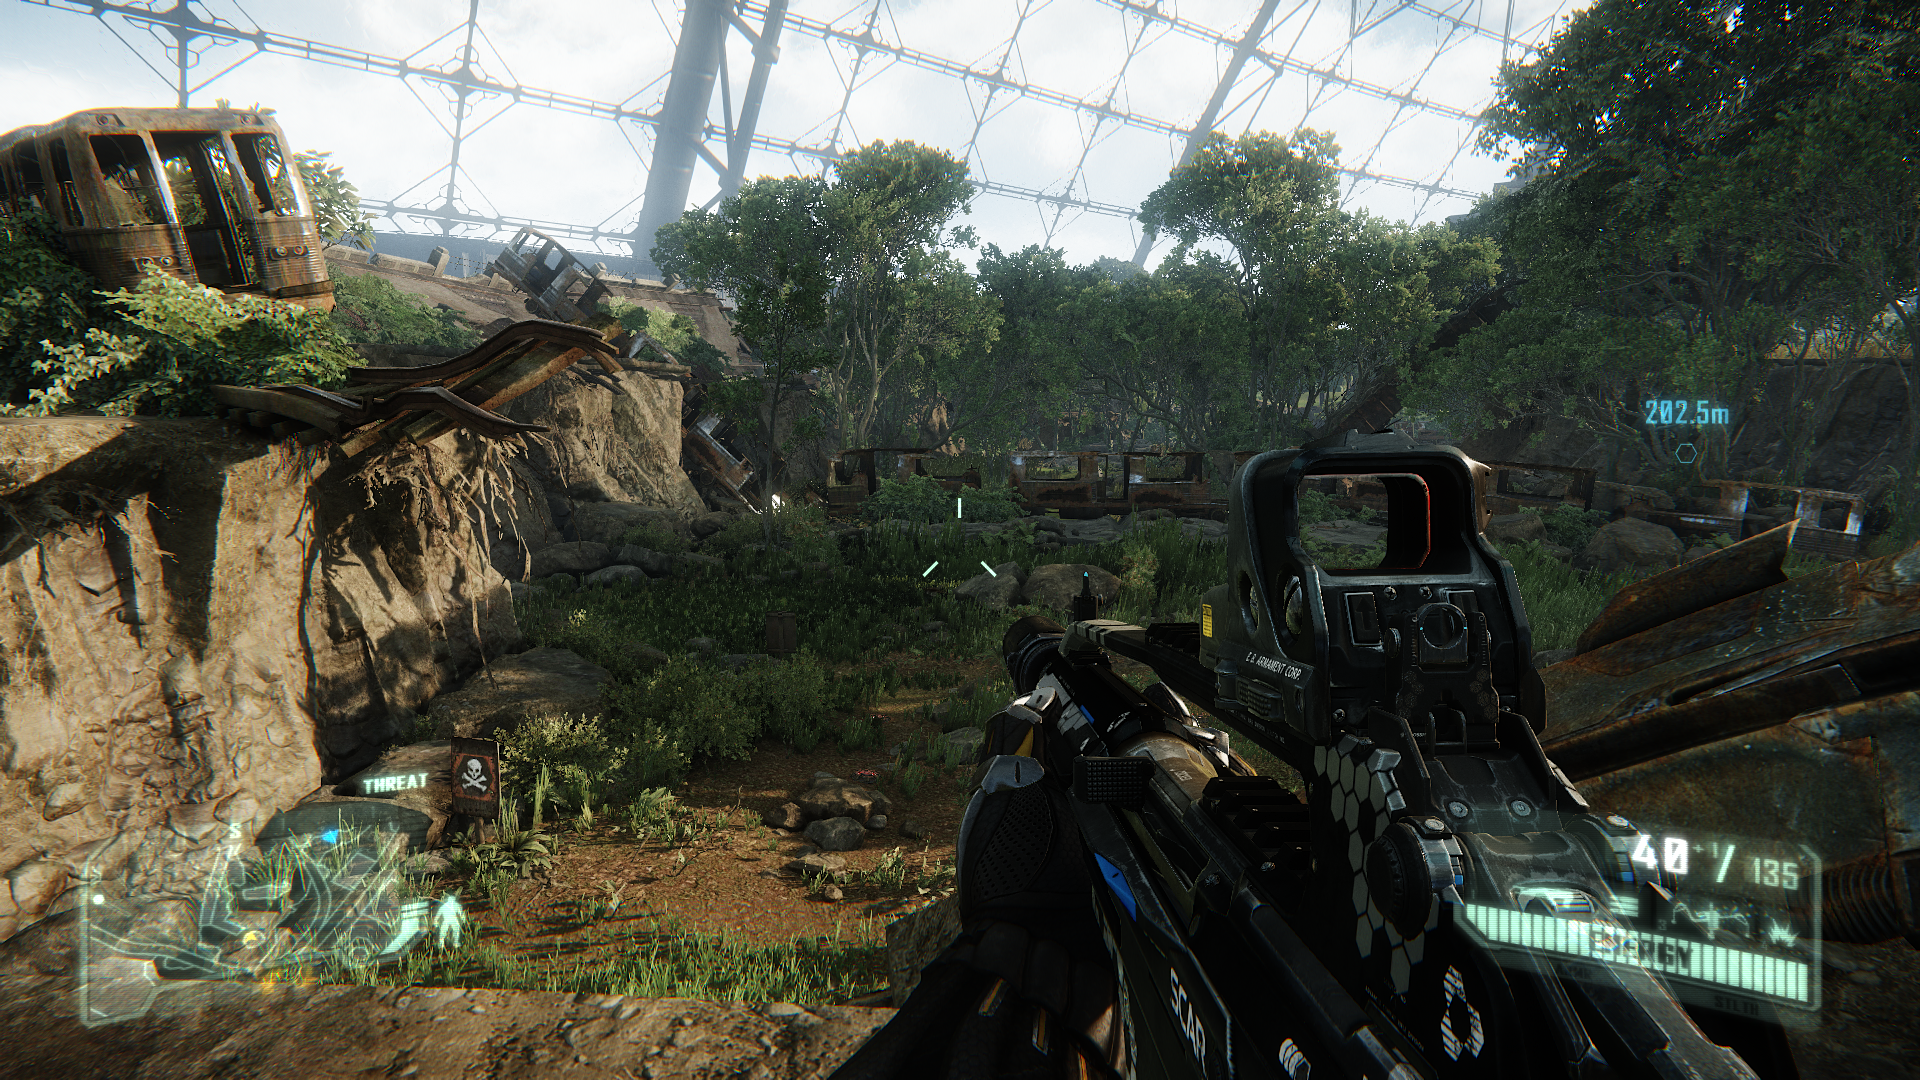
e_LodRatio = 20
This command controls the overall Level of Detail (LOD) for the game world. The value assigned to this command determines the distance beyond which objects start to lose detail. In other words, the higher you raise this value, the more detailed distance objects will be, at the cost of performance. The screenshots above show that as the value is raised from = 0 to = 40, there is a lot of added detail throughout the scene. Going from = 40 to = 200 on the other hand provides virtually no gain in this scene.
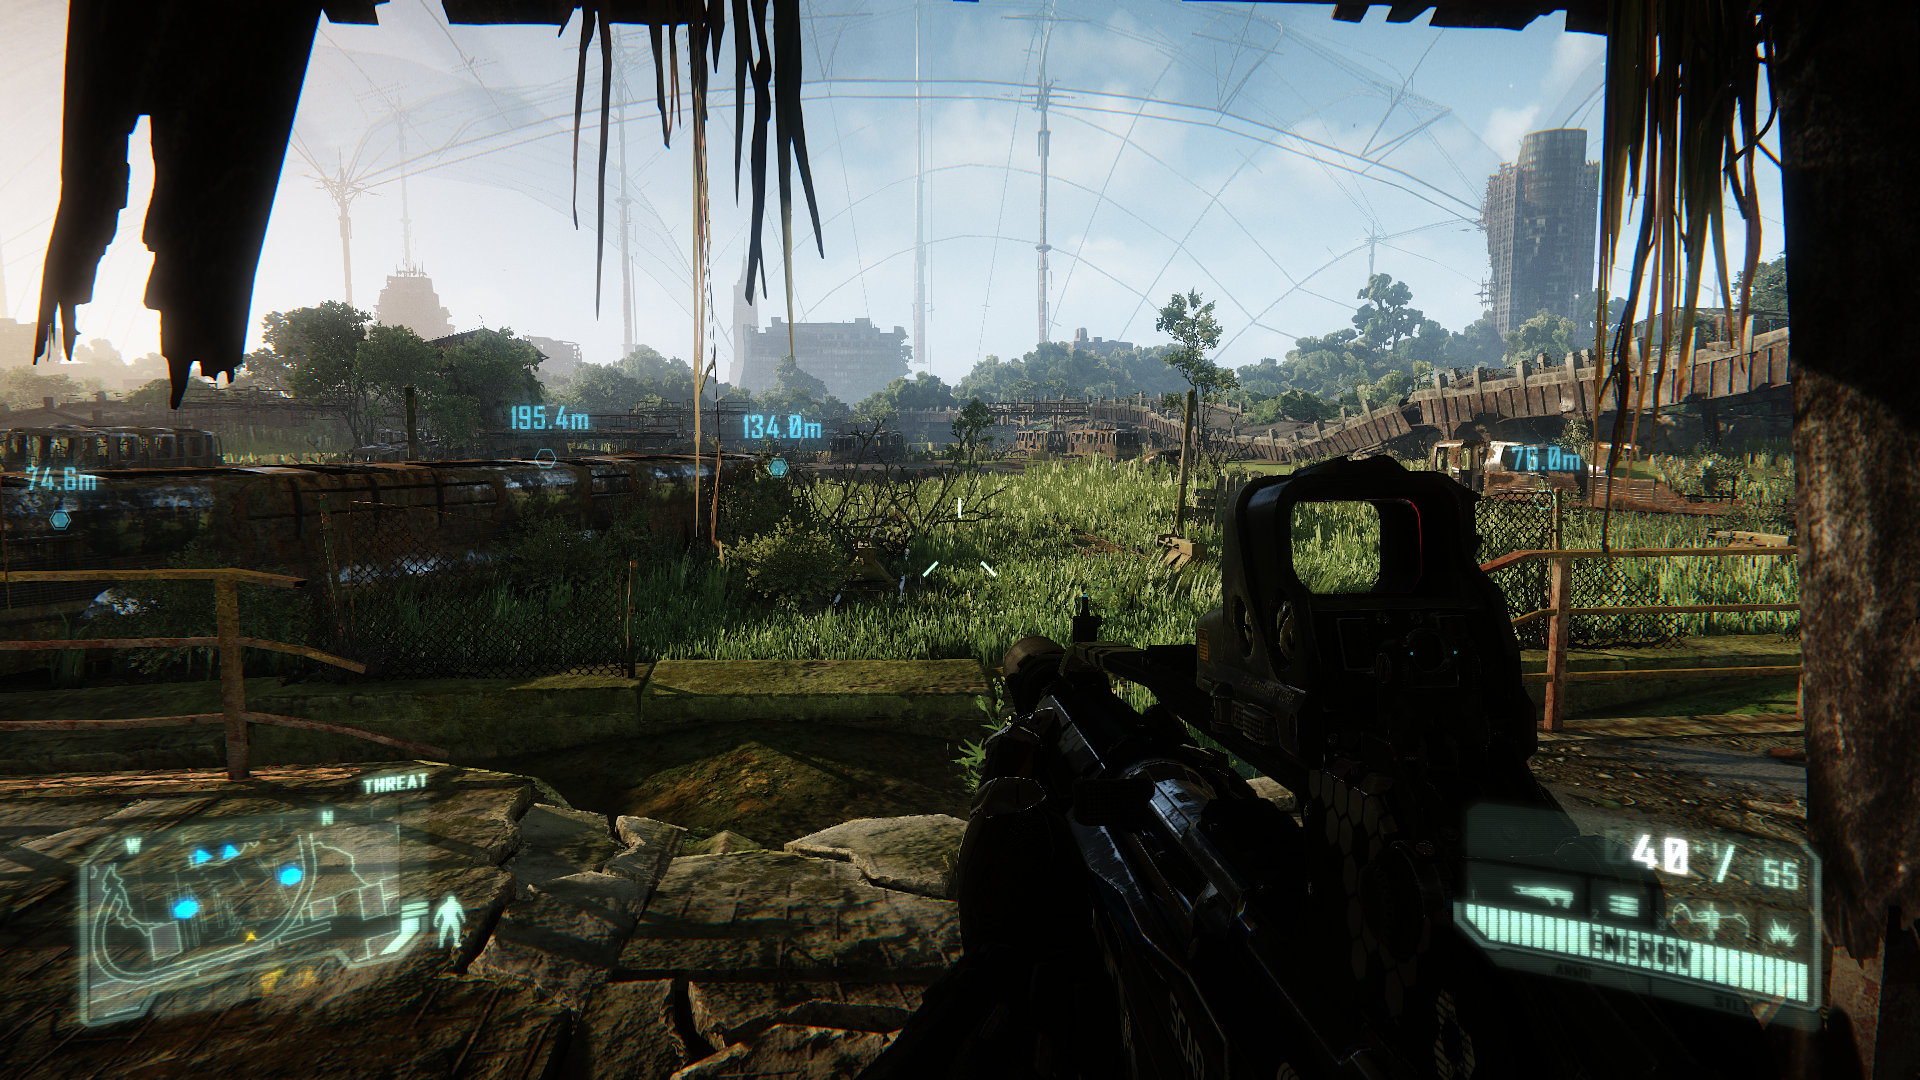
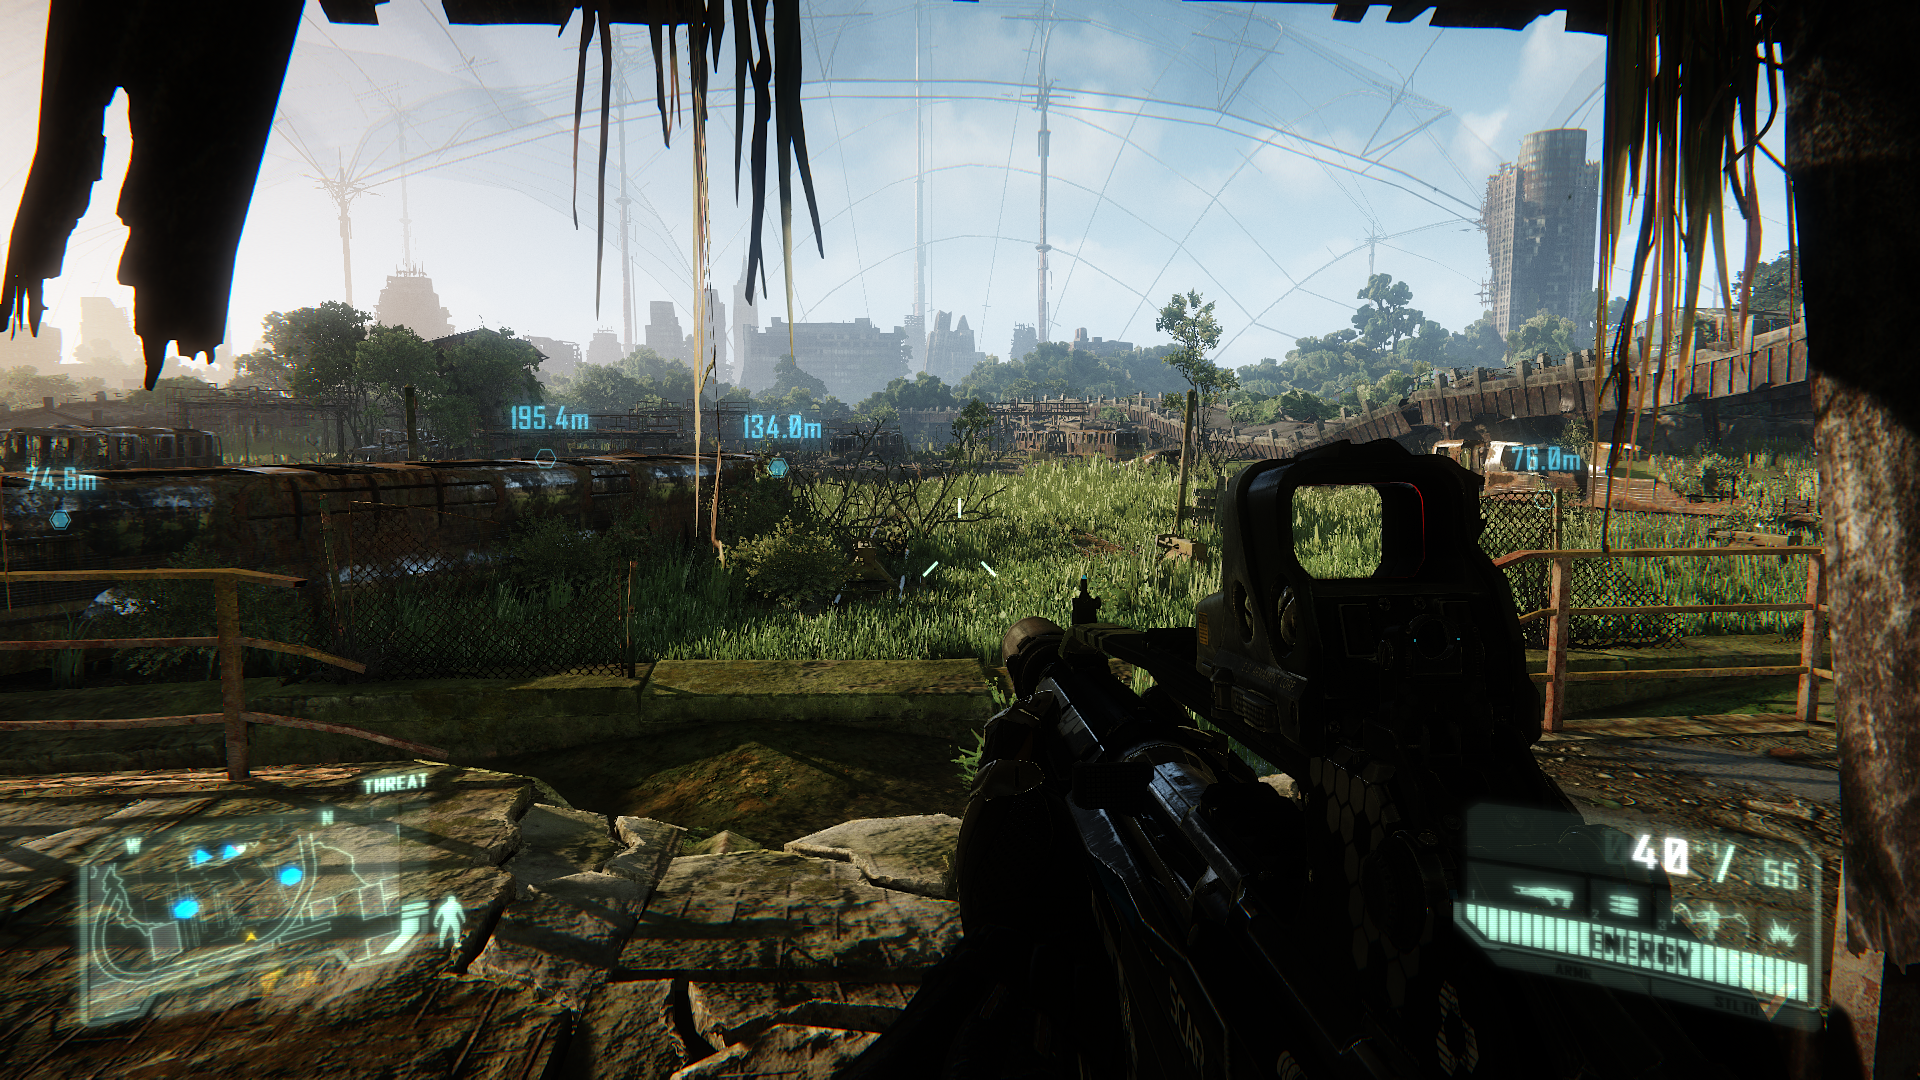
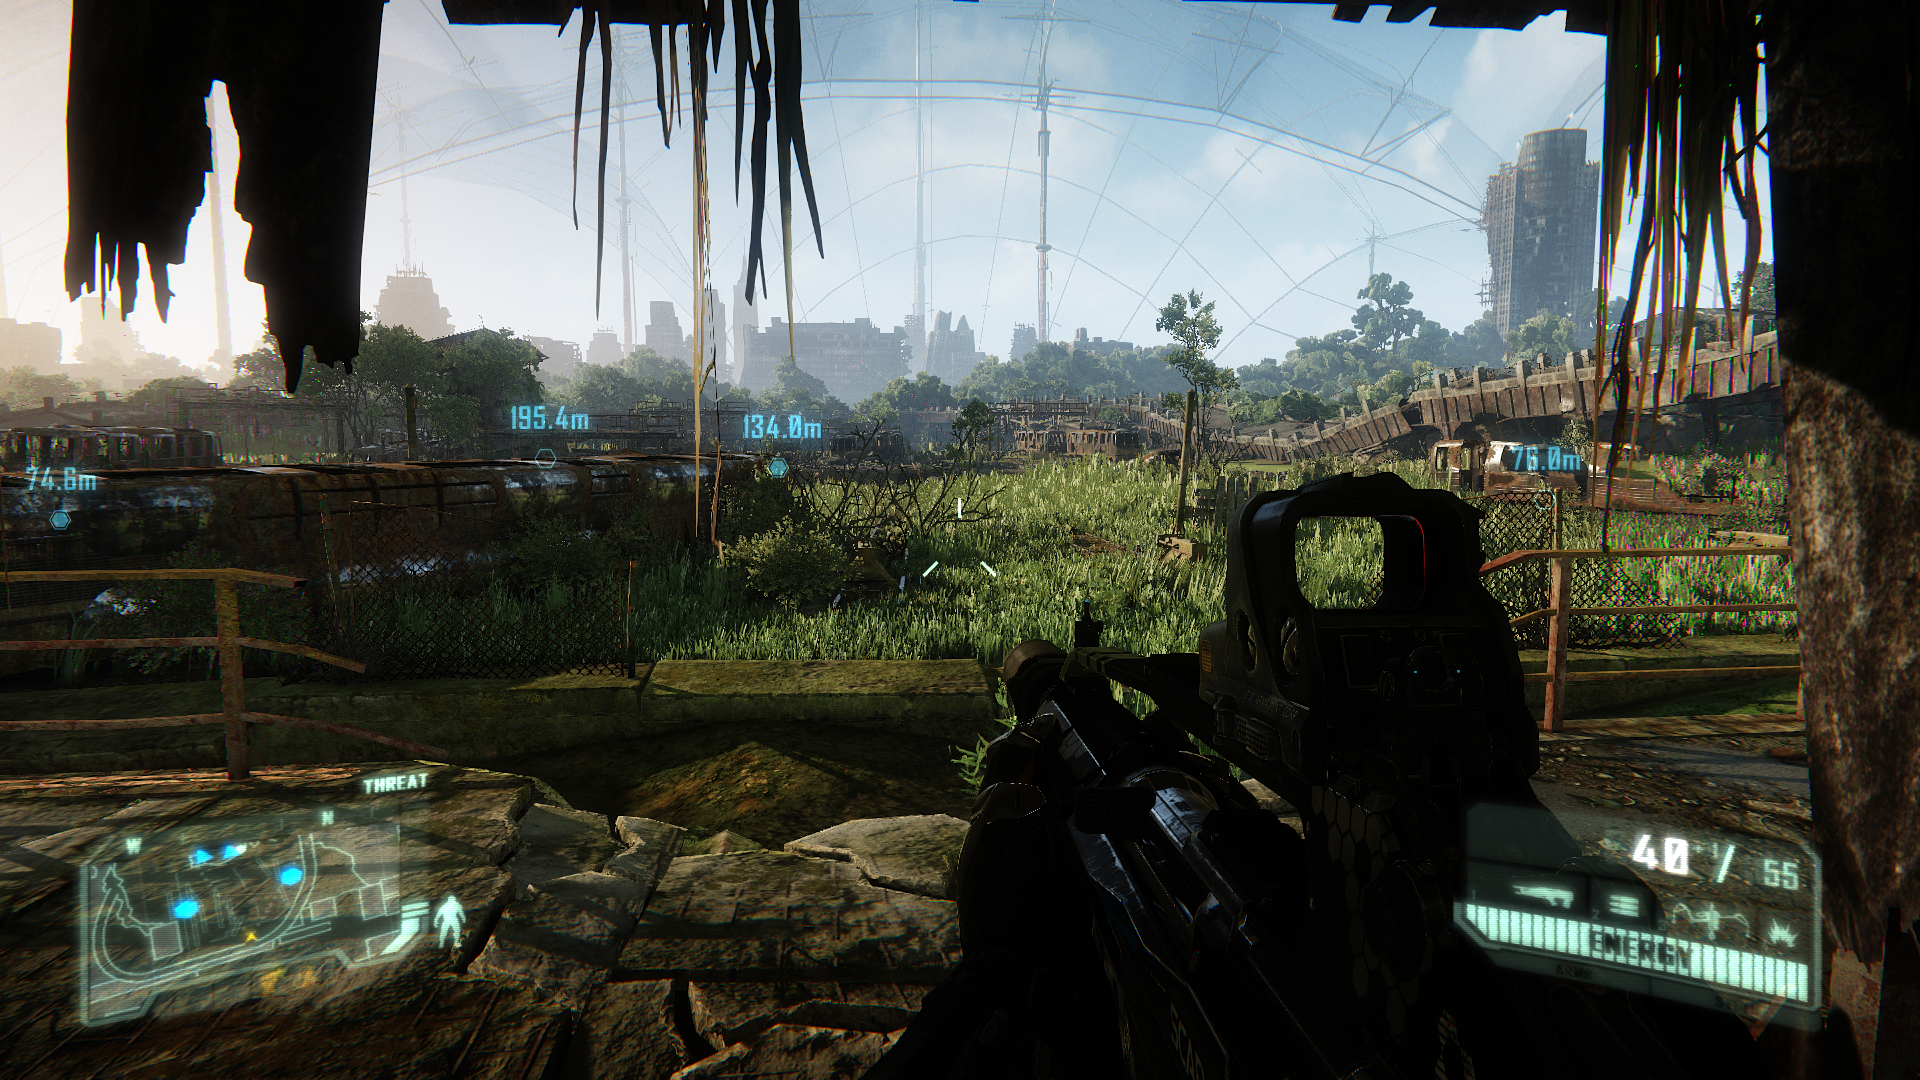

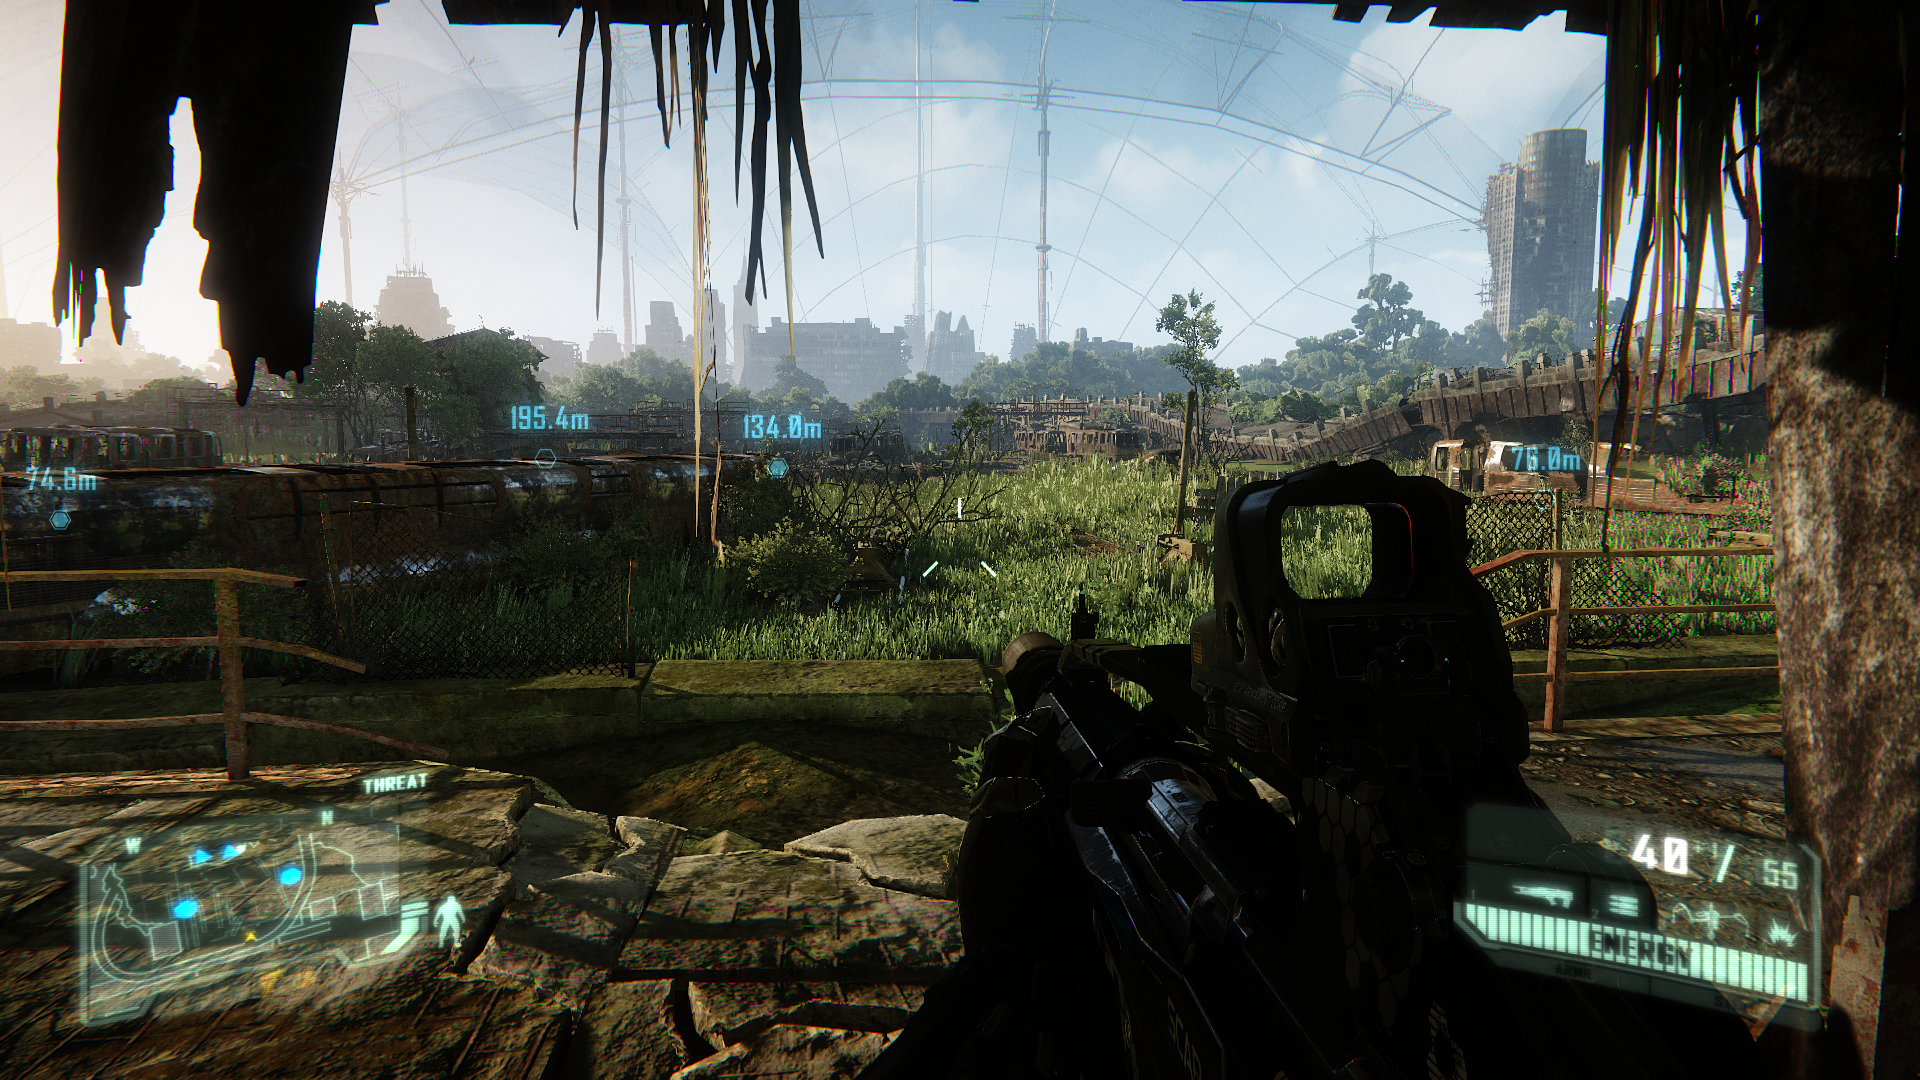
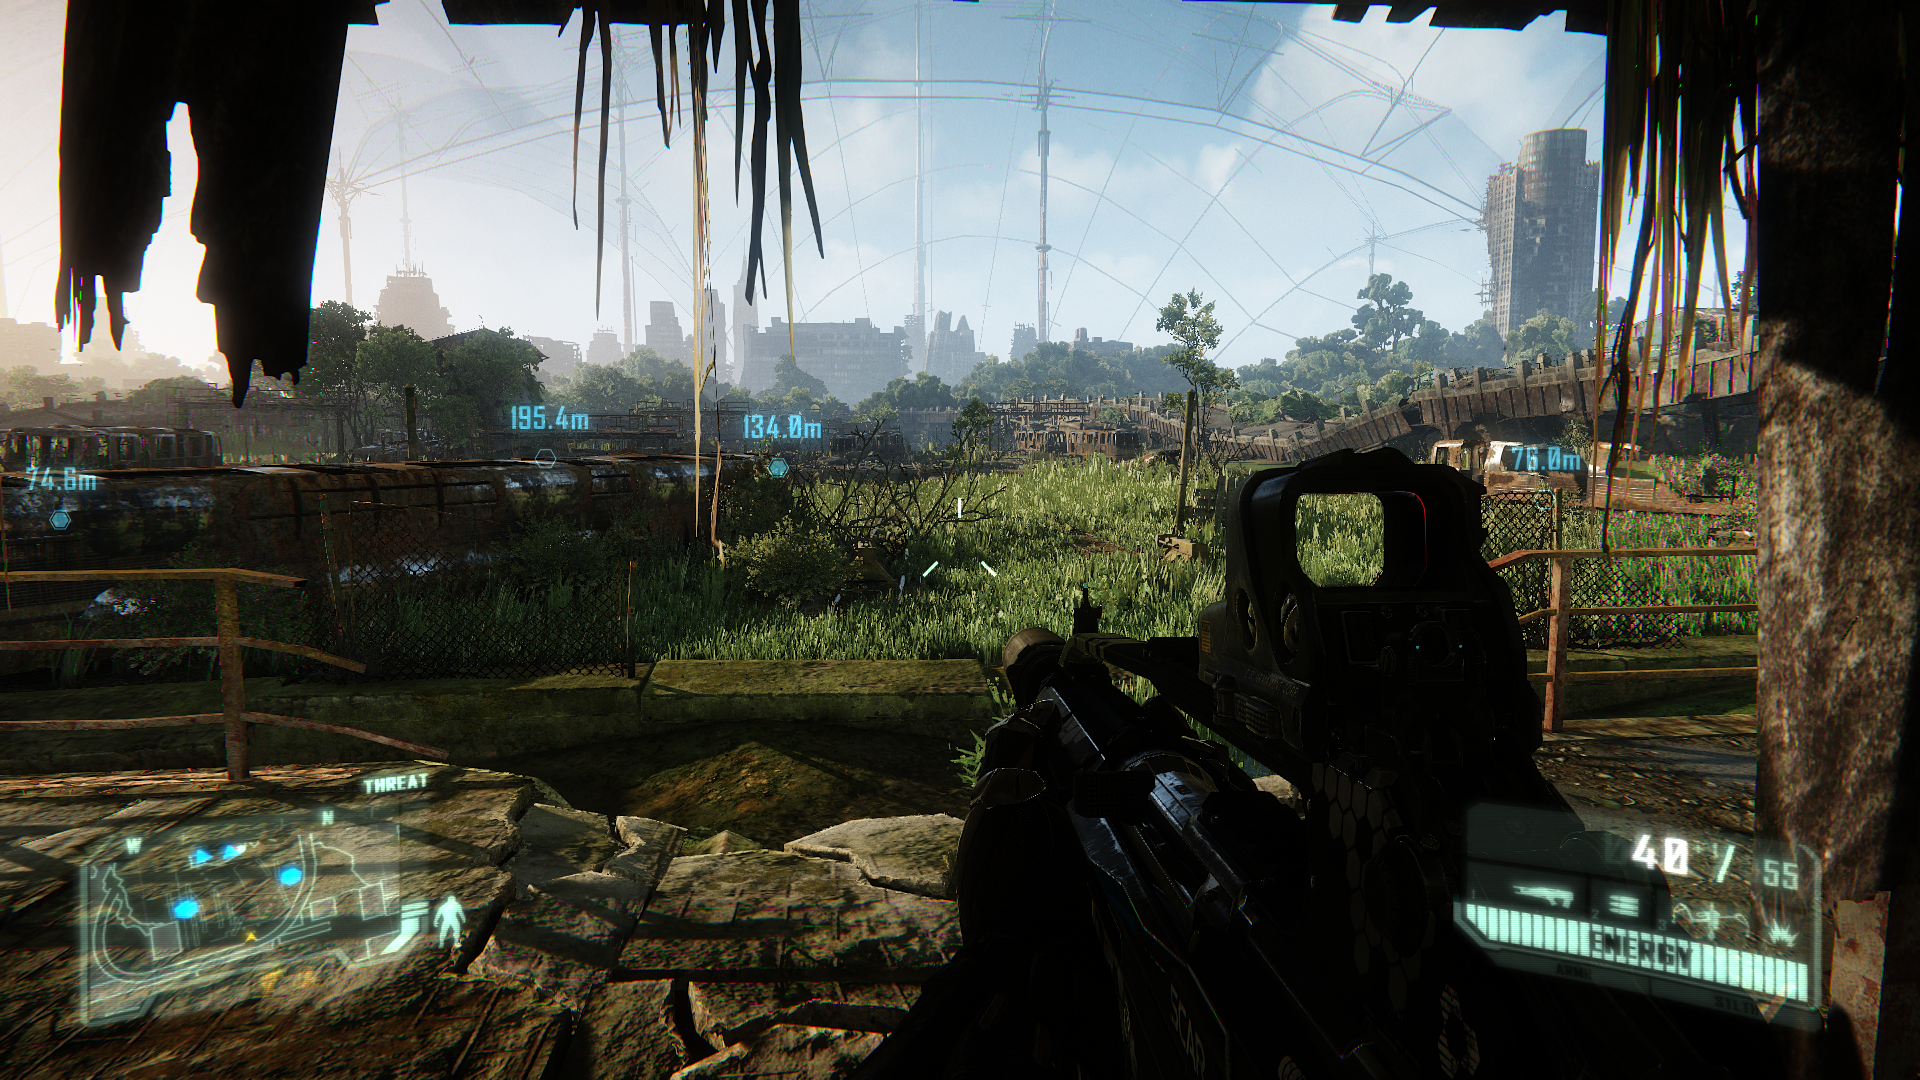
e_ViewDistRatio = 100
e_ViewDistRatioVegetation = 100
e_ViewDistRatioDetail = 100
The three commands above control the general distance out to which objects and vegetation are rendered in the game world. Unlike LOD, which strips details from objects as they get further away, the view distance commands above simply remove objects from view altogether once they go beyond the set distance. The first command above controls the general object view distance, as demonstrated in the first set of screenshots above. You can see that as the value is raised from the minimum of = 19 to = 100, the most obvious change is the addition of several distant buildings on the skyline. From = 100 to = 500, there is no visible change.
The second command relates to vegetation view distance, and in the second set of screenshots, you can see that in the same scene, as the value is raised from the minimum of = 19 to = 100, a tree in the distance and a bush on the far right appear. From = 100 to = 500, once again there is no discernible difference.
The third command above relates to the view distance for objects that are specifically marked as being "detail" objects. The command functions similar to the others, and has a minimum of = 19 and a maximum of = 500. Upon testing it in several scenes however, no difference at all was noted, so no screenshot comparison is provided. This means that in practice, only a few specific objects in the game world are affected by it.
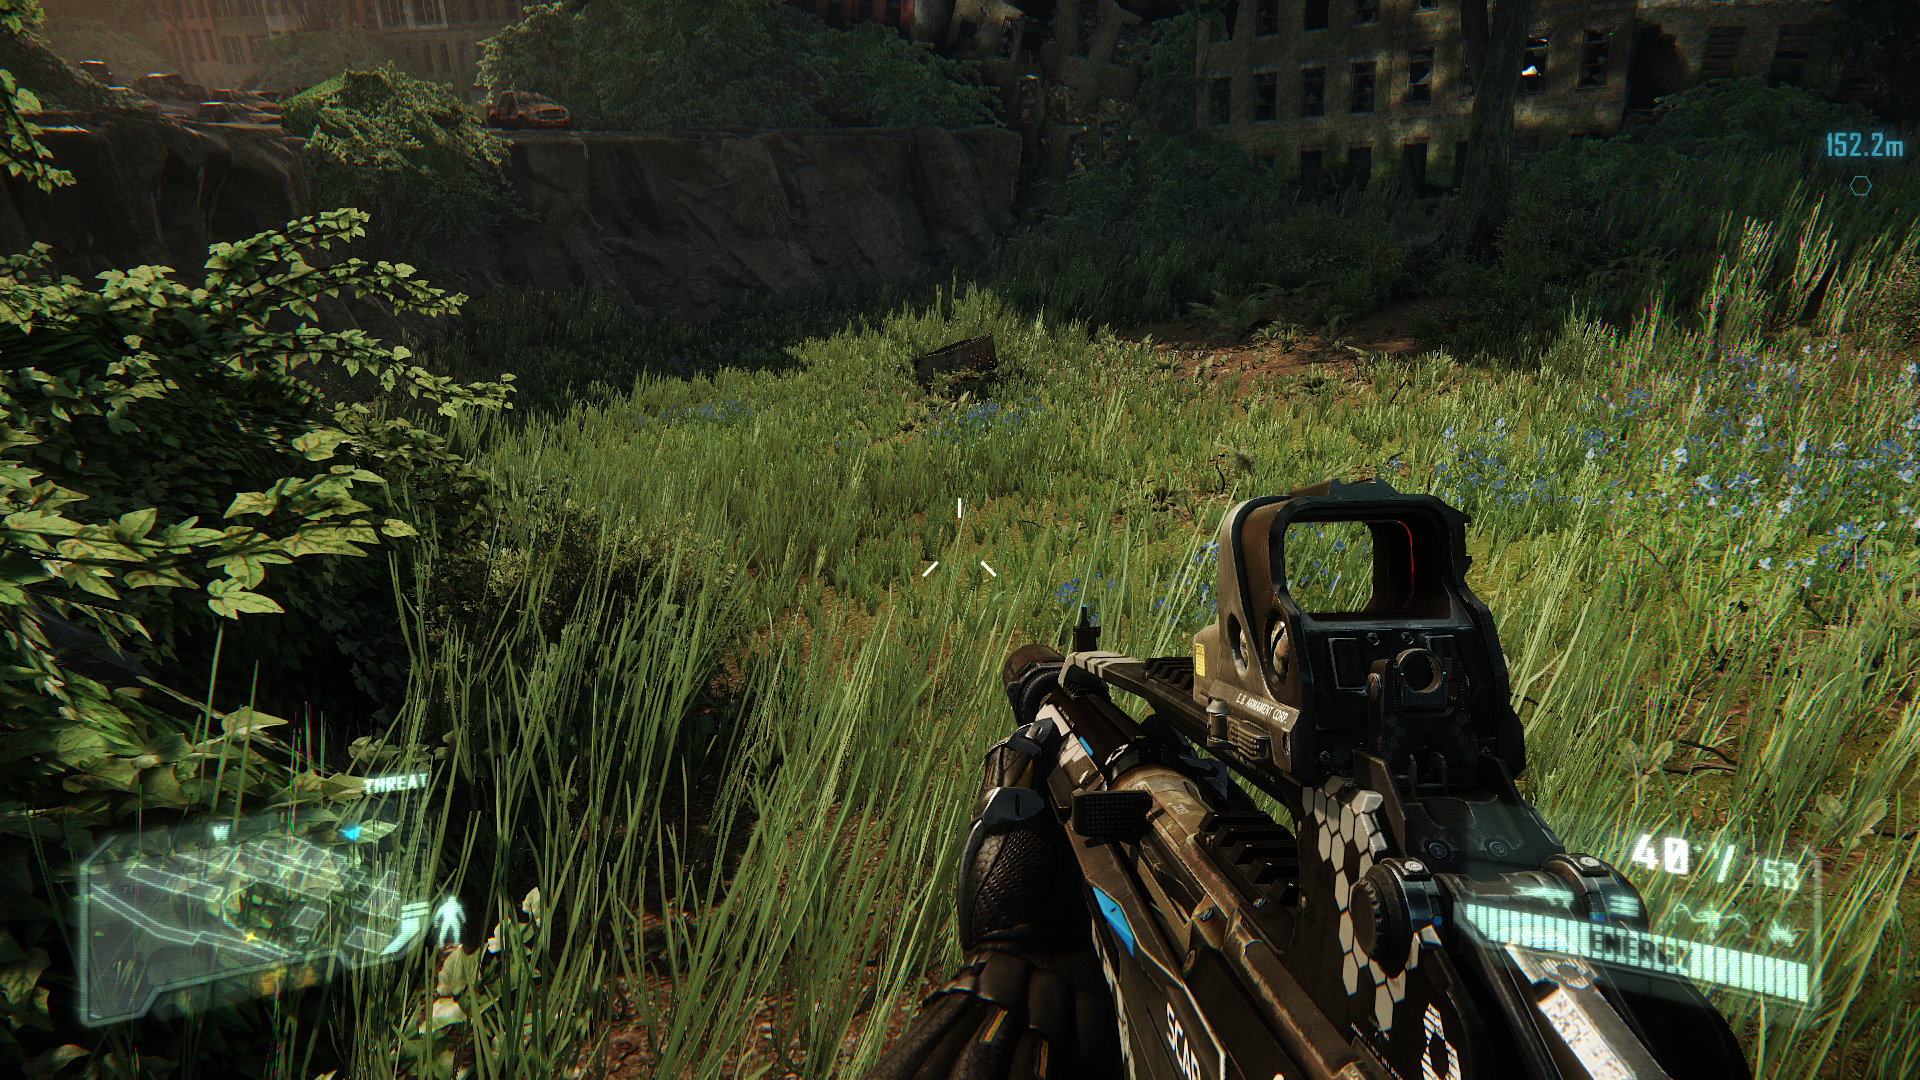
e_MergedMeshesInstanceDist = 8.0
The command above relates specifically to the distance at which animated grass will be drawn. As the screenshots above show, it also determines the amount of grass shown as well. At a value of = 0, the grass is sparse, and during gameplay, also displays odd animation, sometimes appearing as though it is moving in slow motion. At a value of = 8 the grass thickens, and all of the visible grass animates smoothly. A value of = 15 is redundant in this case as there is no change noted, but in very large outdoor areas, a subtle difference in distant grass animation can be seen.
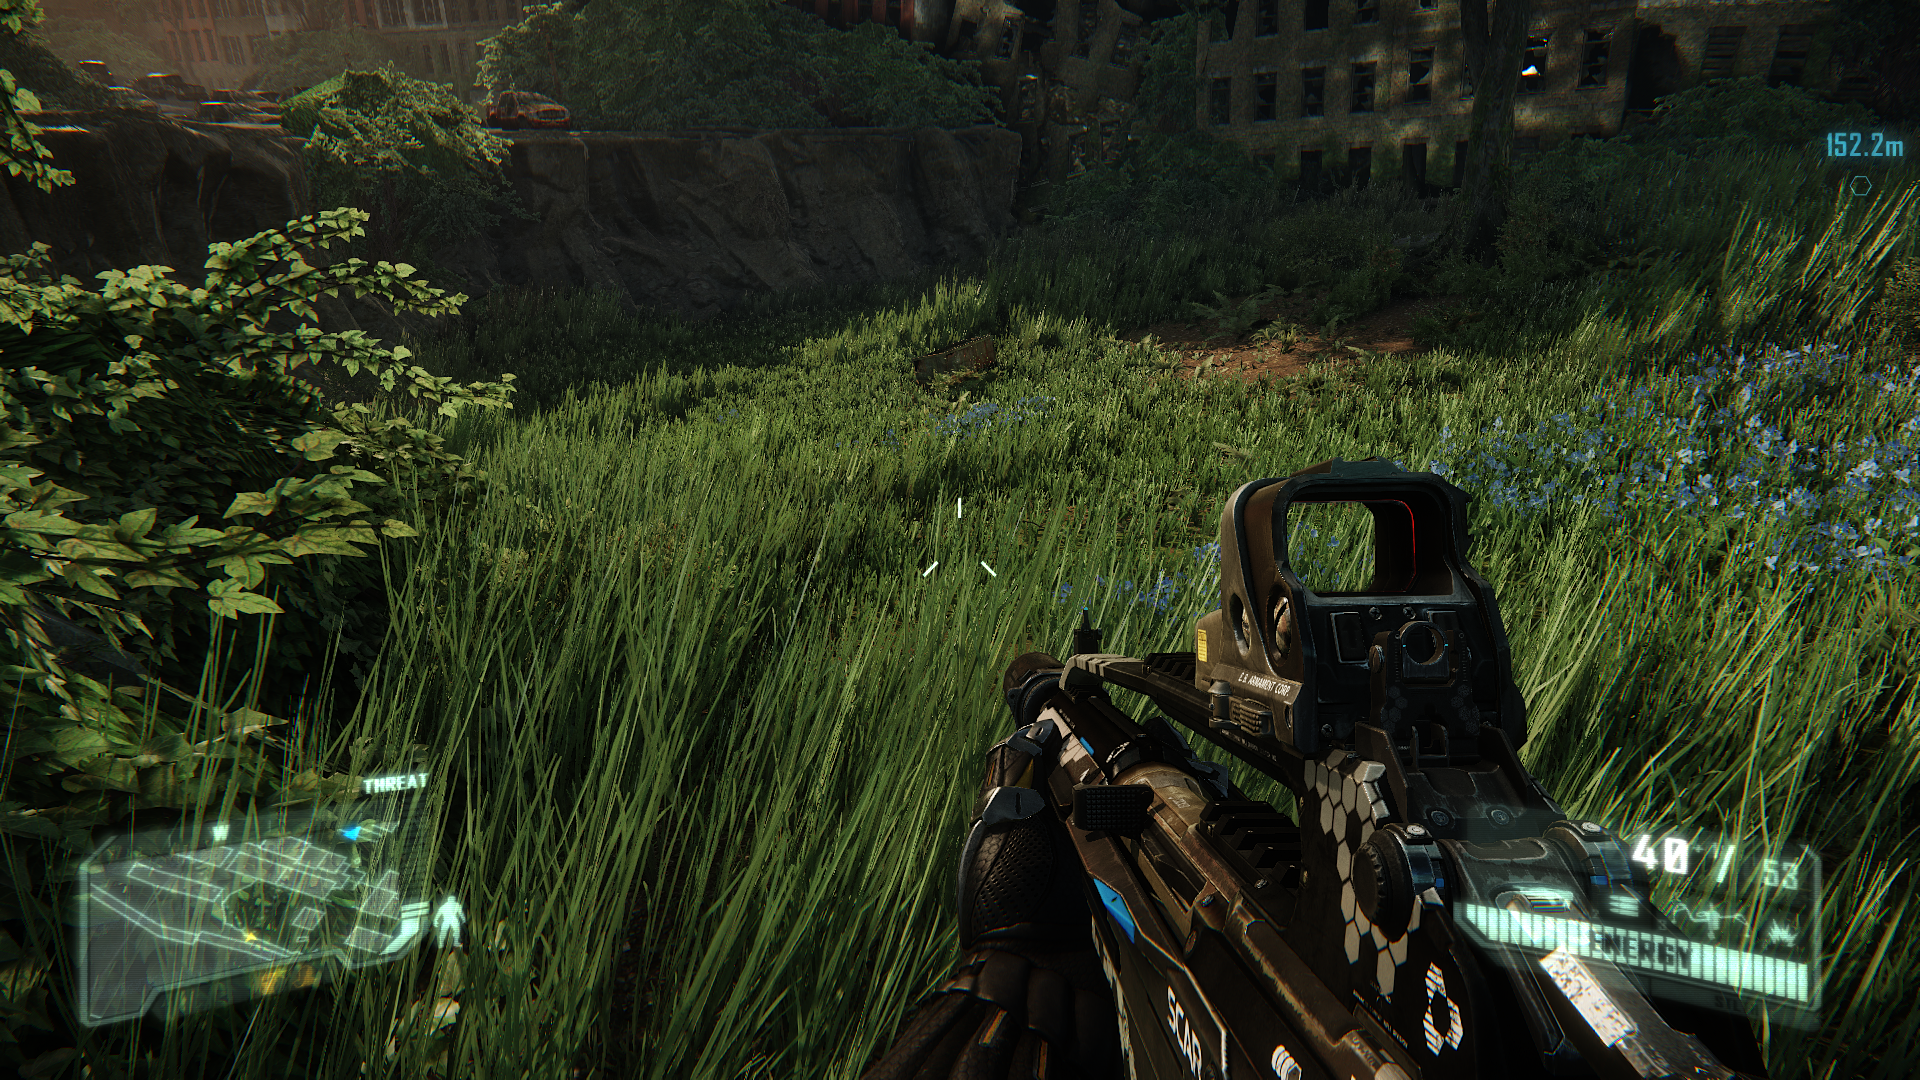
e_MergedMeshesViewDistRatio = 50
This command controls the distance at which patches of interactive grass are shown. In testing it in several areas, using values ranging from = 0 to = 200, no change was noted to grass animation or visibility.
The commands above can all be tested in the console, and should be placed in Autoexec.cfg.
Particles
e_ParticlesForceSoftParticles = 1
This command determines whether soft particles are on (= 1) or off (= 0). With soft particles disabled, wherever particle effects, such as smoke or dust, meet hard surfaces, such as a brick wall, you may see hard or poorly blended edges. Enabling soft particles makes particle effects blend more realistically with surrounding objects, at the cost of some performance. See the screenshots showing this effect under the Particles setting earlier in this guide.
e_ParticlesObjectCollisions = 2
This command determines whether particle effects, such as sparks and debris, interact with no objects in the game world (= 0), only static objects (= 1), or both static and dynamic objects (= 2). One example of the noticeable difference this setting makes is in the behavior of small chunks of debris kicked up by bullet impacts and explosions on the ground: at a setting of 0 for this cvar, such debris will simply sink through the ground and not stay on it; at a setting of 1, the debris will sit on the ground; at a setting of 2, the debris will also bounce off any moving objects or characters around it as well. Reducing this setting can improve performance at the cost of realism.
e_ParticlesMotionBlur = 2
This command controls the motion blur effect that can appear on certain moving particles. A value of = 0 disables the effect; a value of = 1 enables it; and = 2 will force it, even on particles that may not support it. Note that the motion blur effect seen from explosions is a radial blur effect that is controlled by a separate command.
All three command variables can be tested in the console, and all can be added to Autoexec.cfg.
That concludes the Advanced Tweaking section. As you can see, Crysis 3 comes equipped with a lot of advanced customization options which allow you to arrive at a suitable balance of performance and image quality. Take the time to experiment with these commands to see the differences for yourself, and find values that best suit your system. Remember that you can add as many commands as you wish to the Autoexec.cfg or System.cfg file as relevant, placing each one on a separate line. To undo any command, delete it from the cfg file.
|
|