
Crysis 3 Tweak Guide
[Page 10] Water & Anisotropic Filtering
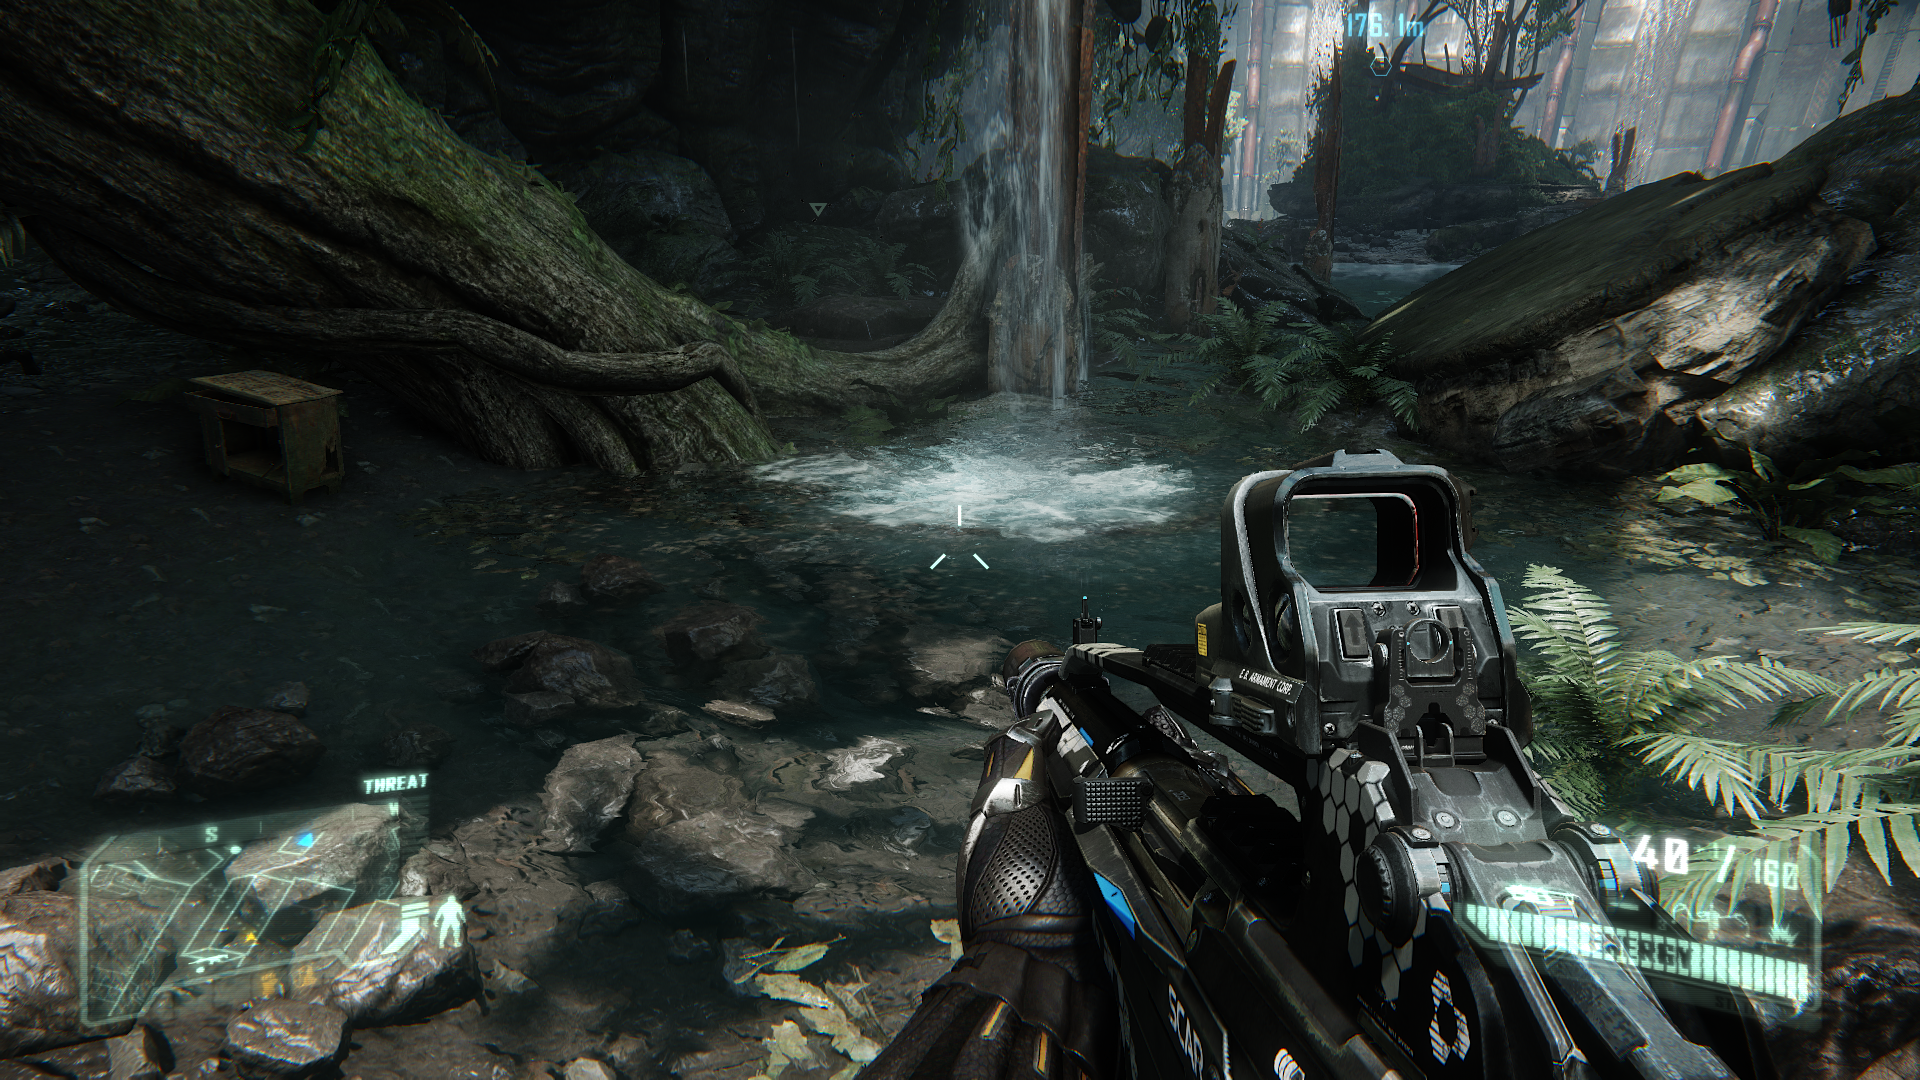
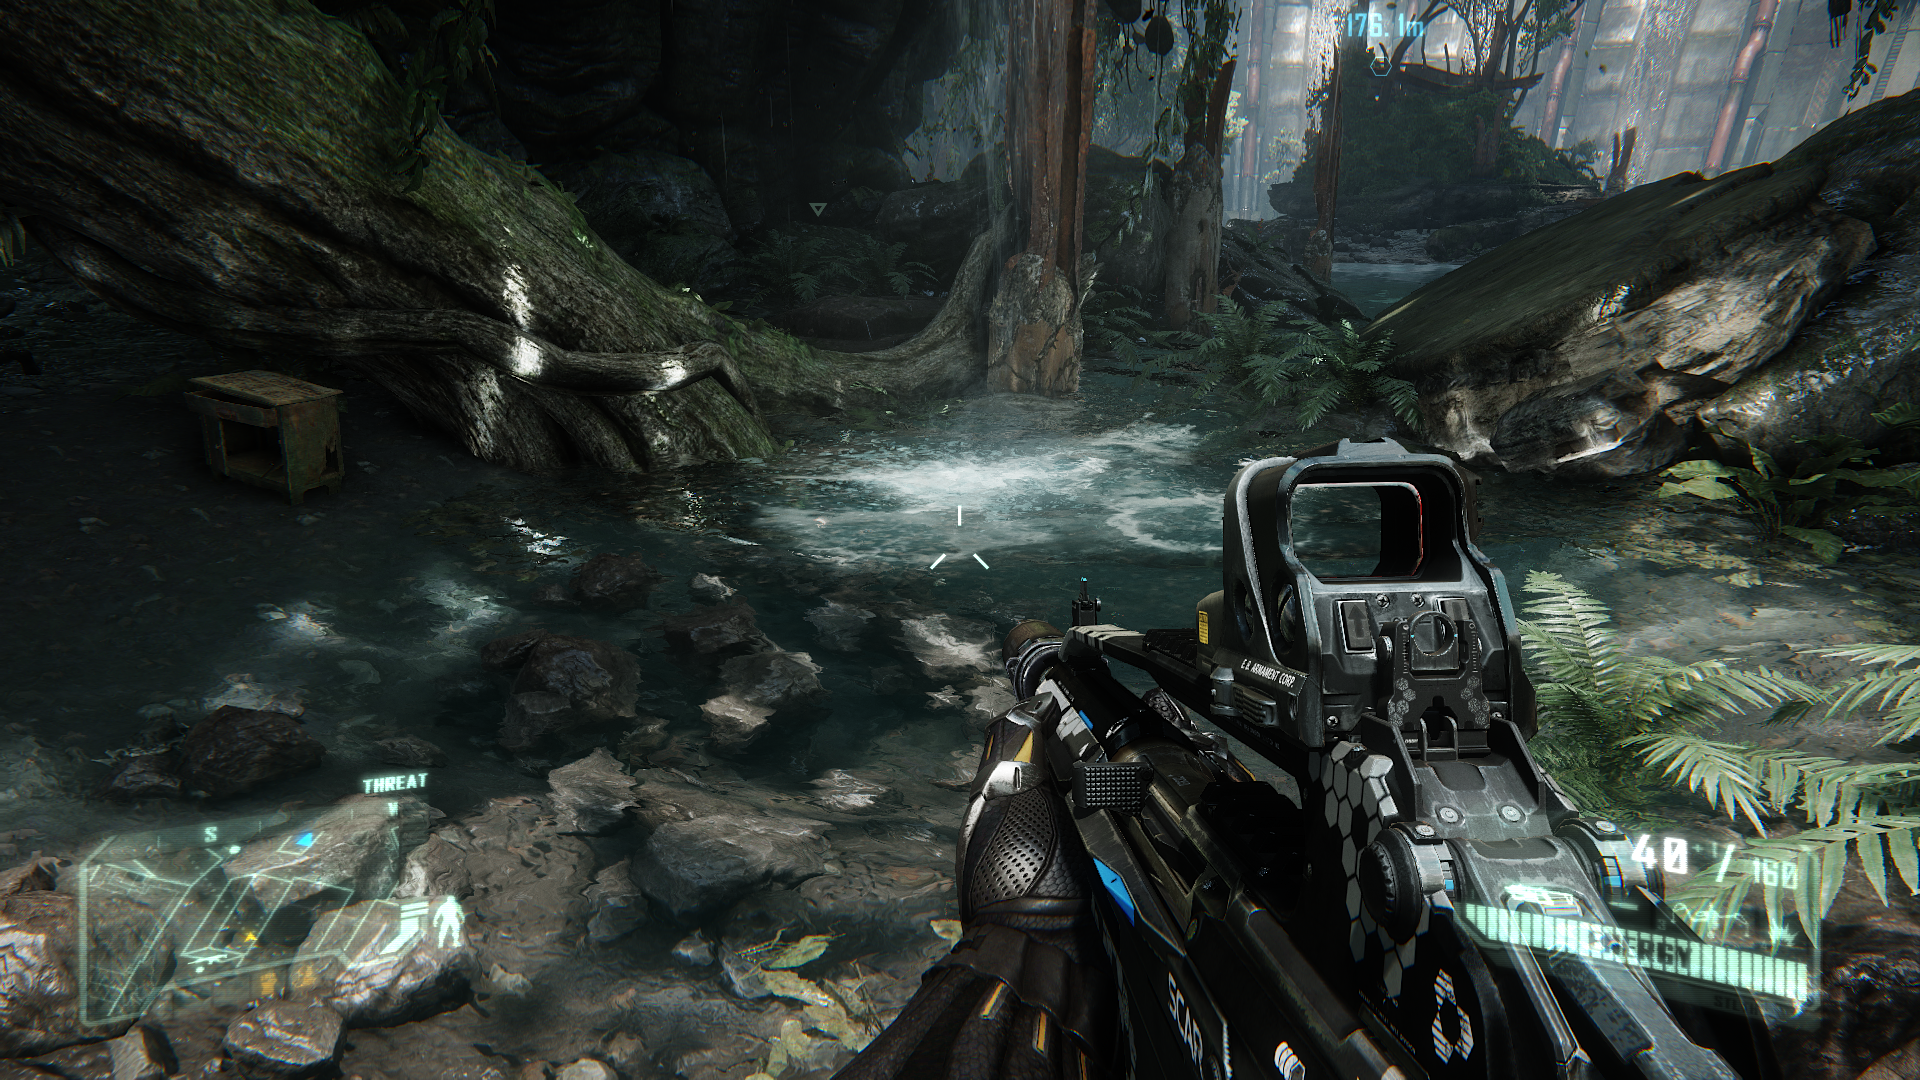
Water: As the name suggests, the Water setting affects the appearance of bodies of water in Crysis 3. The available options for this setting are Low, Medium, High and Very High. As the setting is raised, water behaves more realistically at the cost of performance. The key features of this setting are:
The screenshots above show a medium-sized outdoor body of water, and at all four levels of the Water setting, the difference is hard to tell. Part of the reason for this is that as noted earlier, at all levels of the Water setting, detailed real-time reflections are enabled. The water surface also appears fairly well detailed, even without the use of Tessellation at Low, Medium and High. You might detect a bit more detail on the surface in the Very High screenshot. Another reason is that because water surfaces are dynamic, and lighting and movement play an important role in their appearance, static screenshots can't capture the key differences very clearly. Some of the more subtle differences that may be noticeable during actual gameplay include slightly less frequent updates to water surfaces, especially more distant water surfaces, at lower levels of the Water setting.
The screenshots above attempts to better highlight the difference that Dynamic Water Volume Caustics and Tessellation provide, by showing a darker and more dynamic scene which accentuates these two aspects. On the left, a Water setting of High is used, which means no hardware tessellation and no water caustics. On the right, a Water setting of Very High is used, and you can immediately see the difference. The water caustics throw clear bands of light onto surround walls from the ripples in the water, and there are light bands under the water as well. The water surface is also churned up more prominently due to tessellation. Overall, the scene looks much more realistic at Very High than at High.
An indication of the performance impact of changing this setting is shown below:
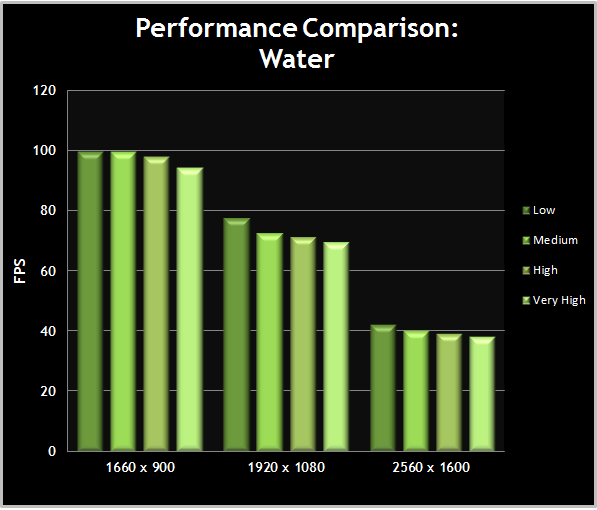
Since most water effects are in place regardless of what level of the Water setting is used, the FPS impact is not substantial as this setting is altered. Unless you're struggling for performance, I actually recommend running at Very High for this setting, if only because the Dynamic Water Volume Caustics and Tessellation are a very prominent feature. To gain a few more FPS while retaining the caustics, you can disable the water tessellation separately via advanced tweaking.
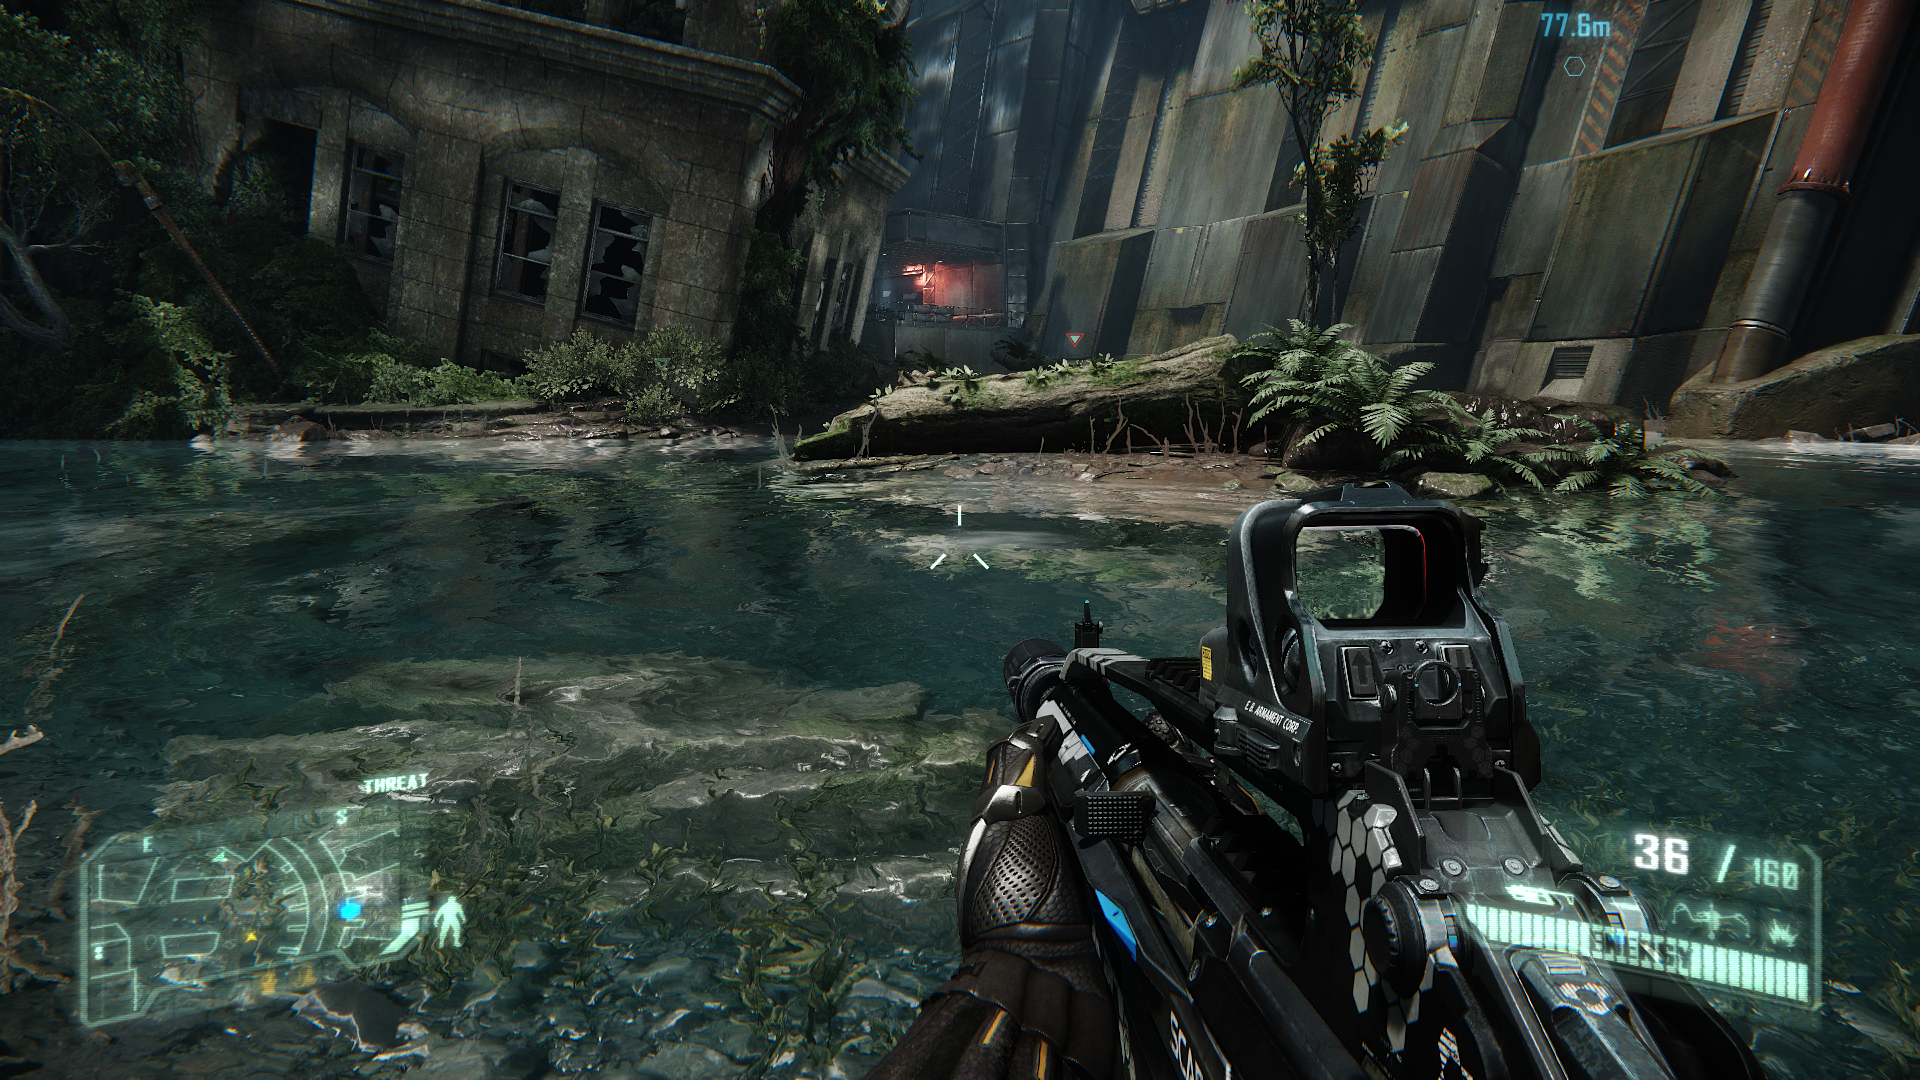
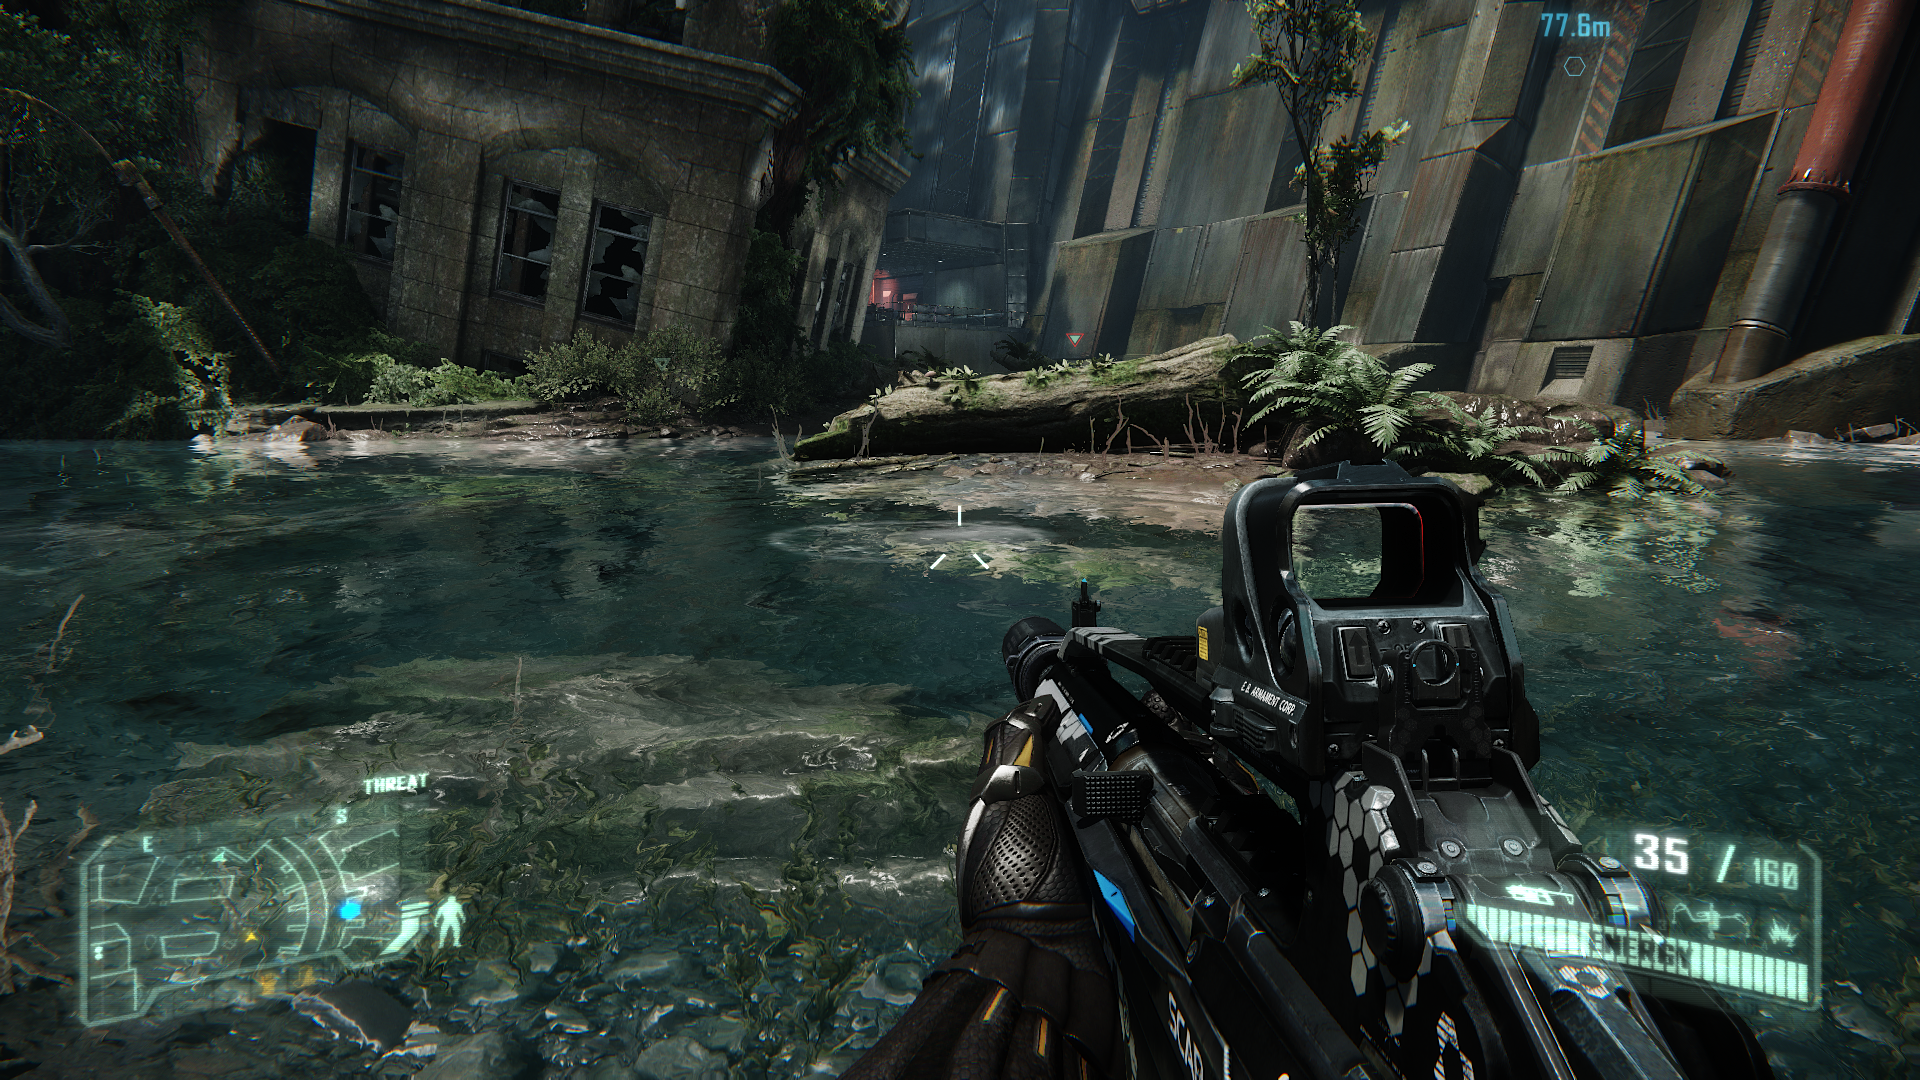
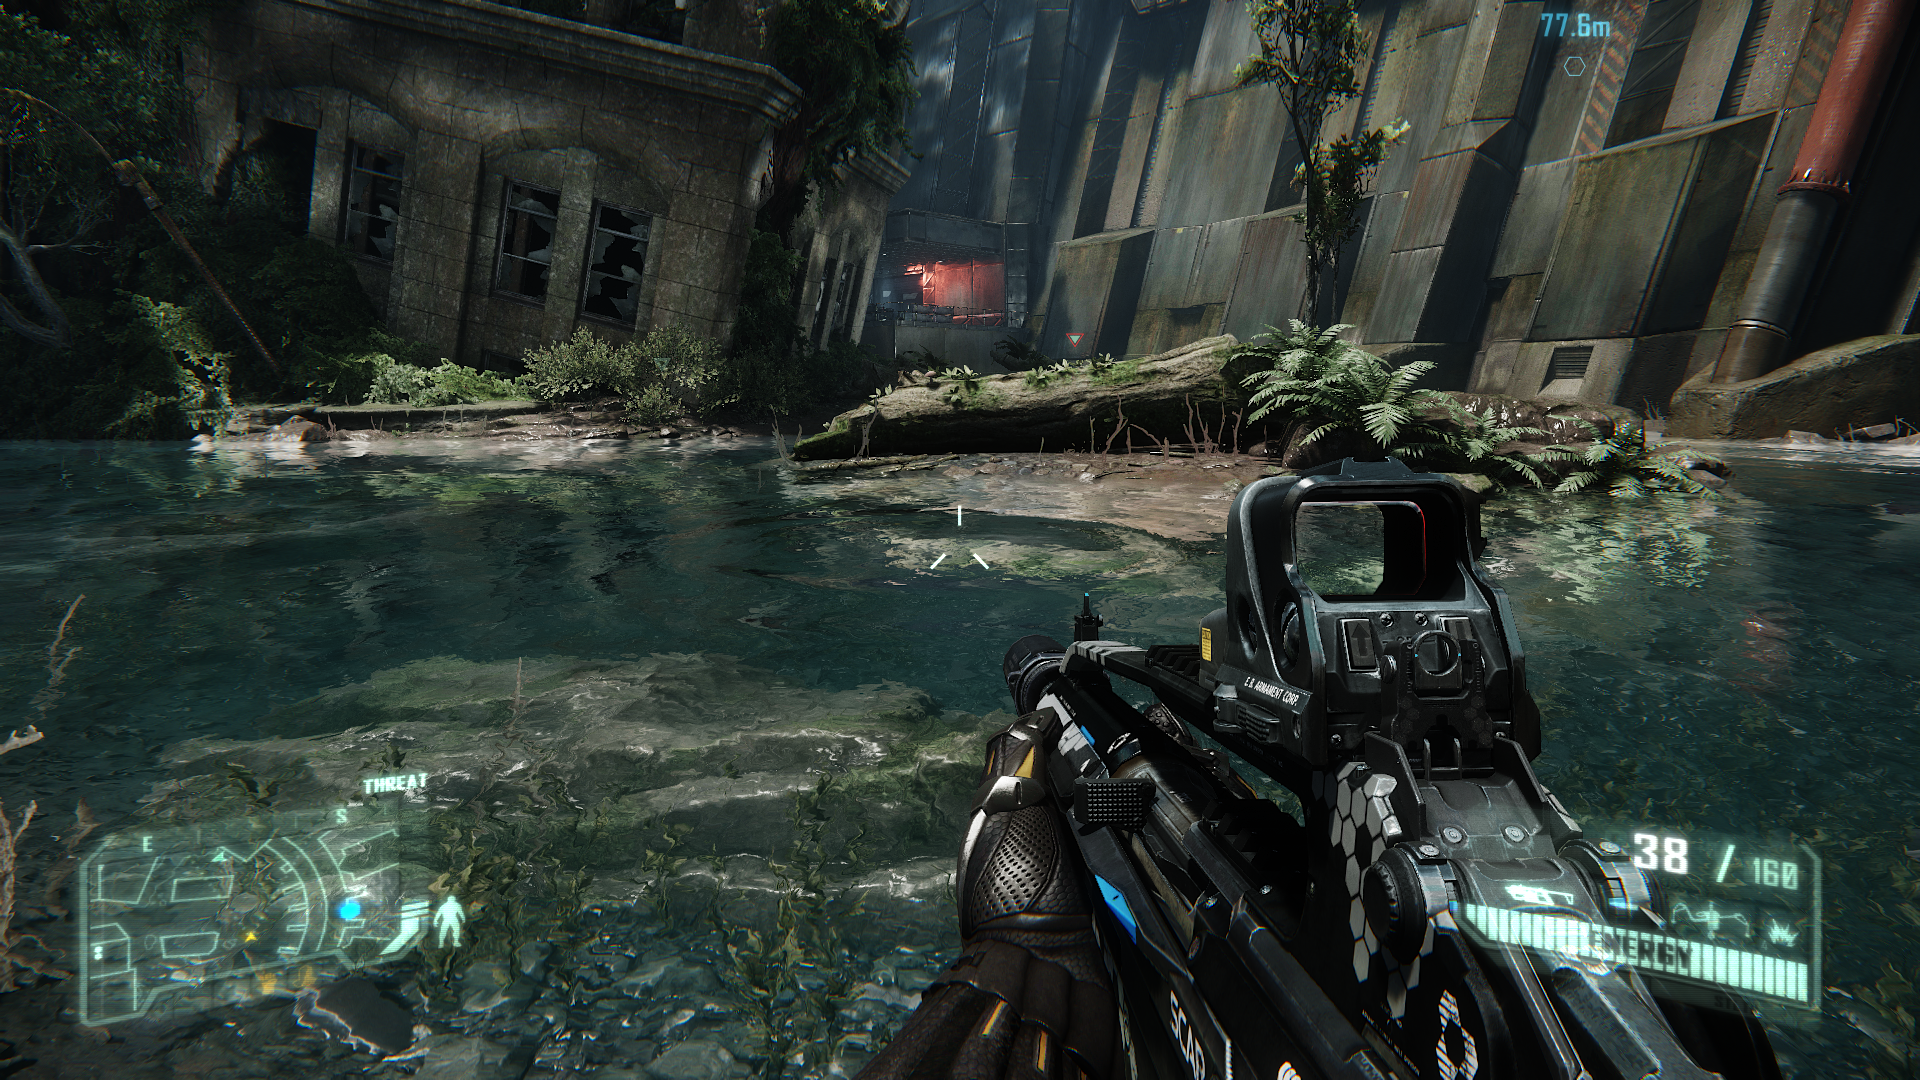
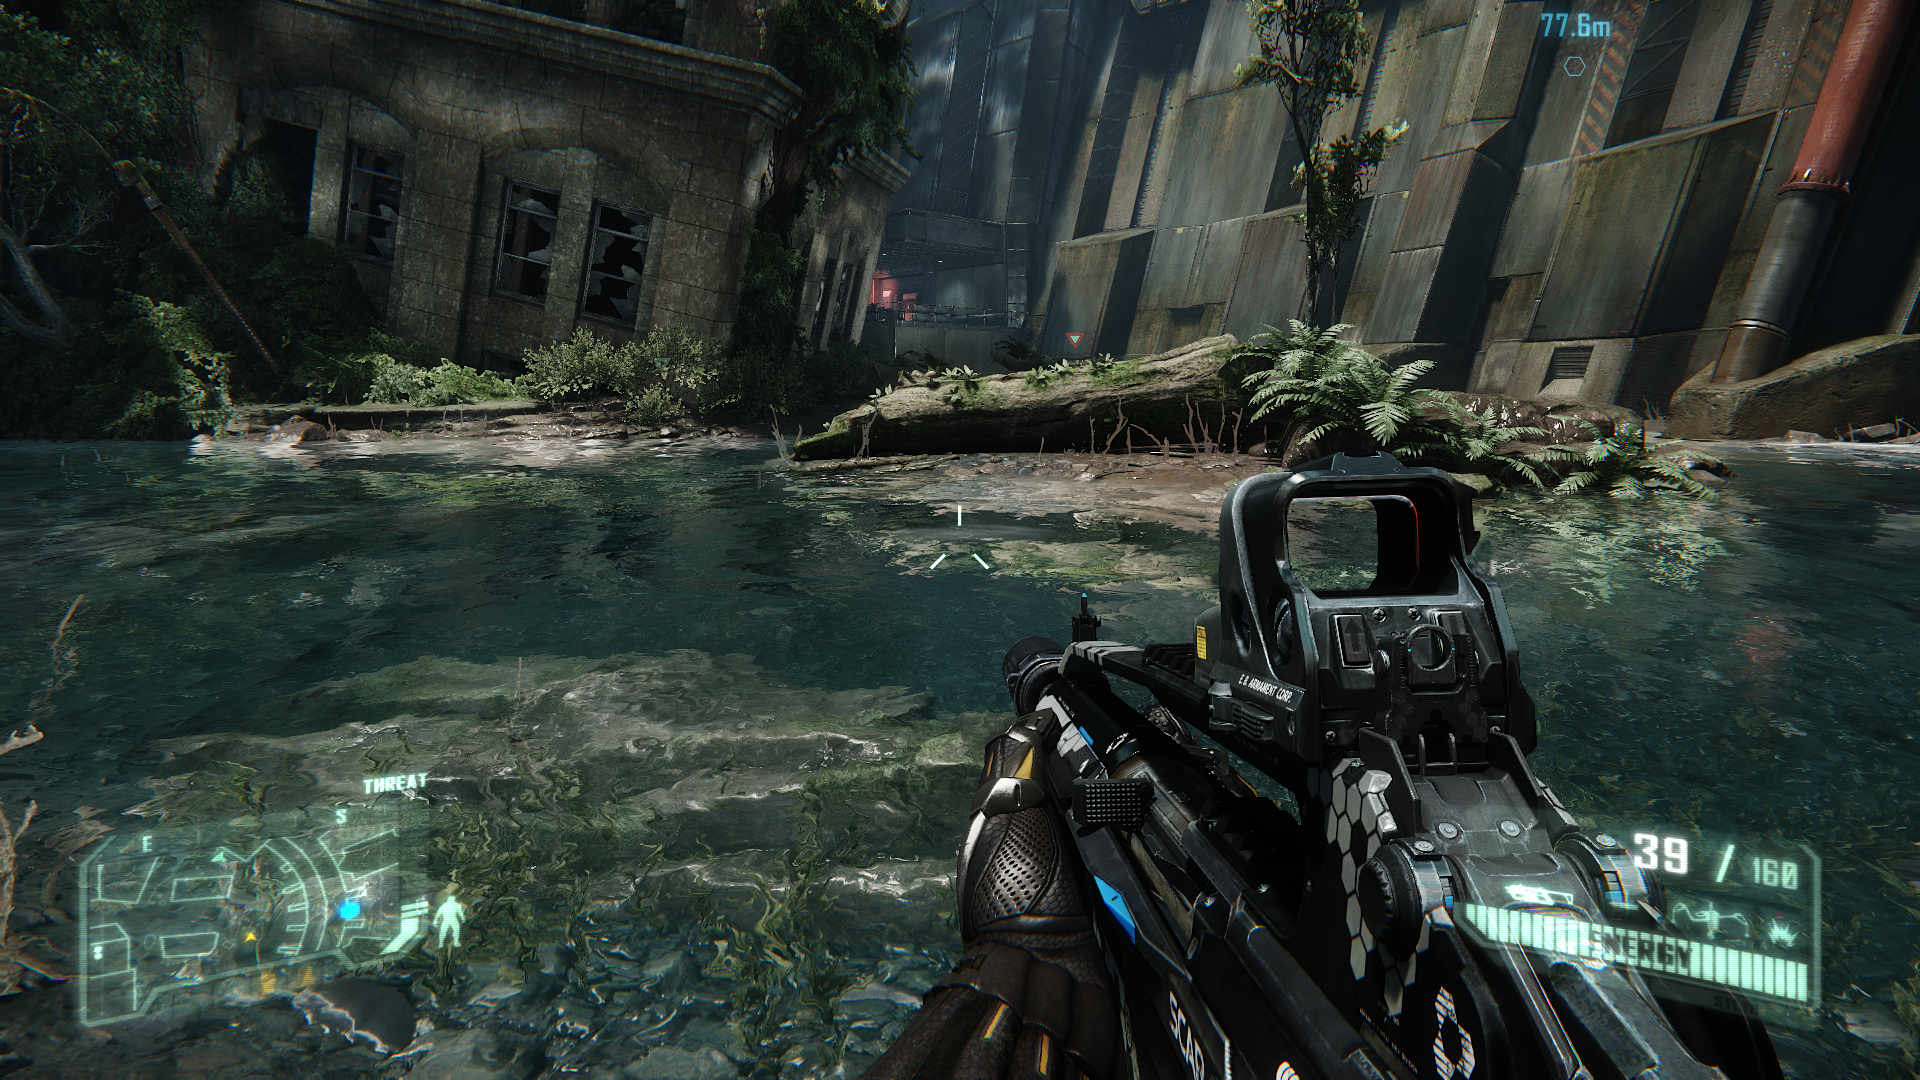
Anisotropic Filtering: Anisotropic Filtering (AF) is a texture filtering technique designed to improve the clarity of surfaces that are displayed at an angle to the screen, such the ground when looking down a pathway. The available options here are sample rates of 1x, 2x, 4x, 8x and 16x. The higher the sample rate used, the crisper and more distinct surfaces will look as they recede into the distance.
Note: You must exit and restart Crysis 3 to correctly implement changes to Anisotropic Filtering.
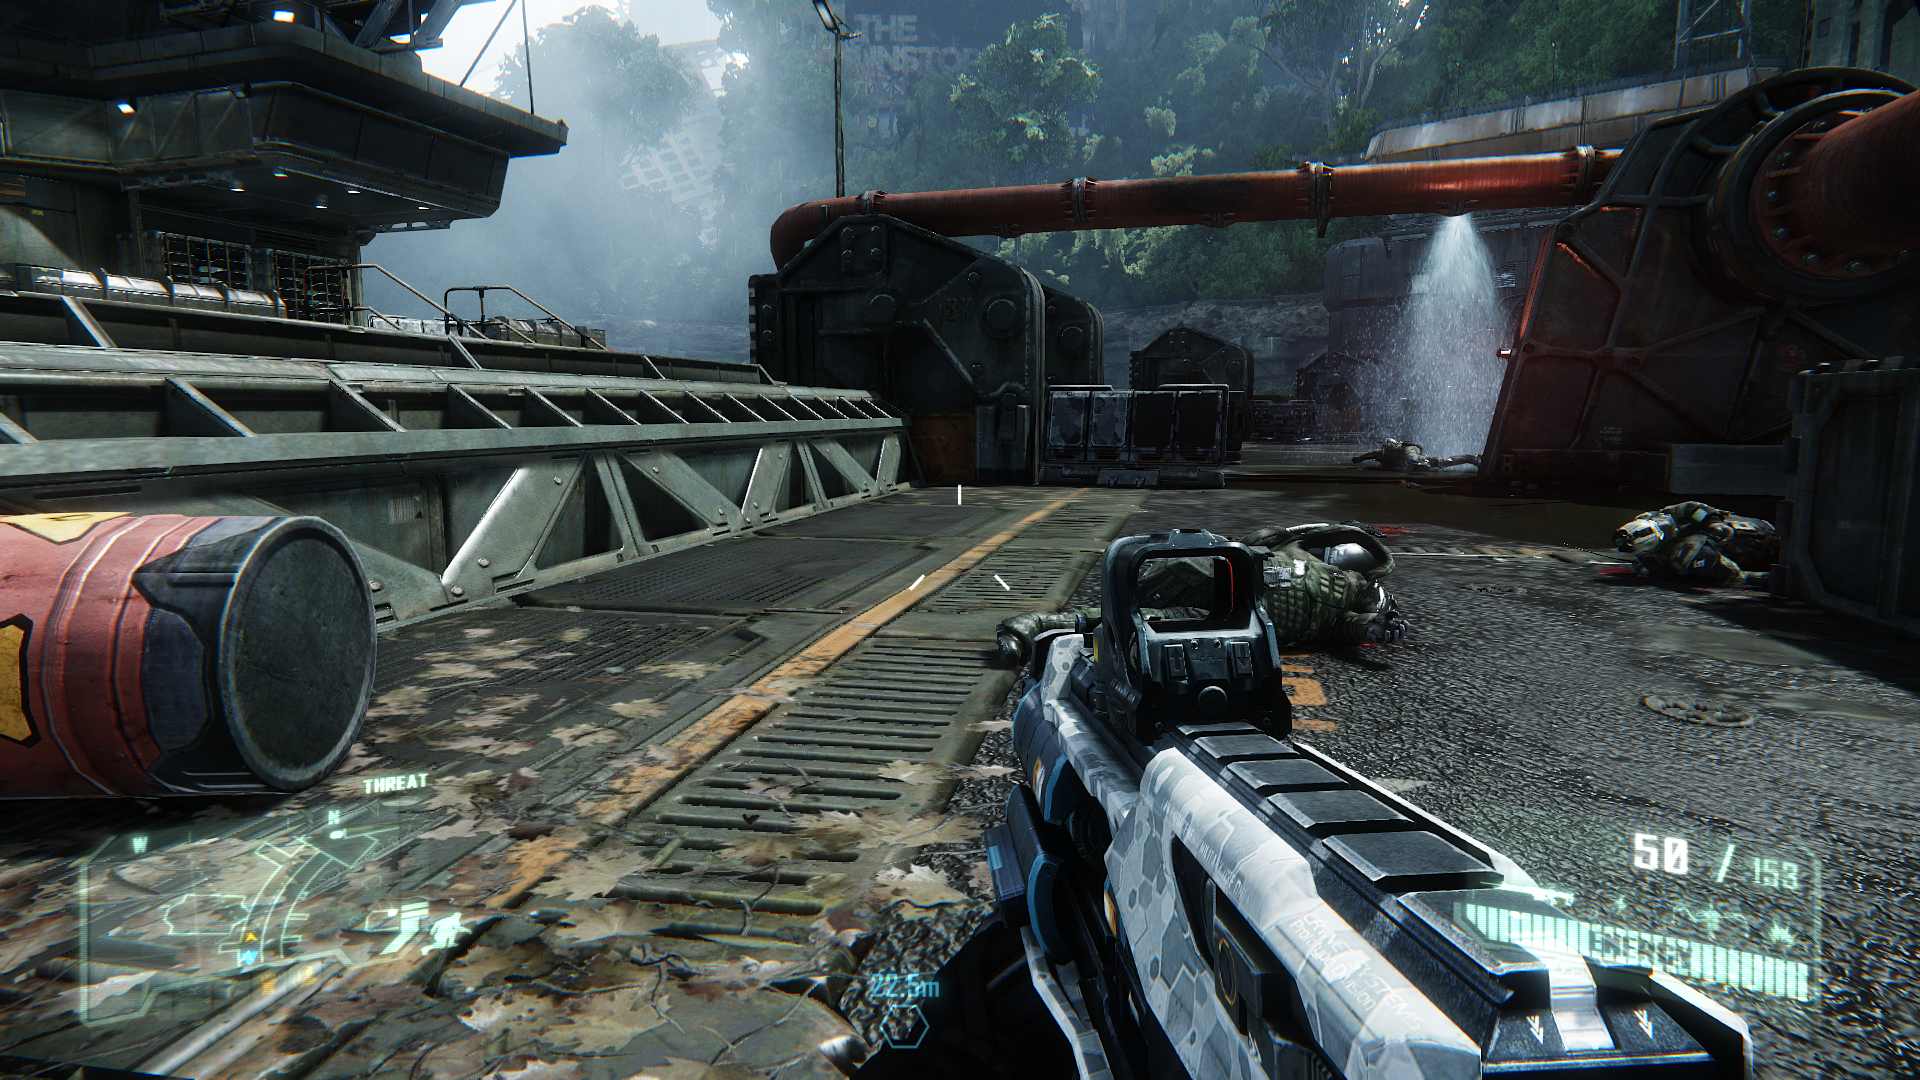
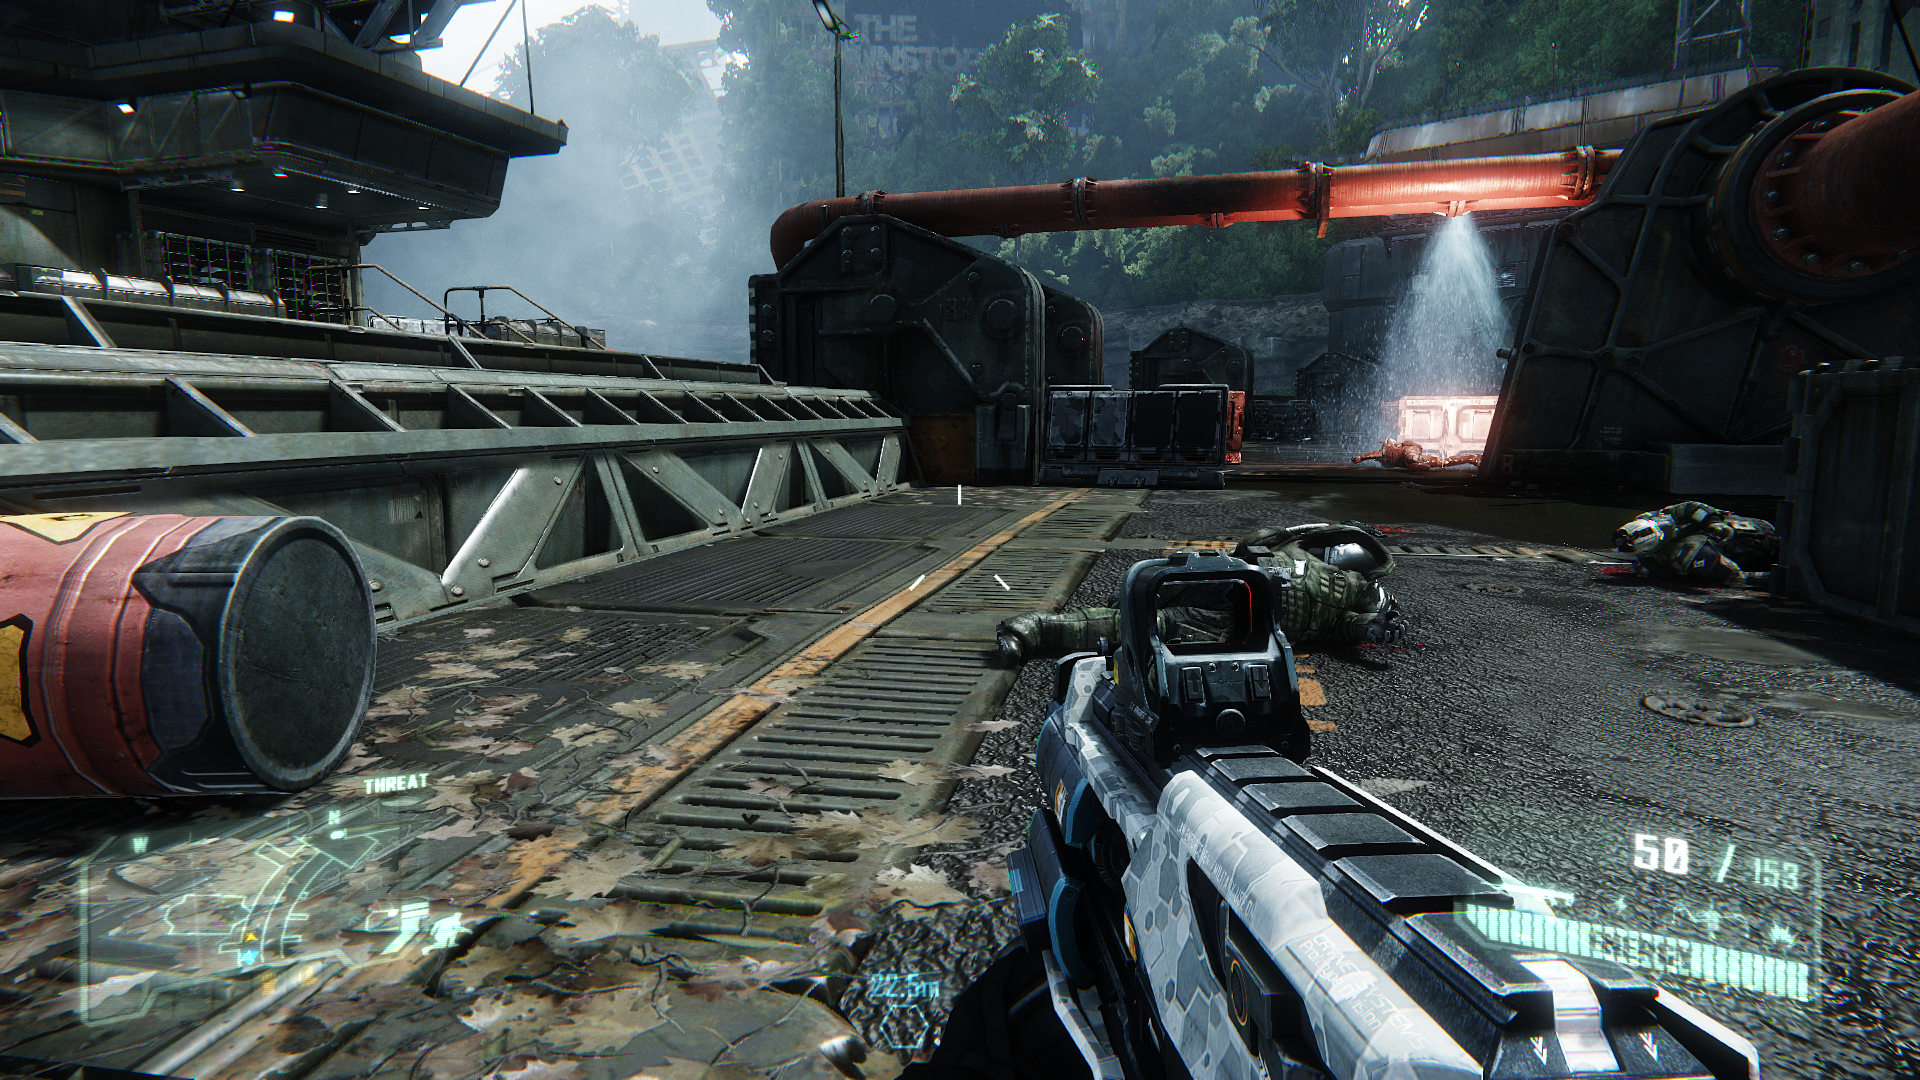
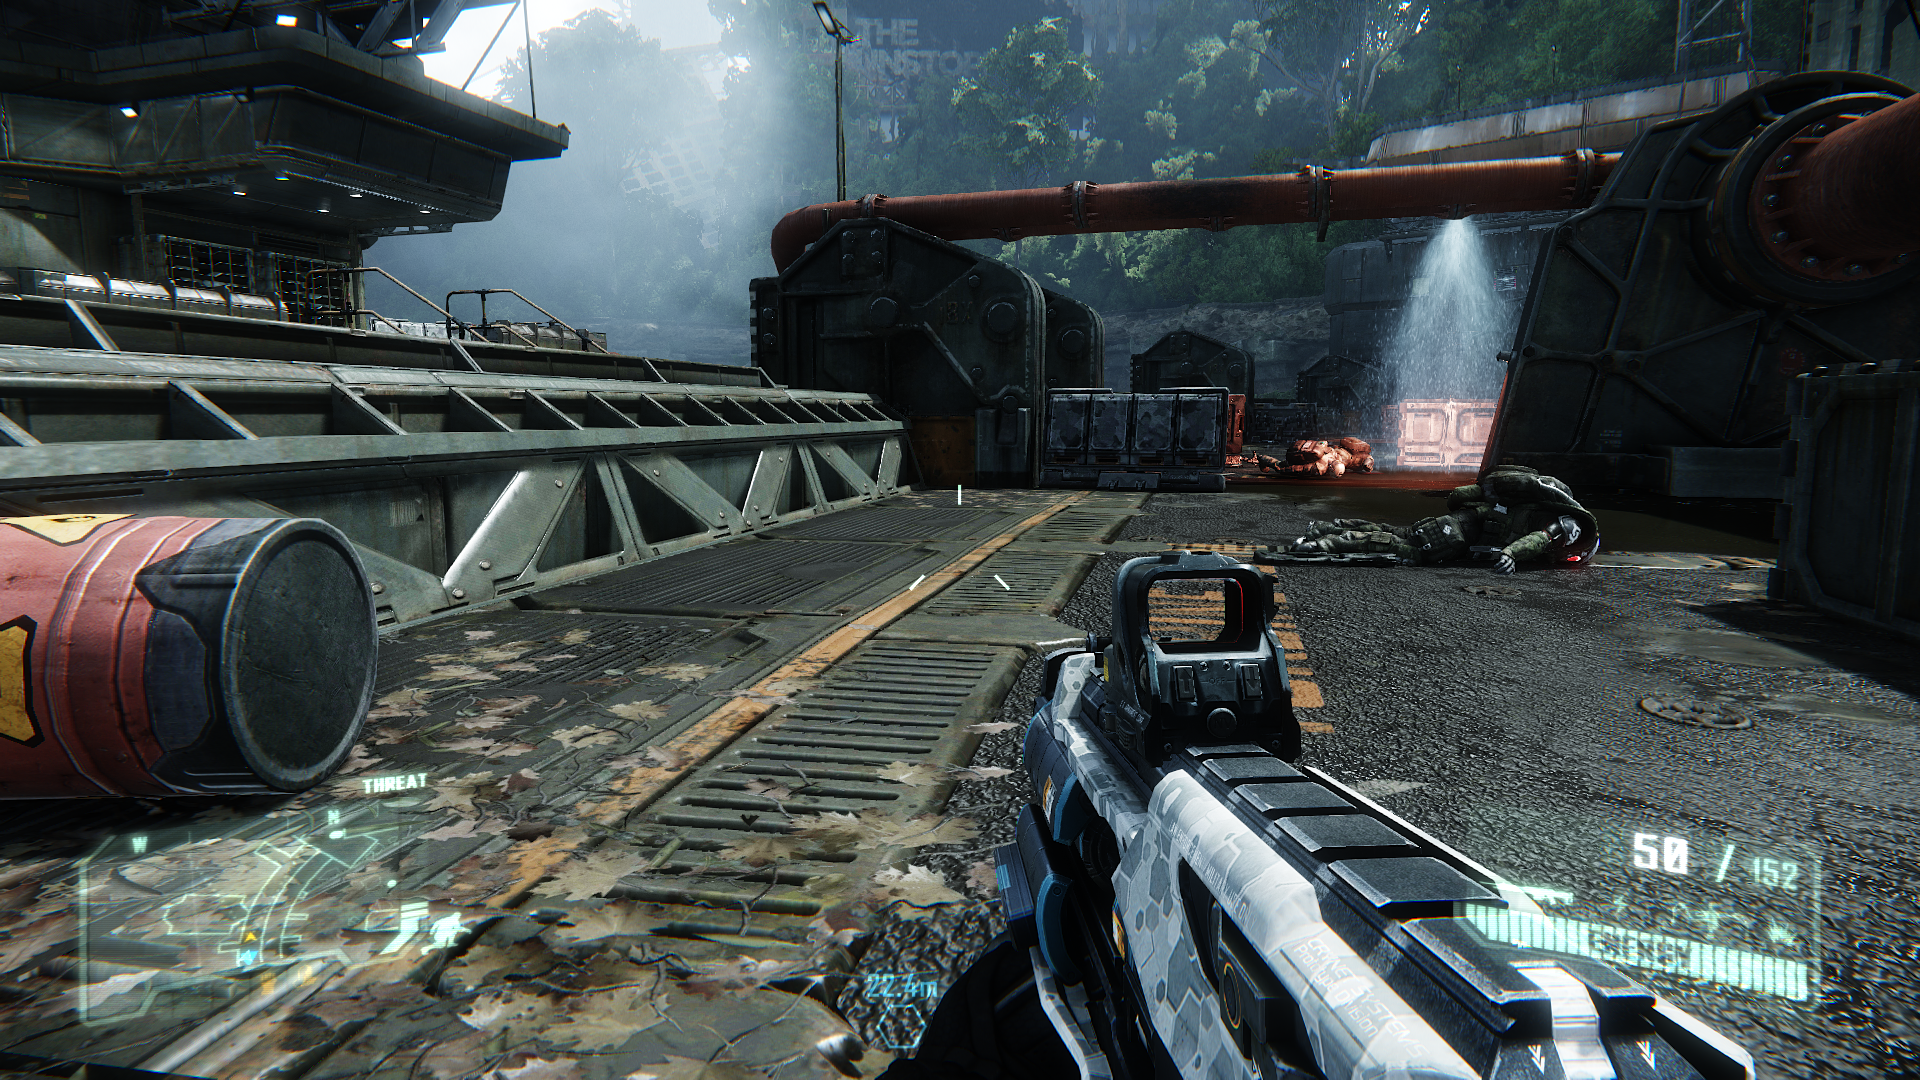
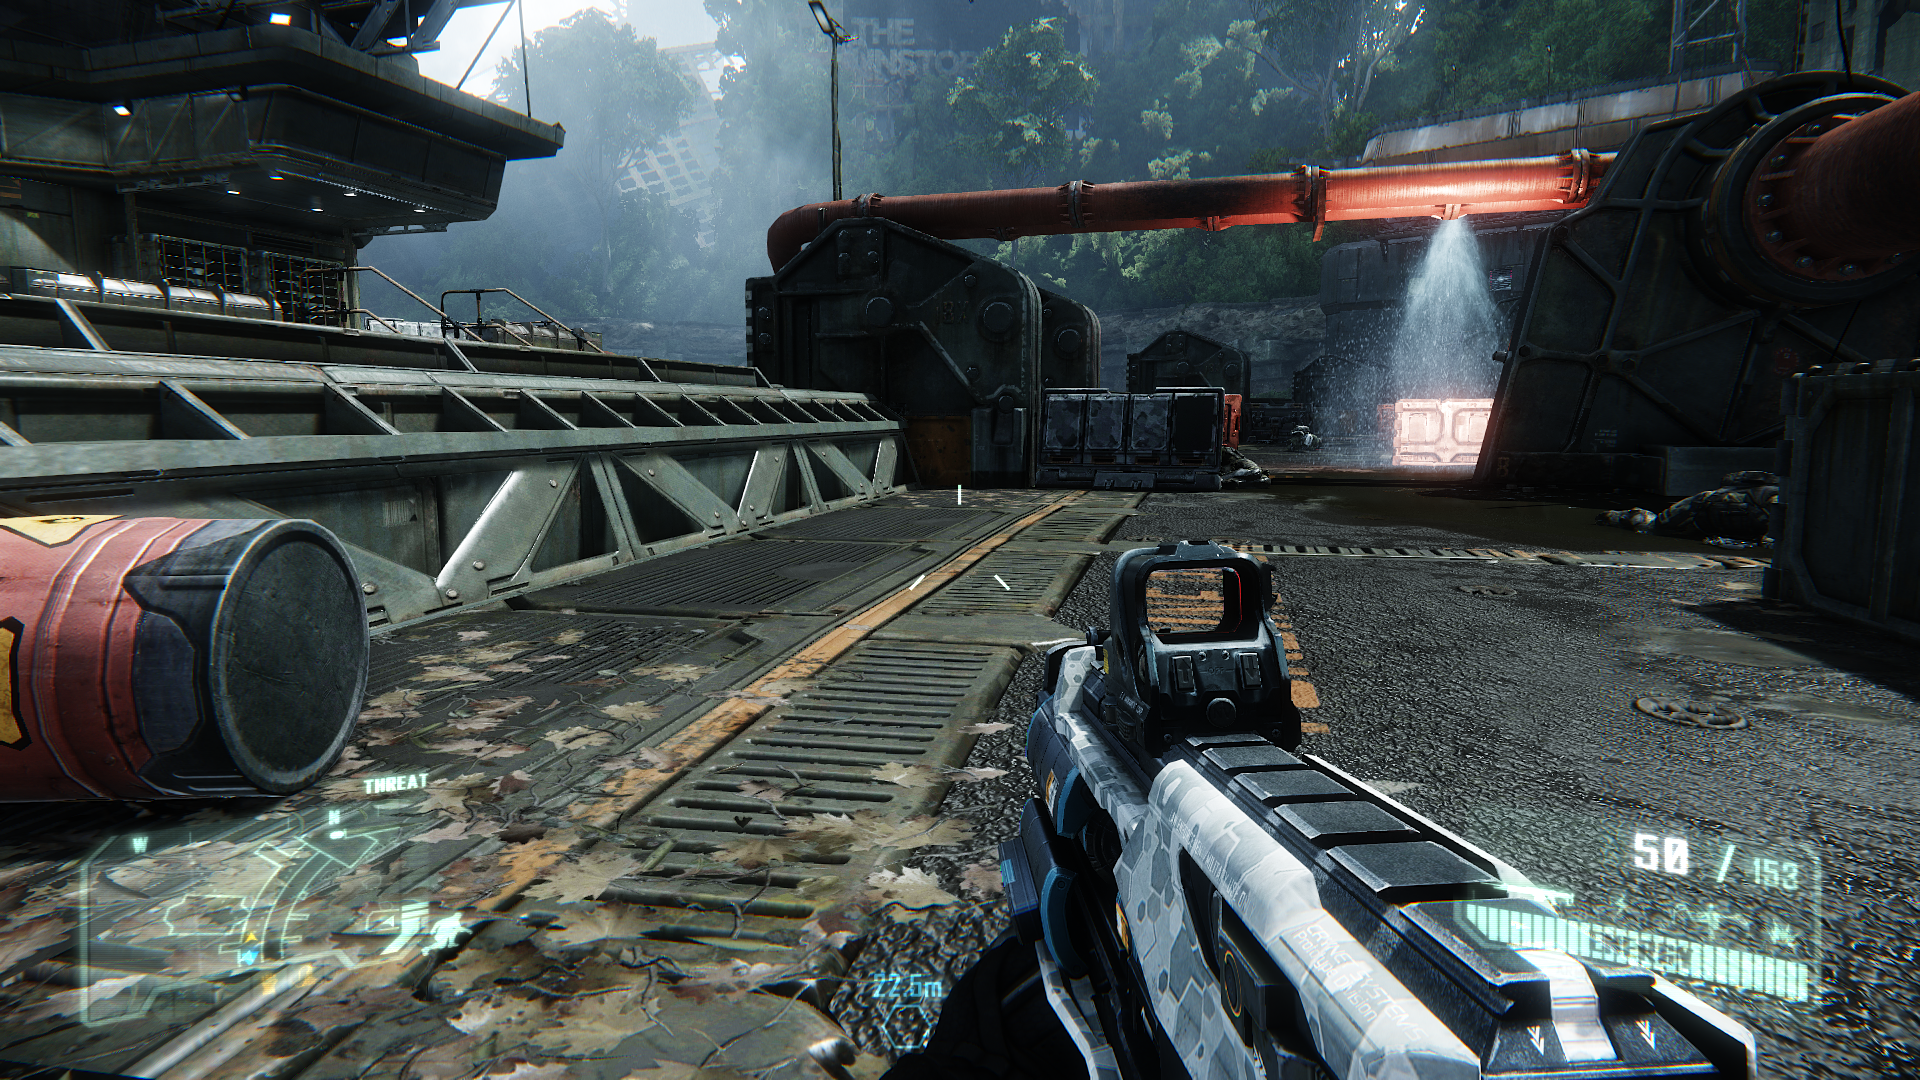
The screenshots above demonstrate a scene firstly at 1x AF, then 4x AF, then 16x AF, and again at 16x AF when forced via the NVIDIA Control Panel rather than using the in-game AF option. Look closely at the grates on the ground near the crosshair, and the gravel surface above and to the right of the gun - they become much more distinct when going from 1x to 4x AF, and to a lesser extent when going from 4x to 16x AF. There is a small additional increase in definition when using NVIDIA 16x AF vs. in-game 16x AF, most noticeable in the thicker black diagonal edge that runs through the crosshair.
An indication of the performance impact of changing this setting is shown below:
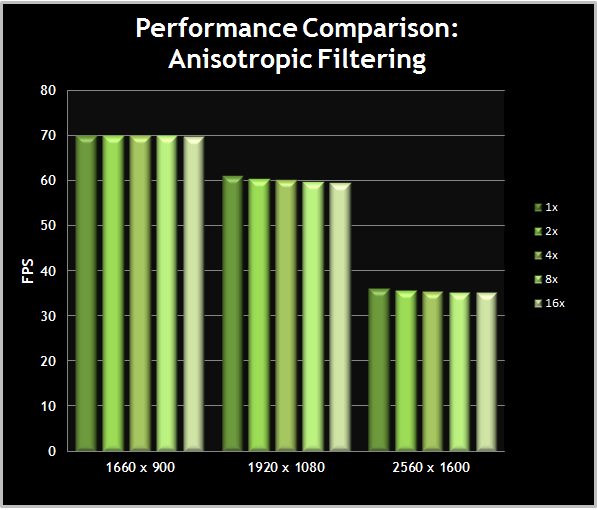
As we've come to expect from modern GPUs, Anisotropic Filtering has a negligible impact on their performance, even at high resolutions. There should be no real reason for anyone to use anything less than 4x AF in Crysis 3, and on almost all systems, 16x AF is the optimal choice in return for a 1-2 FPS drop at most.
|
|