
Elder Scrolls IV: Oblivion Tweak Guide
[Page 6] In-Game Settings (Pt.2)

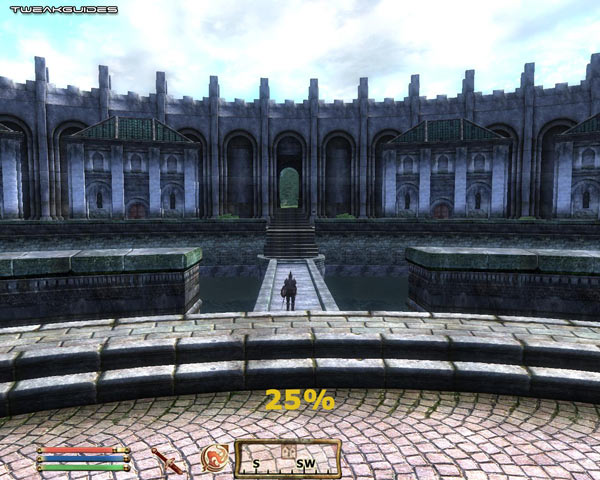
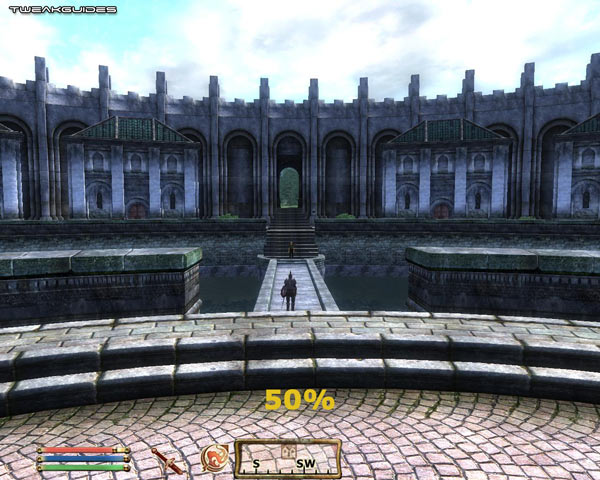
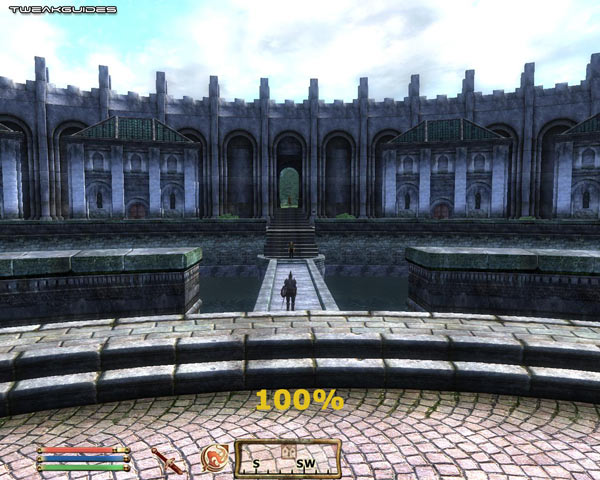
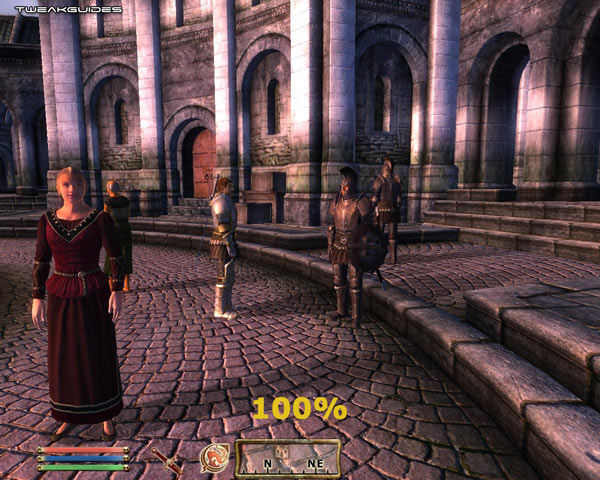
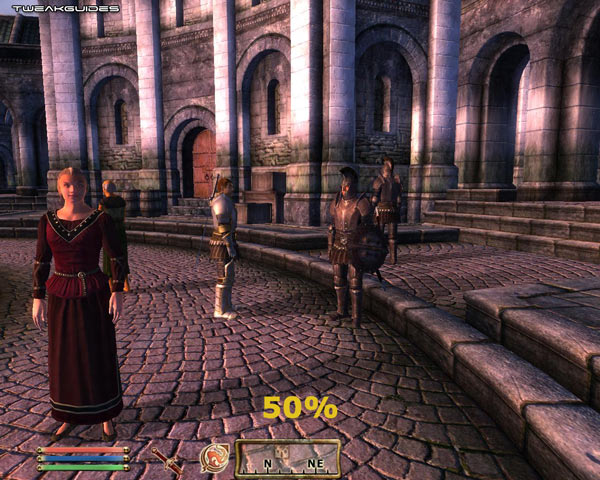
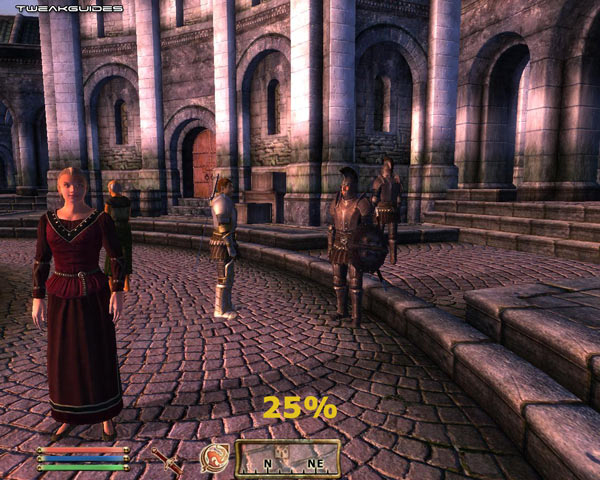
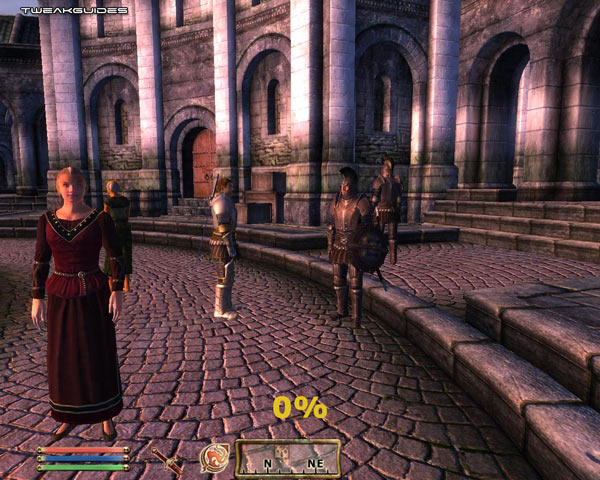
Actor Fade: This slider controls the distance at which other characters/creatures are visible. As you move the slider to the left, more distant characters/creatures will not be visible - see the images above for a comparison. Note that as the slider is lowered from 100% down to 0%, distant characters simply disappear from view without a trace. While reducing the slider can give you performance boost, particularly in crowded areas, it can also give you a gameplay disadvantage if set too low. I recommend at least 25% for most people just so you can see characters/creatures which are of a more immediate threat to you, or worth interacting with.
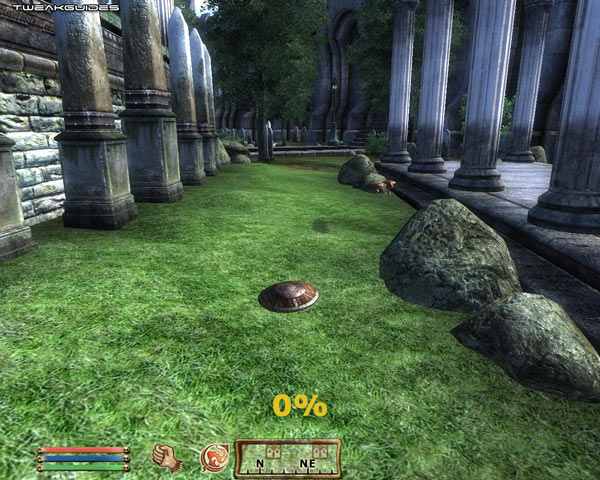
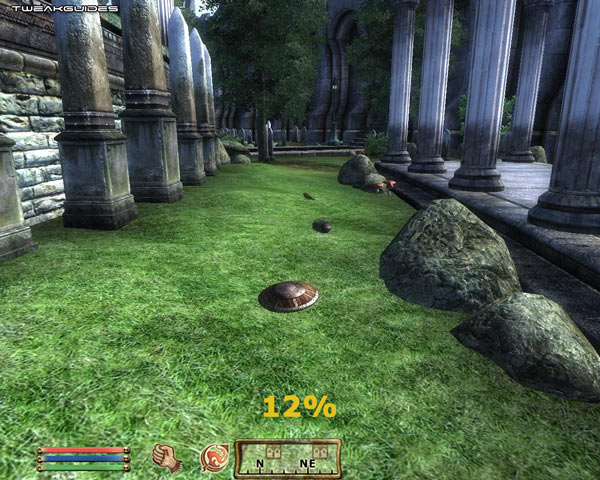

Item Fade: This slider controls the distance at which items such as swords, shields, bottles etc. are visible. As you move the slider to the left, more distant items will no longer be visible - see the images above for a comparison. Note that this option does not make a significant difference to performance in most areas, and the slider also needs to be set fairly low (i.e. below 25%) to start having any noticeable impact. If set too low (e.g. 12%) it can give a distinct gameplay disadvantage by making it harder to find items near you in the game world. Therefore I recommend keeping this slider fairly high (e.g. 50%).
Object Fade: This slider controls the distance at which objects such as buildings, boxes, etc. are visible. As you move the slider to the left, many objects will be completely removed from sight. Note that moving this slider also moves the 'Item Fade' slider (see above) as well - that is, the maximum fade distance for objects also becomes the maximum fade distance for items. See an animated screenshot comparison by clicking this link: Obl_ObjFade.gif (640KB). Note that as the fade distance drops, some fairly prominent pieces of scenery are removed such as the pathway, the border around the tree and the stone wall to the right. While this can improve FPS, particularly in and around towns, buildings and dungeons, it also makes things very unrealistic and awkward looking if set too low.

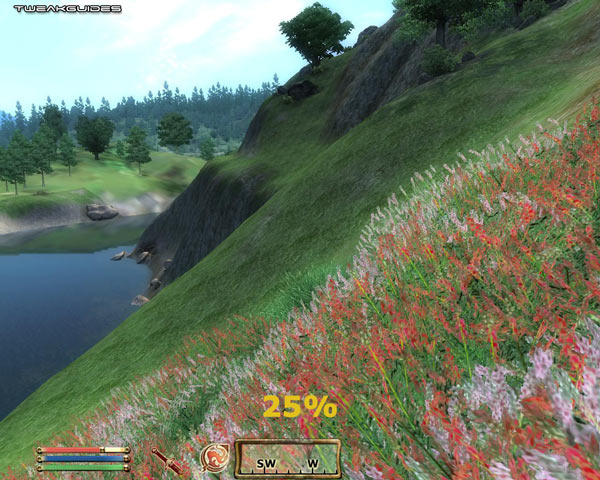
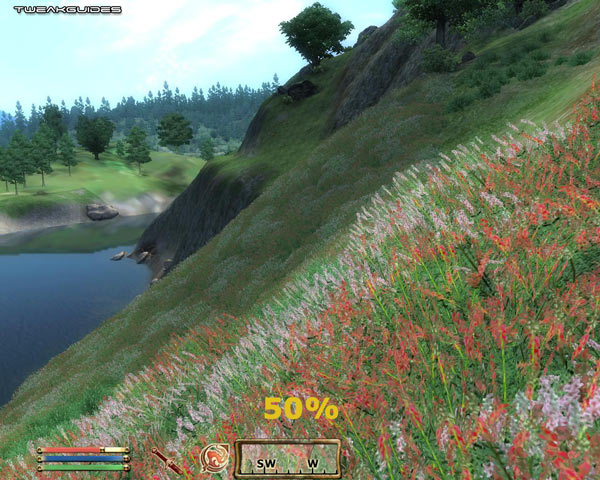
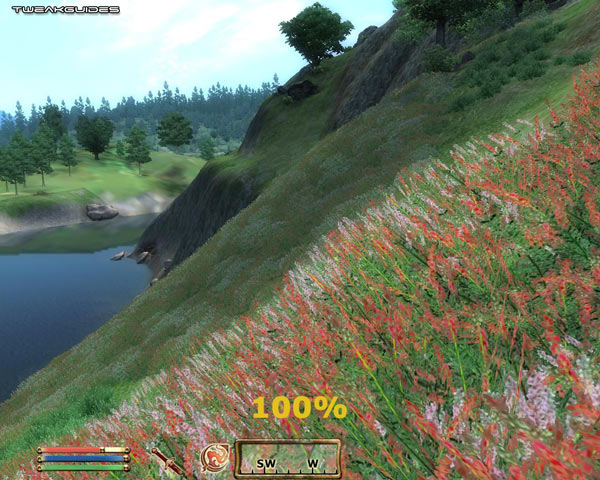
Grass Distance: This slider controls the distance at which tall grass is visible. As you move the slider to the right, the amount of visible grass increases - see the images above for a comparison. As visible grass is removed, performance can significantly increase in larger outdoor areas. This is because grass/flowers/weeds are quite detailed and animated, and may also have associated shadow effects (e.g. see 'Shadows on Grass' further below). In particular if you are noticing a lot of lag in outdoor areas, reducing this setting can have a significant impact - see the iMinGrassSize variable in the Advanced Tweaking section as well as the ToggleGrass command in the Console Commands section for more information on reducing the performance hit from grass.
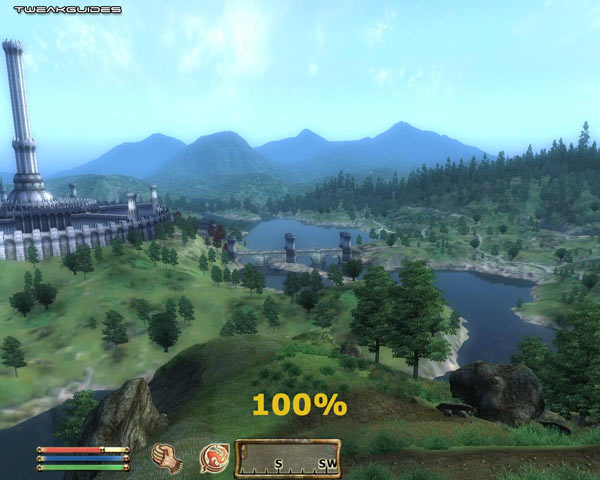
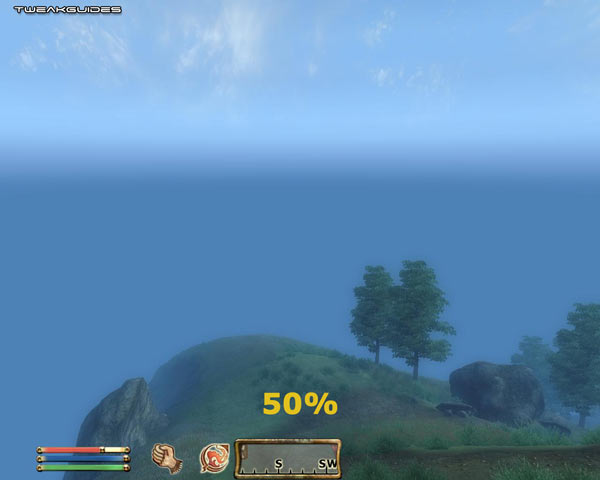
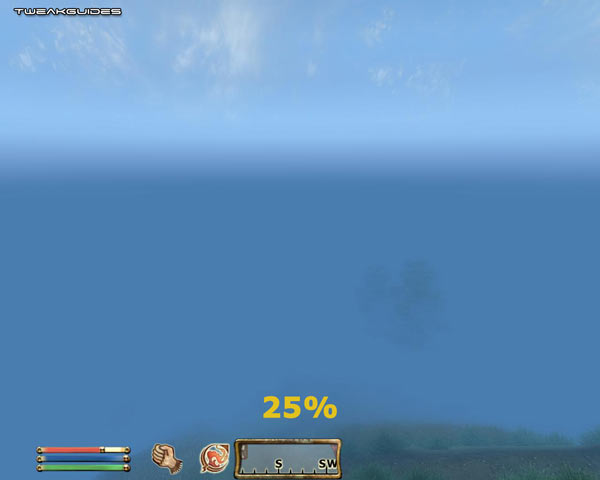
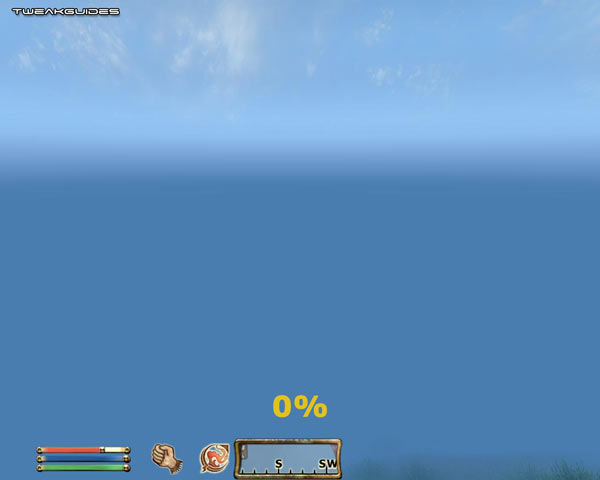
View Distance: This slider controls the distance to which your character can see. However as soon as you reduce the slider slightly below the maximum (100%), the 'Distant Land' setting (see below) will automatically be set to Off and a heavy 'fog effect' will come into play as well. The further you move the slider to the left, the less will be visible within this fog. See the images above for a comparison. While this can notably increase FPS in large outdoor areas, it can clearly reduce the visible distance significantly, and thus make finding your way around the game world more difficult, as well as discovering new buildings and objects in the distance.
Distant Land: When set to Off, all distant objects, land and environments are removed, and replaced by a thick fog. For a screenshot comparison, look at the 100% and 50% screenshots for View Distance further above, as the effect is exactly the same. Turning Distant Land off can noticeably improve performance by removing a lot of visual elements from the screen, but again it can introduce a gameplay disadvantage and is not recommended unless you are truly struggling with framerates outdoors.
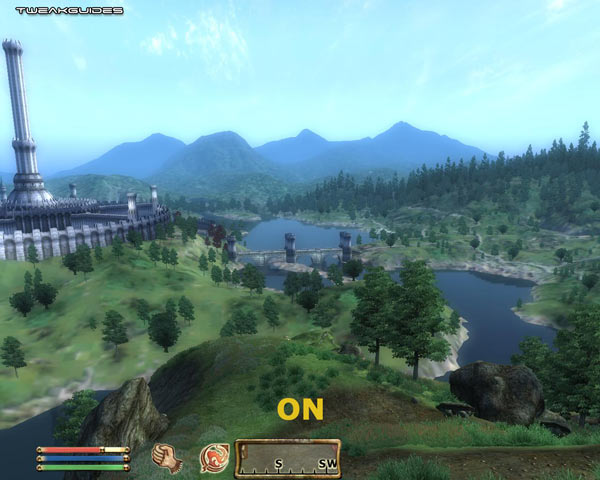
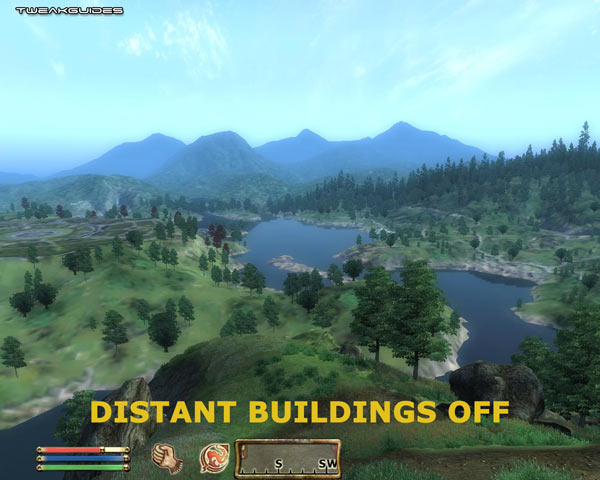
Distant Buildings: When set to Off, even with 100% View Distance and Distant Land set to On, most distant buildings/structures will not be visible. See the screenshots above for a comparison, and note that when set to Off the Imperial City's base is visible in the grass, but the building itself has been removed. This can improve framerates while wandering around outdoors, but obviously it also makes finding structures or using them as landmarks to get your bearings much more difficult. Note that changing this option requires a restart to take effect.
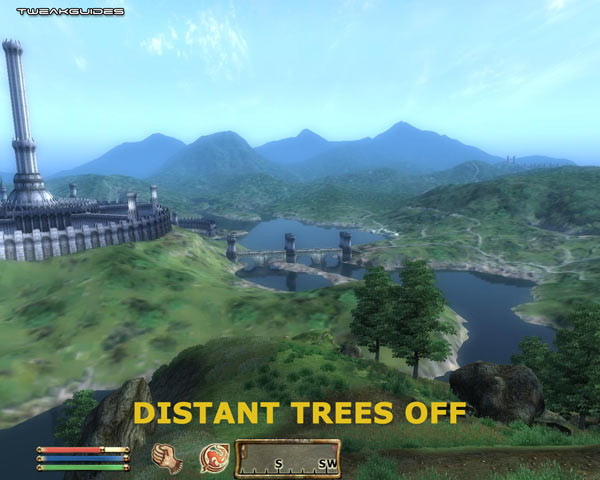
Distant Trees: When set to Off, all distant trees are removed from view in outdoor areas. See the screenshot further above for a comparison. This can improve framerates significantly as trees can use a lot of resources, especially if Tree Canopy Shadows are also enabled (See further below), at the cost of some realism. Note that changing this option requires a restart to take effect.


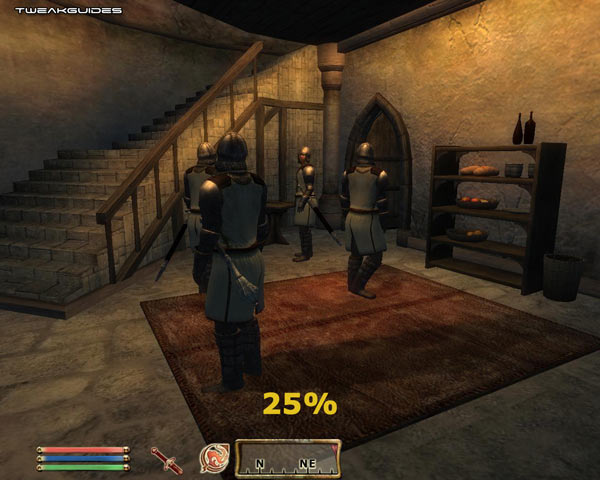

Int. Shadows: This slider controls the number of shadows cast by characters indoors, including your own (when in 3rd person view). The further to the left the slider, the fewer characters cast shadows - see the screenshot comparisons above. Note that at 50%, only 3 out of the 4 characters is casting a shadow for example. Character shadows can have a significant impact on performance, particularly when there are several characters/creatures in an indoor area, as well as setting for the Shadow Filtering option (See below).
Ext. Shadows: Similar to the Interior Shadows option above, this slider controls the number of shadows cast by characters, including yourself, when in outdoor areas - see the screenshot comparisons above. Once again, this option can have a significant performance impact, particularly in scenes with multiple characters, and depending on the Shadow Filtering option chosen.
The next section continues the In-Game settings descriptions.
|
|