
Half Life 2 & Source Engine Tweak Guide
[Page 6] In-Game Settings (Pt.2)
Advanced
The settings under this section have a major impact on graphics quality and performance, so you should make sure you are entirely familiar with what they do. The game recommends particular settings based on your system specifications (denoted by a *). While these recommended settings are reasonably good, they are still on the conservative side. Use the information below to modify them to suit your tastes more closely:
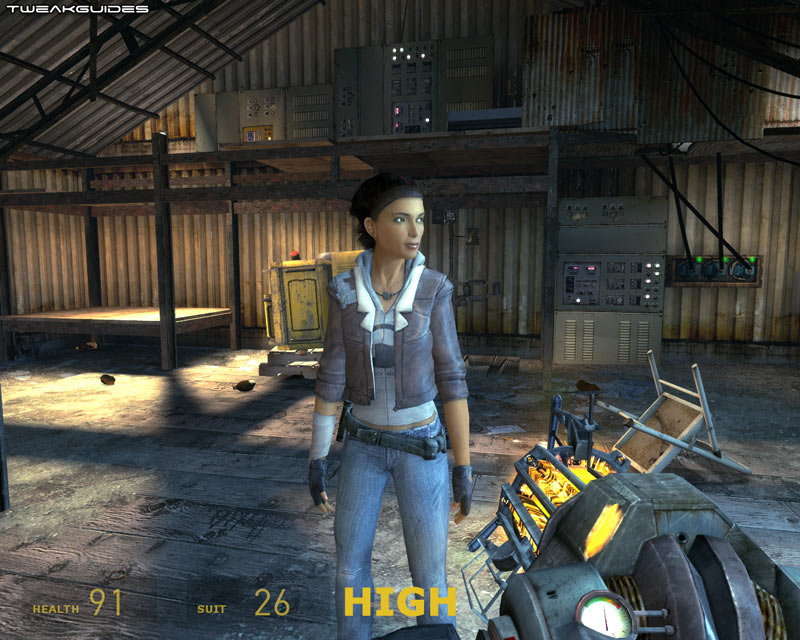
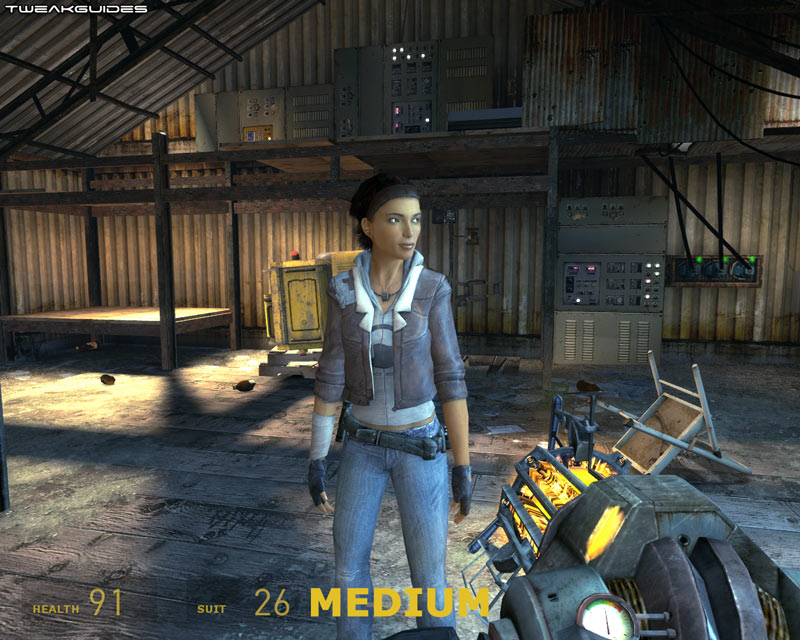
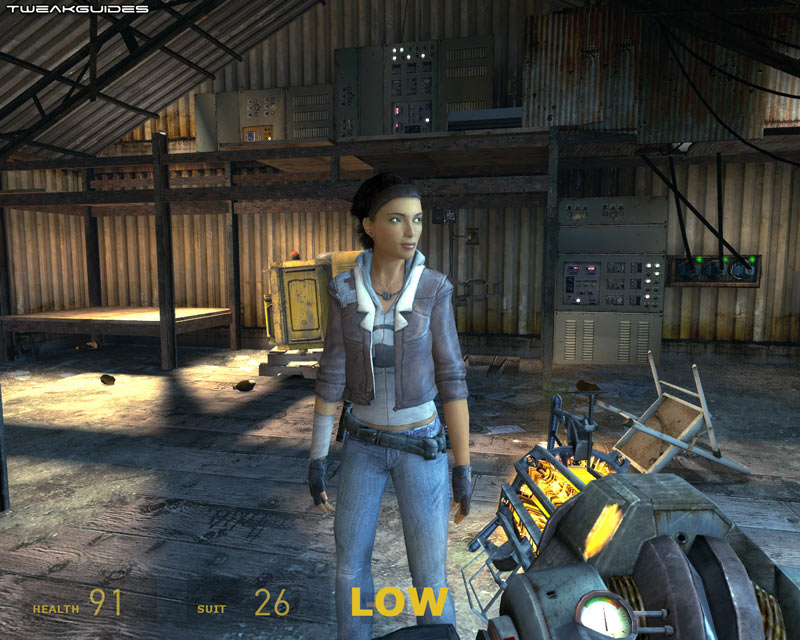
Model Detail: This setting controls the number of polygons and extra detailing used for objects in the game. There are three settings: Low, Medium and High. The screenshot comparison above shows that in general the difference is not major. The Low setting provides the best performance, however objects and in particular characters may seem slightly more angular, and some minor additional detailing may be removed depending on the scene. If you have an older graphics card, then reducing this setting can improve performance.
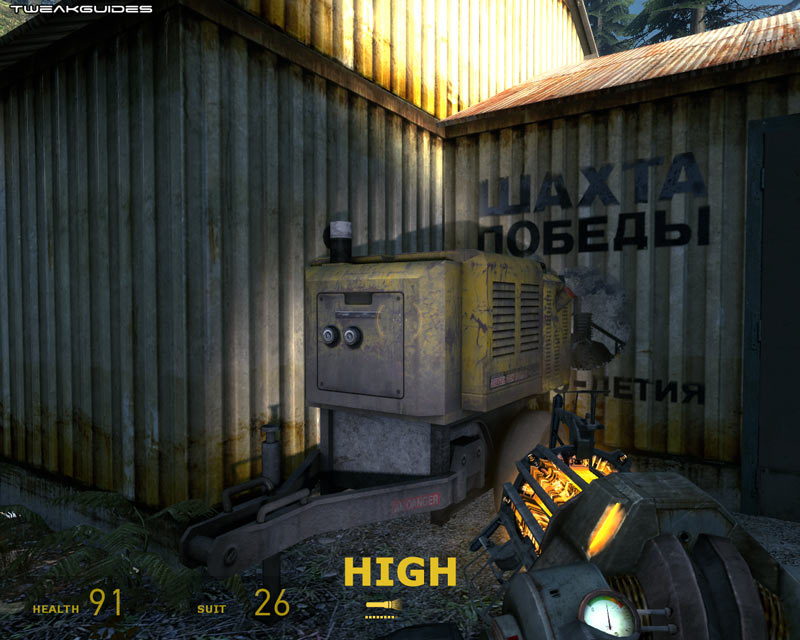
Texture Detail: Textures are the 2D images used as the surface of all 3D objects in the game world. The settings here are Low, Medium, High and Very High. To see an animated screenshot comparison click this link: HL2_Textures.gif (976KB). Note the clarity of the rock to the right, and the ground in front of you. The difference between Very High and High is difficult to notice, but at Medium there is noticeable blurring, and at Low the textures are quite blurred. While increasing the texture setting can reduce FPS slightly, and more importantly may contribute to additional stuttering, given the quality of the textures in HL2 are relatively poor, most systems should run at Medium or above. Note that you may experience a bug with this setting in that if you set it to Very High it will default back to High each time you restart the game. To overcome this add mat_picmip -1 to your autoexec.cfg file to automatically force it to start at Very High each time - see the Advanced Tweaking section for more details of how to use an autoexec.cfg file, and for more details about the mat_picmip variable.
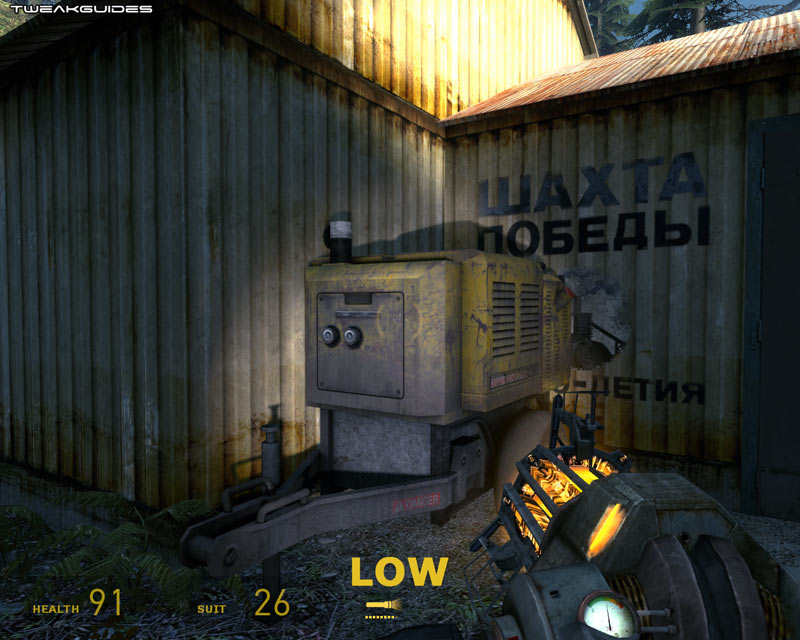
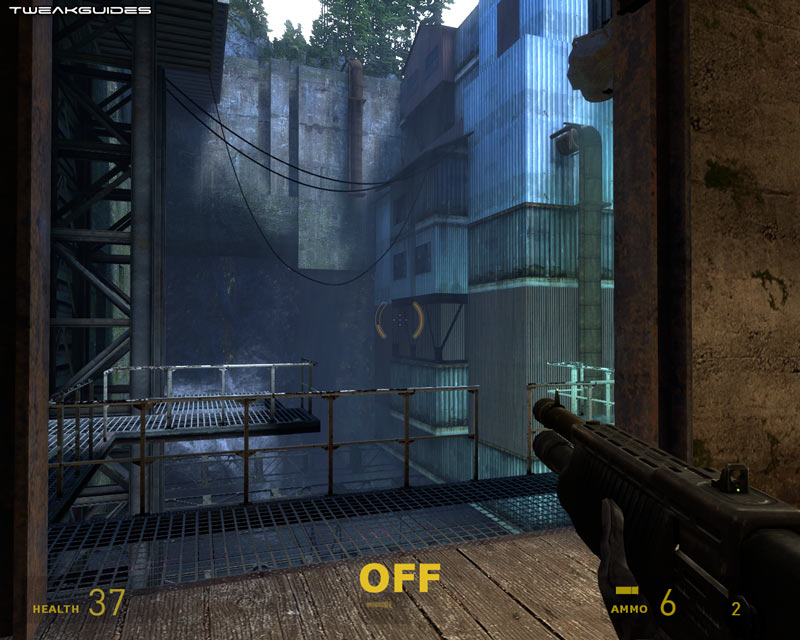
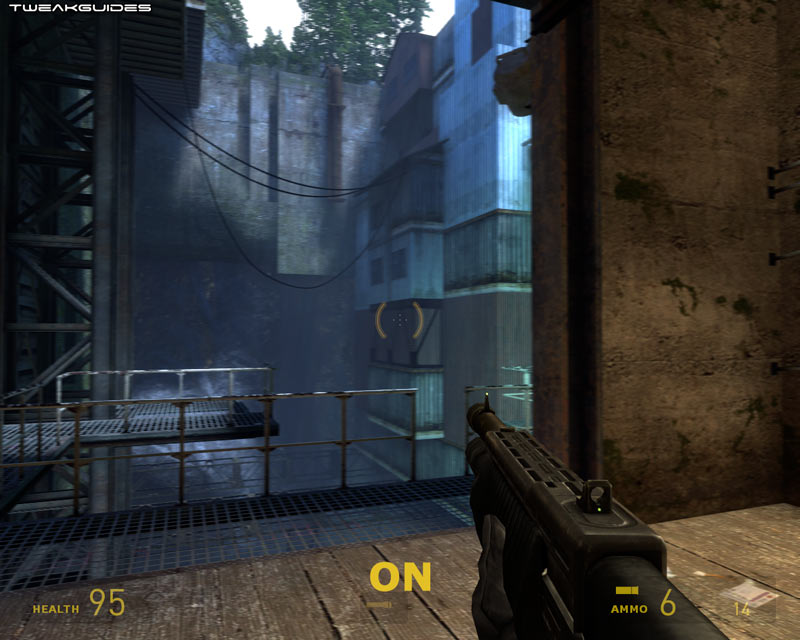
Shader Detail: This option can either be set to Low or High, and controls the level of the special effects drawn by shaders, which are complex graphics functions supported by your graphics card's hardware. The performance difference between Low and High is noticeable in some areas, however the image quality difference is usually not very noticeable. In the screenshot comparison above, at Low the corrugated walls of the shed don't have the same depth and shadowing, and the lighting effects are also milder. Another place where shader effects are more noticeable is underwater - with Shader Detail on Low, the general atmosphere of being under water is far less realistic.
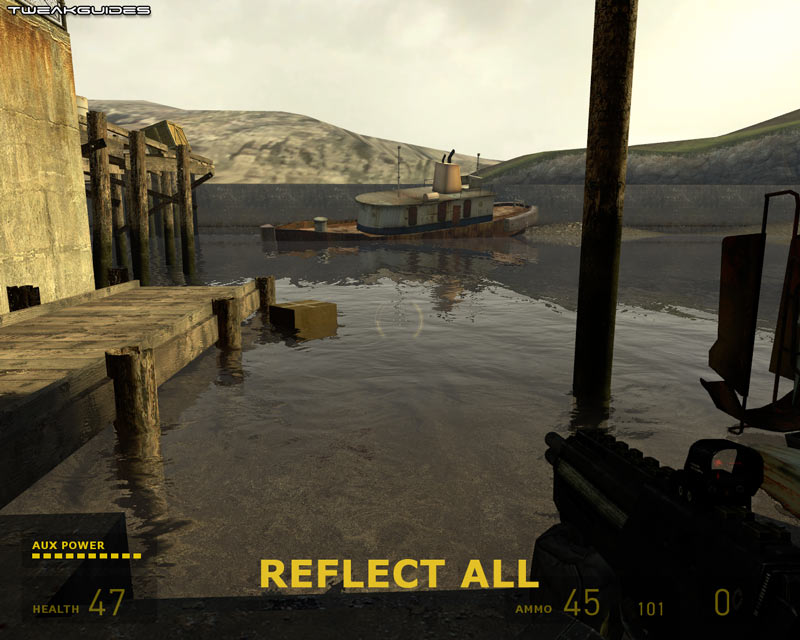
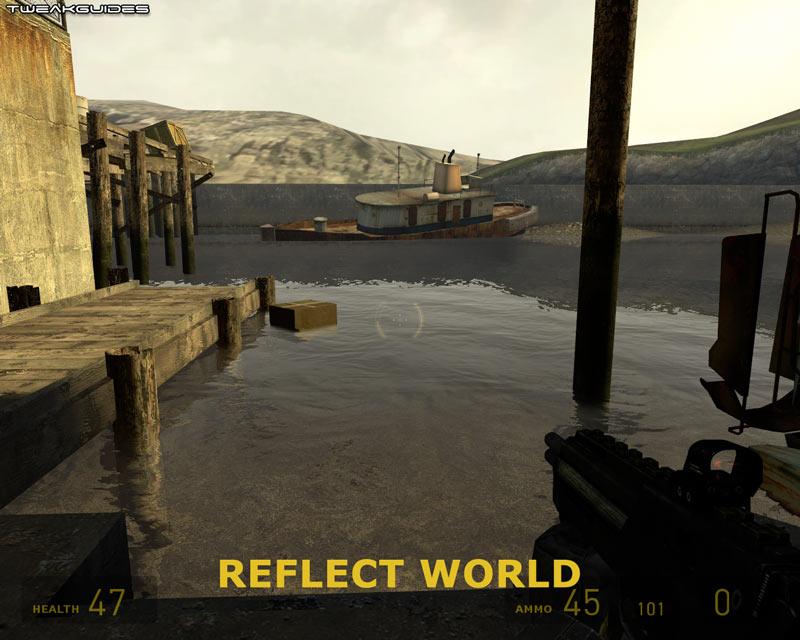

Water Detail: This setting controls the realism of the water in the game by determining how complex the reflections on the water are: 'Simple reflections', 'Reflect world', and 'Reflect all' being the three options; see the screenshot comparisons above for the difference. Note that at Reflect All, there are reflections cast from the ship, the pier on the top left and the box in the water. At Reflect World, only the major terrain is reflected in the water, and at Simple Reflections, though the difference is hard to tell, minor detailing is lost as well in the reflections. If you are getting slowdowns in water areas, Reflect World is a good compromise between performance and image quality, though even Simple Reflections does the job. If you really want to reduce water quality in return for performance see the r_cheapwaterend command in the Advanced Tweaking section.
Shadow Detail: This option can be set to Low or High. At the Low setting, shadows are not visible for most objects, including characters and boxes for example. This provides the best performance, particularly in areas with multiple lights and multiple objects, but can seem quite unrealistic. High provides the most realistic shadow detail, with characters and objects casting accurate, complex shadows, but with a noticeable performance drop - especially in complex combat scenes for example. If you are experiencing slowdowns in such cases I recommend Low shadow detail.
Color Correction: This option can be either Enabled or Disabled. If enabled, it attempts to increase realism in the scene by improving color quality to accurately reflect color temperature. A static screenshot comparison does not show the difference well, so to see an animated screenshot comparison click this link: HL2_Color.gif (381KB). As can be seen, with Color Correction on the scene is slightly 'warmer' in color. The performance impact is minimal to none, so it is generally recommended that you enable this option for the most realistic color reproduction.
Antialiasing Mode: The options here vary based on your hardware capabilities, but you should see some of the following: None, 2x MSAA, 4x MSAA, 8x CSAA, 16x CSAA, 8x MSAA and 16xQ CSAA. Essentially the higher the sample rate of Antialiasing used, the smoother jagged lines in the game will appear, but the greater the performance hit. Note that MSAA is Multisampling AA, which is the standard form of AA most people would be accustomed to. CSAA is available to GeForce 8 and higher users, and CFAA is available to HD2X00 and higher users. Any mode ending in Q is higher quality but also has a higher performance hit. To find out more details about Antialiasing read this page of the Gamer's Graphics & Display Settings Guide. Regardless of whether you want to use Antialiasing or not, I strongly recommend that you set any forced Antialiasing in your graphics card's control panel to 'Application Preference'. You can then set the Antialiasing level in Half Life 2's in-game settings. Forcing AA in the control panel may conflict with the in-game settings and cause slowdowns or glitches.
Filtering Mode: The options here are, depending on your graphics hardware, include Bilinear, Trilinear, Anisotropic 2x, Anisotropic 4x, Anisotropic 8x and Anisotropic 16x. Texture filtering determines how clear textures remain as they fade into the distance - the higher the texture filtering mode used, the clearer distant textures will appear, especially when viewed at sharp angles. Bilinear and Trilinear texture filtering are very similar in appearance, with Trilinear providing a greater performance hit for a tiny improvement in image quality. Anisotropic Filtering is more advanced, providing clearer textures the higher the sample rate used - to find out more about it read the bottom of this page of my Gamer's Graphics & Display Settings Guide. I strongly recommend that you set any forced Anisotropic Filtering in your graphics card's control panel to 'Application Preference' first before using Half Life 2's in-game Filtering Mode setting. Forcing AF in the control panel may conflict with this texture filtering setting and cause problems.
Wait for Vertical Sync: Vertical Synchronization (Vertical Sync, or simply VSync) is the synchronization of your monitor and graphics card's abilities to draw a certain number of frames per second on the screen. More details about VSync are on this page of the Gamer's Graphics & Display Settings Guide. If Vertical Sync is enabled, your maximum FPS cannot exceed your monitor's refresh rate at your chosen resolution, and more importantly your overall FPS can be reduced by 50% or more. If Vertical Sync is disabled, which is recommended, your FPS will improve, and it can now also exceed the refresh rate cap, however you may notice some screen 'tearing' - portions of the screen may seem slightly out of alignment at times, most noticeable when your view is moving quickly. Tearing causes no damage to your monitor, but if you find it annoying then re-enable VSync and then turn on Triple Buffering to negate the performance-draining impact of VSync.

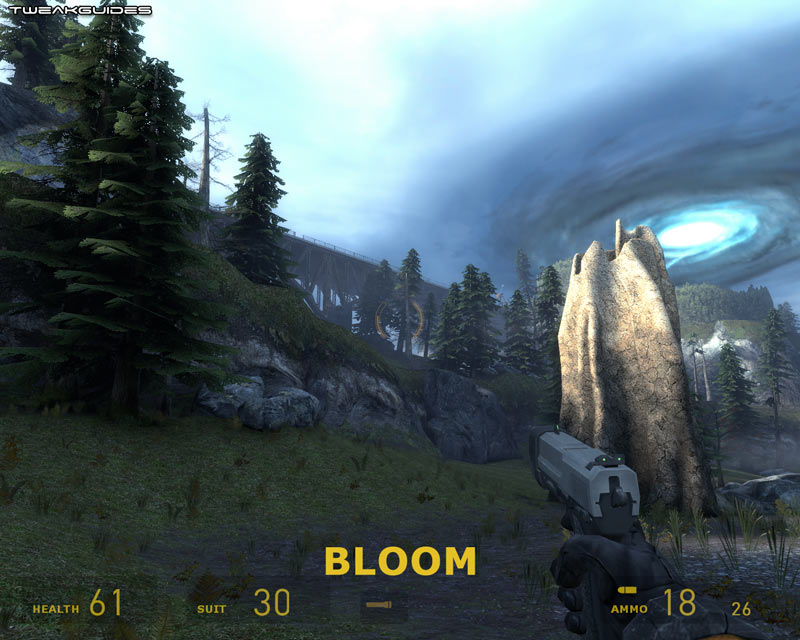
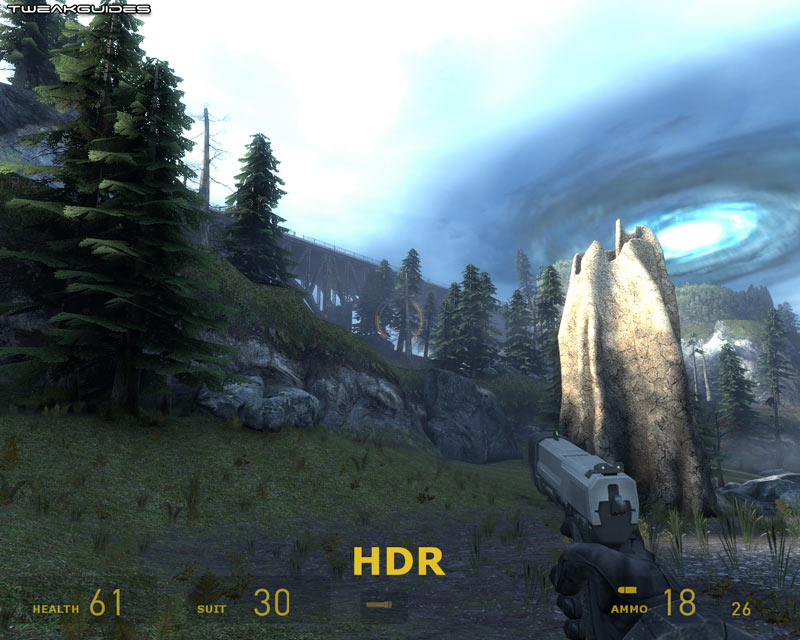
High Dynamic Range: This option allows users to set the type of lighting used in the game, depending on whether the maps/levels support that type of lighting. The basic lighting option is None, which is the way the lighting in the game looked upon release, and is supported on all maps/levels. If you want a brighter, hazier and slightly more vivid look, you can choose Bloom lighting, however it may reduce performance slightly. If you select Full, then full SM2.0 High Dynamic Range (HDR) lighting will be used, giving a very vivid and contrasting lighting look to the game, at the cost of some performance. A screenshot comparison is shown above, however note that HDR is difficult to demonstrate in a static screenshot, since it's a dynamic form of lighting - it is most noticeable for example when you switch your view from a dark to a light area, and HDR simulates the way your eyes adjust to the brightness, by being quite bright initially and then dimming slightly moments after. Note that you can adjust the dynamic aspect of HDR by using the mat_hdr_tonemapscale command, and you can adjust the intensity of the Bloom effect by using the mat_bloom_scalefactor_scalar command - see the Advanced Tweaking section for details.
Use 'bloom' effect when available: This option is a bit confusing in that it seems to duplicate the existing Bloom setting above. While in theory you can enable Bloom and HDR at the same time, and thus this setting may allow that, in practice while testing it I saw no difference from enabling or disabling this option with the various lighting options. I would recommend setting whether to use Bloom or HDR using the 'High Dynamic Range' setting and leaving this box unticked.
Motion Blur: This option can be enabled or disabled, and controls a very slight blurring effect when the character's view moves rapidly. While difficult to capture, the screenshot comparison above shows the slight blurring on the shot on the right with Motion Blur on, as the scene was captured during a rapid turn. The same turn didn't result in any blurring when Motion Blur is disabled, as the left shot shows. You can adjust the intensity of the motion blur effect by using the relevant mat_motion_blur_ commands detailed in the Advanced Tweaking section.
Hardware DirectX Level: This section at the bottom of the Advanced Options box shows you the maximum level of hardware DirectX support your graphics card can provide in the game. Older graphics cards can only provide hardware DirectX7 or DirectX8 support, which in turn means lesser quality special effects and visuals, but improves performance. All recent graphics cards provide full DirectX9 support, which gives optimal image quality, but with varying degrees of performance depending on the particular graphics card. You cannot tweak your graphics card's hardware DirectX capabilities to increase it from DirectX8 to DirectX9 for example, as this is reliant on physical hardware onboard your graphics card. You can however reduce the level of hardware DirectX functionality requested by the game to gain performance or resolve graphical issues at the cost of image quality - see the Advanced Tweaking section for more details.
Software DirectX Level: This section shows you the level of software DirectX functionality currently being utilised by the game. It should show DirectX V9.0 for all systems, since you need to have DirectX 9.0c software installed on your system to play Half Life 2. You should download the latest version of DirectX and install it to provide optimal performance and/or resolve any graphical glitches.
The next section deals with Advanced Tweaks which can be used to further customize Half Life 2 performance and functionality.
|
|