
Ghost Recon: Advanced Warfighter 2 Tweak Guide
[Page 8] Neat Stuff & Conclusion
This page brings the guide to a conclusion with some useful gameplay tips and tweaks you should make sure not to skip.
Gameplay Tips
GRAW 2 is first and foremost a strategic shooter, so it's important to understand and successfully utilize all the main features of the game if you want to enjoy the experience. It can be very confusing for new players to figure everything out. The first place to look is in the GRAW 2 manual which can be found in your game box as well as under your \Program Files\Ubisoft\Ghost Recon Advanced Warfighter 2\Support\Manual directory. Below are some important tips you should keep in mind when playing the game:
That's just a summary of the more important gameplay tips. Obviously much depends on your particular gameplay style, however GRAW 2 is not the same as the Battlefield series, or Quake or Unreal Tournament, or even America's Army. It has to be played on its own terms, and requires some patience, tactics and thought otherwise you will spend a lot of time waiting to respawn, which can be very frustrating, particularly on servers with limited numbers of available respawns.
Practising in 'Offline Mode'
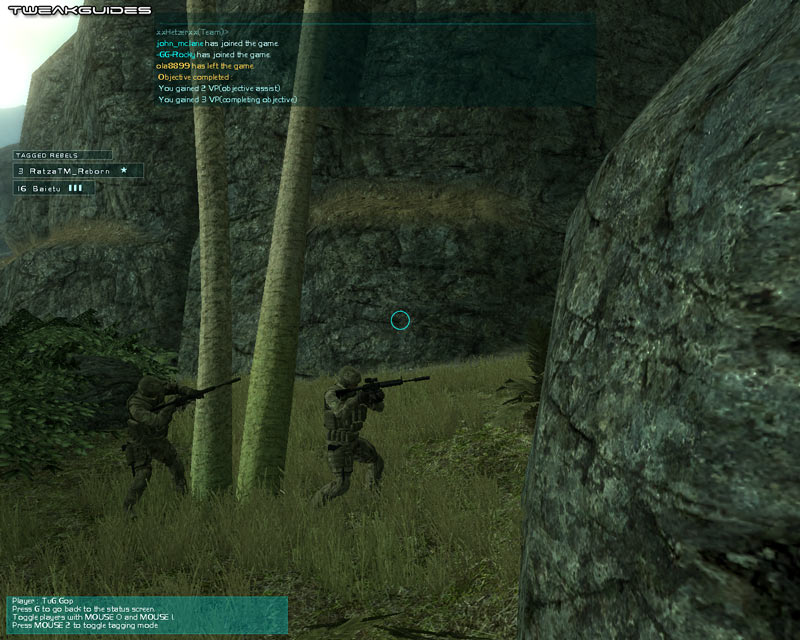
As part of learning to play the game, and acquainting yourself with the layout of the online maps, you can practice in 'Offline Mode', even though such a mode doesn't actually exist. The best way to do this is to go to the main menu screen and click the Multiplayer link. Now click 'Create Server', and on the next screen set the server type to 'LAN Server'.
To play by yourself, so that you can acquaint yourself with the layout of particular maps, add the maps you wish to play on. Making sure to only select a game mode such as rvsa (Recon vs. Assault), since you cannot play solo in game modes such as tdm (Team Deathmatch) - the map will load, but you will only have a few seconds before Victory is declared since there is no opposing team. At the bottom of this screen, make sure to uncheck the 'Balance Teams' box, then click 'Create Server'. When the map loads, select the Recon team, and your desired class, and now you can wander the map and practice using your weapons. This is a great way to familiarize yourself with the map layout and check out the various hiding spots and so forth.
To play against a range of 'bots' (computer-controlled enemy), follow the steps above, but instead select one of the coop maps. You will play alone against a range of hostile bots.
In either case while it is no substitute for playing against human opponents online, it can help give you an advantage by knowing all the details of the map layouts, and allows you to experiment with different weapons and tactics.
Skip Intro Movies
If you want to avoid having to click through all the introductory/logo movies each time you launch GRAW 2, follow these steps:
1. Go to your \Program Files\Ubisoft\Ghost Recon Advanced Warfighter 2\Data\movies\ directory.
2. Rename the following .bik files or move them to another directory (e.g. create a new subdirectory and move them there) - I don't recommend deleting them: ESRB.bik, graw2_trailer.bik, grin_logo.bik, SIGNATURE.bik and ubi_presents.bik.
3. Now download the following archive containing blank movie files - each one is a blank .bik movie, not just a renamed .txt file: SkipIntro_GRAW2.zip (3KB). Extract the contents into the directory at step 1 above.
The next time you launch GRAW 2, after the initial splash screen it will reach the main menu after a brief period. Note that if you don't use the blank movie files above and you simply delete or rename the existing movie files, you will reach a black screen at startup which requires that you click your mouse several times to reach the main menu, otherwise you will simply sit at a blank screen for quite a while. That is why the method above is a neater solution.
Vertical Synchronization
By default, Ghost Recon: Advanced Warfighter 2 seems to run with Vertical Sync disabled. While this provides optimal performance, it can result in 'tearing', which some people find annoying. Since there is no option to enable VSync in the game, you can only enable it via your graphics card's control panel. However as soon as you enable VSync, your framerate can drop by as much as 50%. If you do want to enable VSync, I strongly encourage you to also enable Triple Buffering to prevent this drop in frame rate. More details can be found in the Triple Buffering section of my Gamer's Graphics & Display Settings Guide.
Checking FPS & Recording Videos
There is no way to check your framerate in Ghost Recon: Advanced Warfighter 2, so if you want to measure your FPS, you should use the latest version of the free FRAPS utility. Not only does FRAPS allow you to check FPS, you can also take screenshots and capture video footage, such as these GRAW 2 Gameplay Videos I made using Fraps.
Single vs. Dual Core CPUs
GRAW 2 is optimized for dual-core CPUs. As such, if you are running a single core CPU, there will be a noticeable performance disadvantage compared to a system which has a dual or multi-core CPU. If you're considering upgrading your system, keep this in mind as more and more games now take advantage of dual core CPUs.
Conclusion
That brings the guide to a conclusion. The guide was originally written for the demo version, but has been updated for the full version which is almost identical. I hope you found the guide useful, and if you have any additional working tweaks or tips or corrections you think might be useful, please email me with the details. Please keep in mind that I can't provide any personal tech/tweak support under any circumstances.
Until next time, take care!
|
|