
Enemy Territory: Quake Wars Tweak Guide
[Page 6] In-Game Settings (Pt.2)
Advanced
The Advanced section deals with a range of graphics settings which can have a significant impact on performance. The first three Texture Quality sliders control the different aspects of textures, which cover the surfaces of all the objects in the game world:
Diffuse: This slider controls the level of detail on grainy/matte surfaces.
Bump: This slider controls the level of depth on raised or indented surfaces.
Specular: This slider controls the level of reflectivity on shiny surfaces.
In general simply reducing one slider doesn't necessarily have a significant performance or visual impact, so to see an animated screenshot comparison of the different texture levels when all three sliders are at 100%, 50% and 0% click this link: ETQW_Textures.gif (780KB). As you can see, the textures become progressively blurrier, flatter and less shiny as these settings are reduced. As with most games, lowering texture settings doesn't necessarily change the FPS as such, it mainly reduces stuttering. However ET:QW, due to megatexturing (See Conclusion section) doesn't stutter greatly, so there's usually no need to reduce these sliders unless you feel it will give you a gameplay advantage for example, or you're running a low-end system and genuinely struggling for FPS. Note: see the image_PicMipEnable variable in the Advanced Tweaking section if you want to improve texture quality even more.
Anisotropy: Anisotropic Filtering (AF) is explained in more detail at the bottom of this page of my Gamer's Graphics & Display Settings Guide. Essentially it's a method of making textures sharper as they recede into the distance. This slider controls the sample rate of AF used, up to 16x AF. Most recent graphics cards can handle a reasonable level of AF, such as 4x AF, which provides a good level of image quality without any real drop in FPS. However a very high level of AF can reduce performance so if you're struggling for FPS, set this slider to the far left. Note that you can also use the various Level of Detail (lod) variables, such as image_lodbias, to further sharpen textures and game detail - see the Advanced Tweaking section.
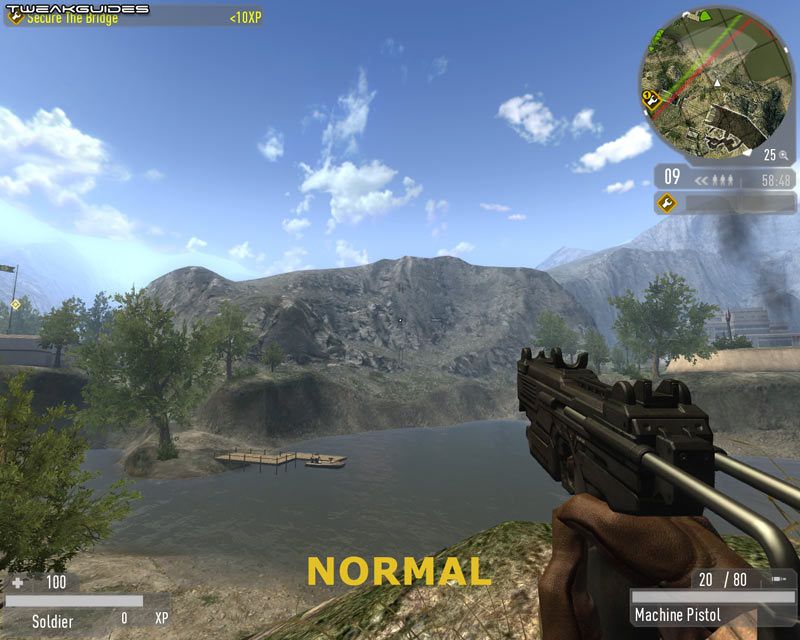
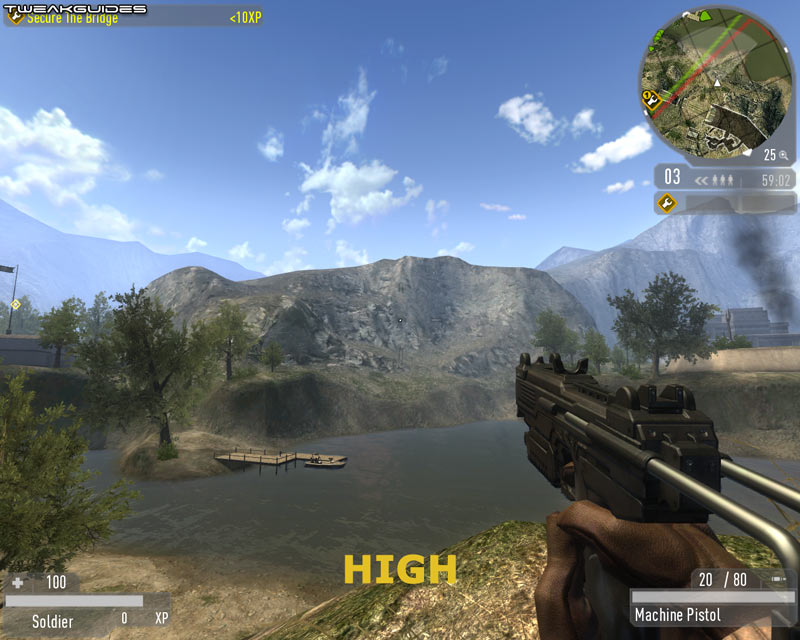
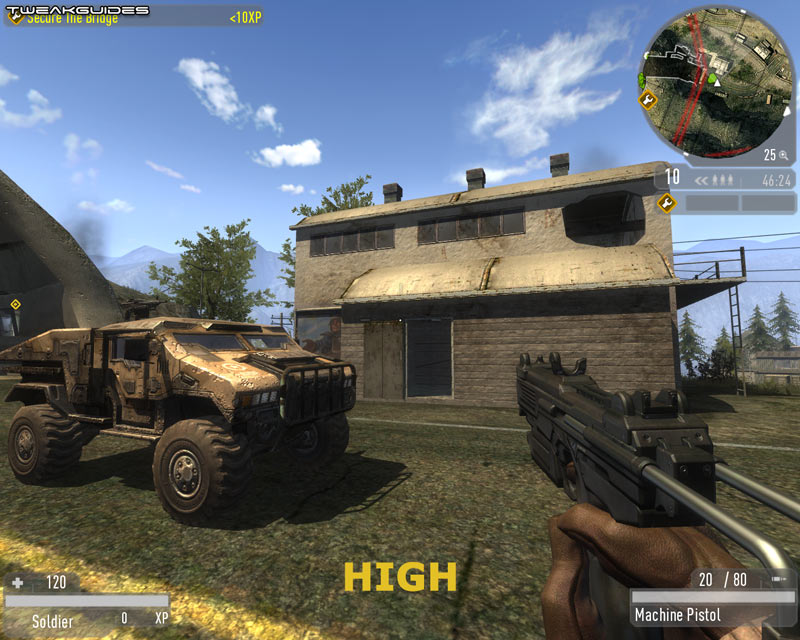
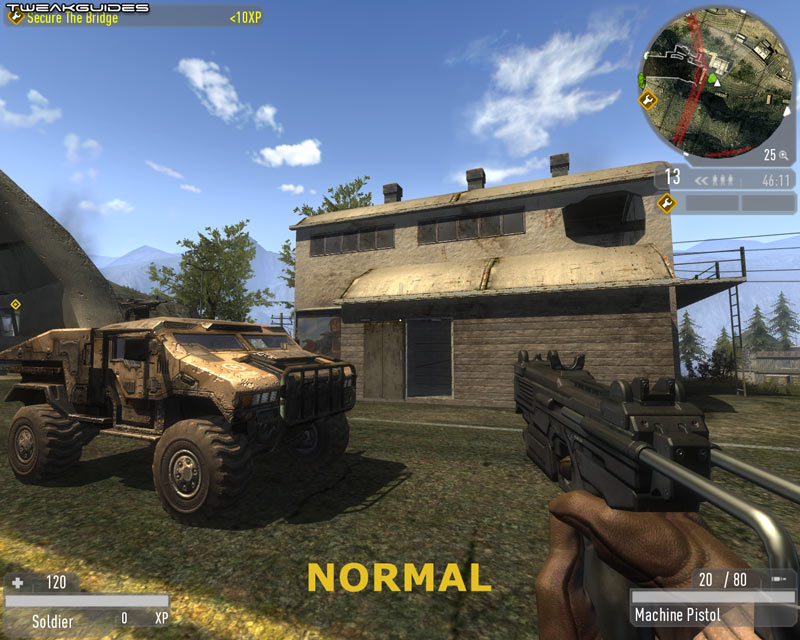
Lighting Quality: This setting can either be on Normal or High, and in general controls the accuracy of lighting in the game. As the screenshot comparison above shows, at Normal the lighting is quite bland and lacks a lot of depth and color, even making distant objects harder to distinguish precisely because it all tends to blend together a lot more. At High there is a noticeable reduction in FPS, but in return the game is much more vivid, colorful and clear. If you're struggling for FPS set this to Normal. Note that this setting is the same as the r_megadrawmethod variable covered in the Advanced Tweaking section.
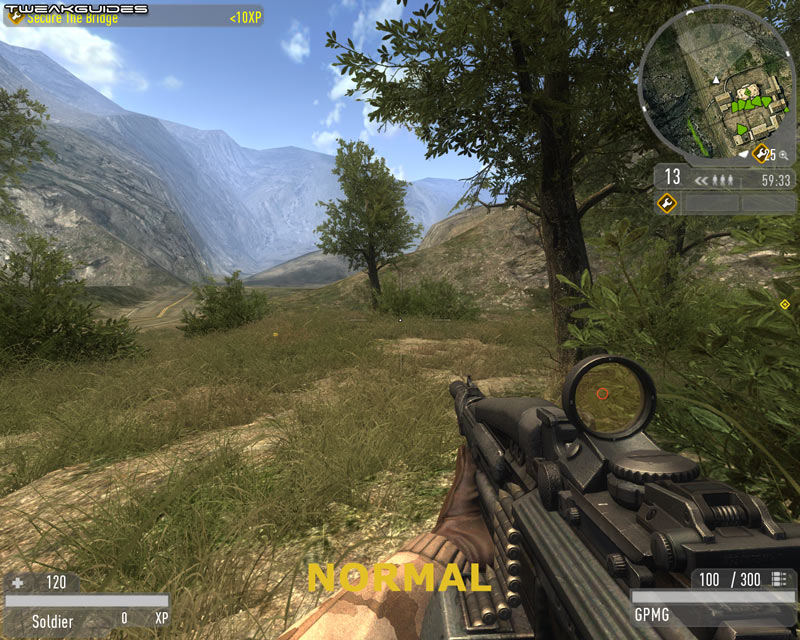
Foliage Quality: This setting is meant to affect the quality of foliage, namely the trees, grass and bushes. However in my experimentation it seems to have no impact at all, whether on the amount or density of foliage. Strangely though, the Effects Level setting does have an impact on foliage - see further below.
Terrain Quality: This setting is meant to control the quality of the terrain, but once again at the moment it appears to have no impact at all.

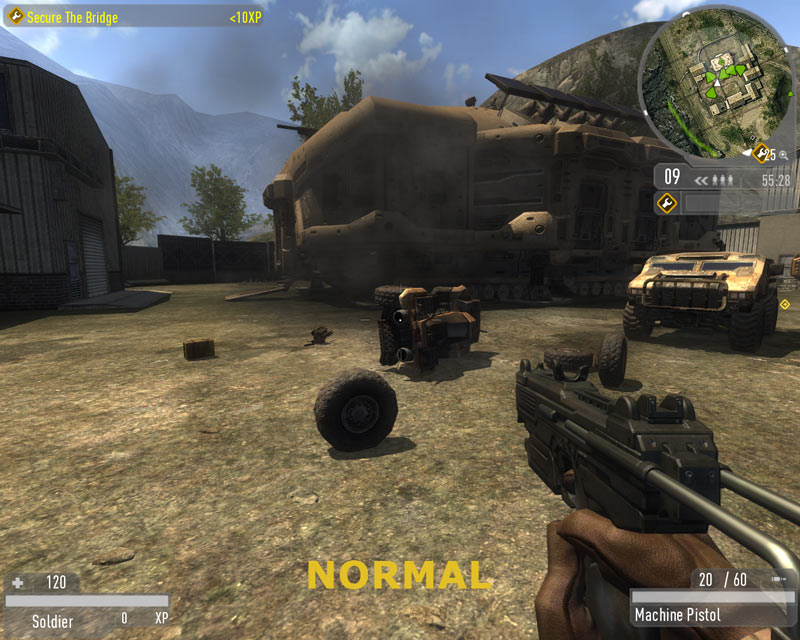
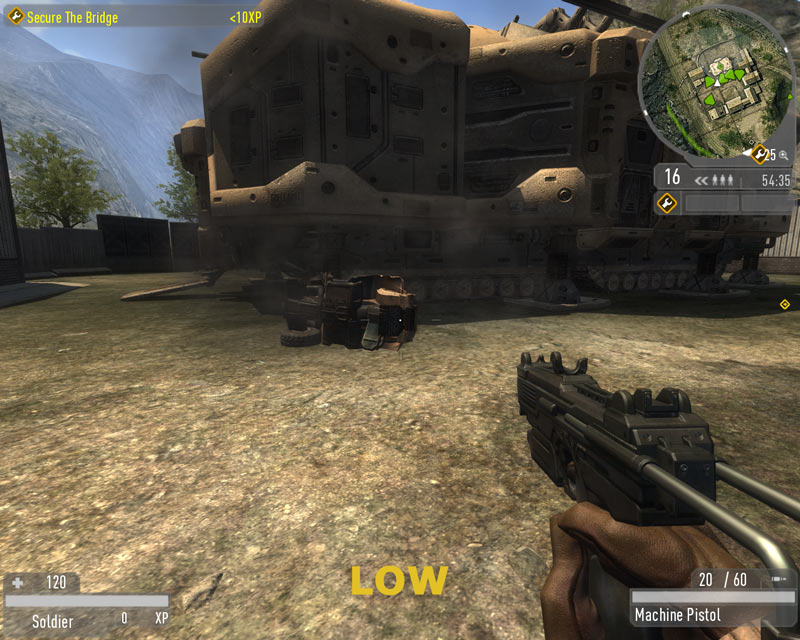
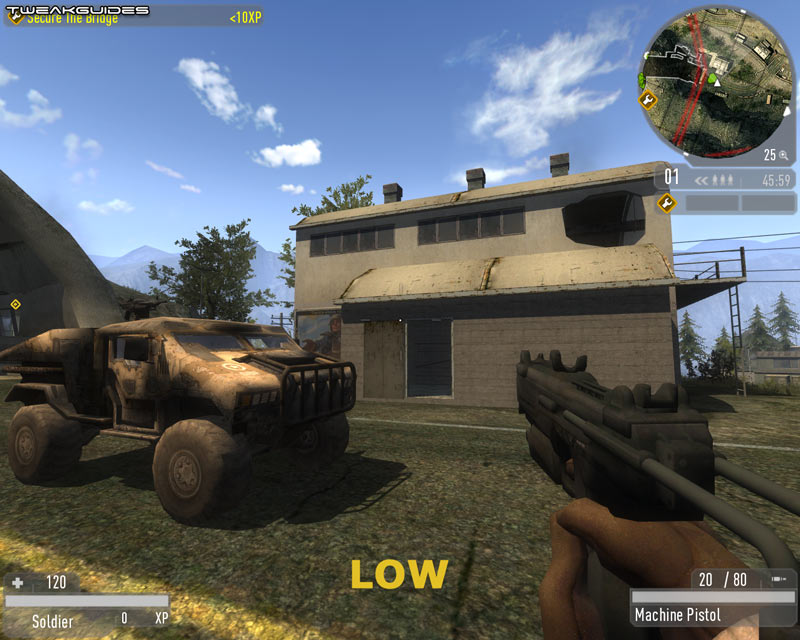
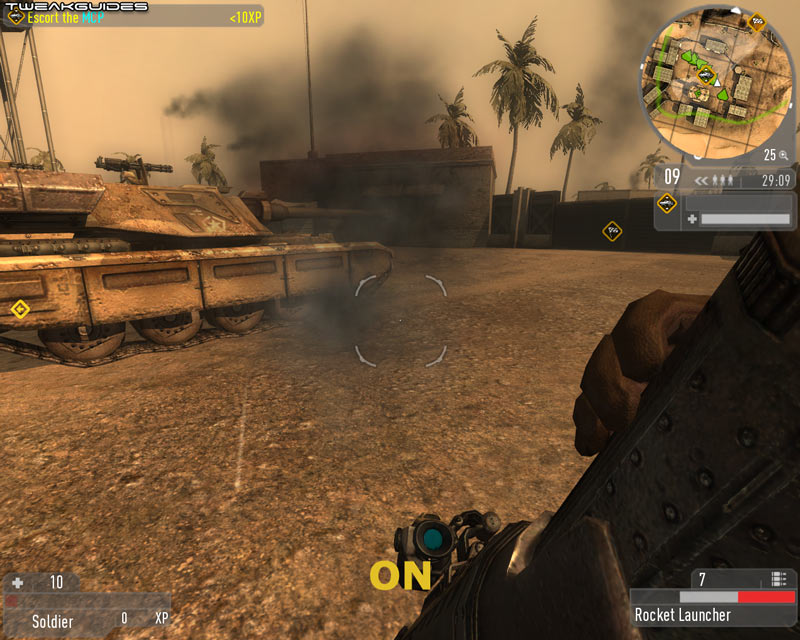
Debris/Weather: This setting supposedly controls a combination of both weather effects and debris. However in my testing the setting appears to have no noticeable impact on weather on maps such as Salvage or Outskirts which have rain and snow. It does however impact on the amount of debris shown from explosions. A screenshot comparison is provided above, and as can be seen the same exploded vehicle has differing levels of debris at High, Normal and Low. This means that in heavy combat by reducing this setting you can improve your FPS and possibly remove distracting bits of debris at the same time at the cost of some realism.
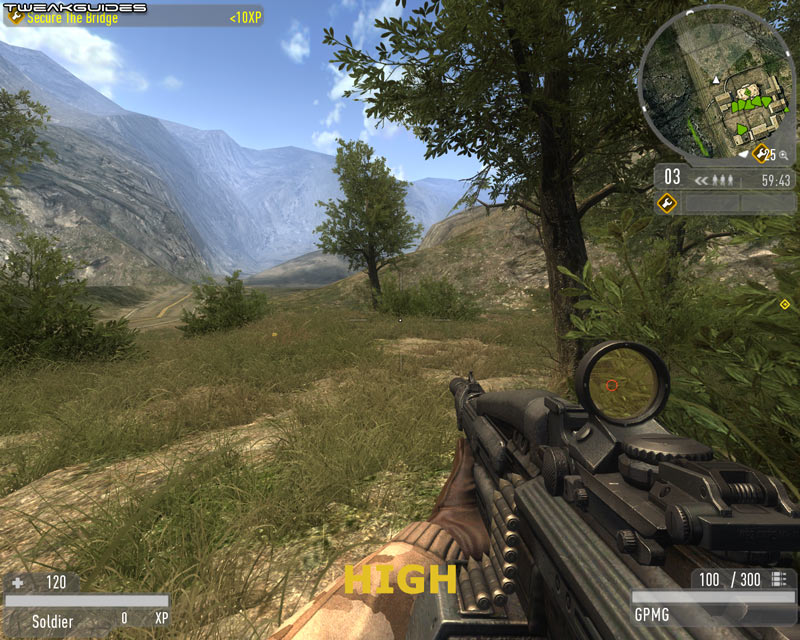
Shader Effects: It must be noted that this setting seems linked to the Shader Level setting, as altering Shader Effects to High for example sets the Shader Level to Ultra as well, altering Shader Effects to Low sets the Shader Level to Low, etc. Thus both settings will be covered in combination, as they effectively control the way Shaders are used to alter image quality. The screenshot comparison above shows that between High and Normal the difference is indistinguishable, however at Low there is a clear decline in image quality, but an improvement in FPS.

Effects Level: This setting doesn't affect the in-game special effects from weapons and so forth. As the screenshot comparison above shows, the most noticeable impact of lowering the setting is the complete removal of all grass at the Low level. This improves performance and can also be a gameplay advantage, but it does reduce realism. If instead you want to customize how much grass you can see, and the way it fades into and out of view, see the r_stuffFadeStart and r_stuffFadeEnd variables in the Advanced Tweaking section. However importantly, lowering this setting can also remove vehicles from view in the distance, so for strategic reasons you should keep this setting at at Medium or High.
Shader Level: See Shader Effects above.
Anti-Aliasing: Antialiasing is a method of smoothing the jaggedness of lines in 3D graphics. For more details see this page of my Gamer's Graphics & Display Settings Guide. This setting has up to five options depending on your graphics card's capabilities: Off, 2x, 4x, 8x and 16x. When set to Off, there is no additional Antialiasing used, and this provides the fastest performance. When set to 2x Antialiasing, this uses your graphics card to smooth out jagged lines at the cost of some FPS. Higher levels of Antialiasing will reduce FPS even more, but smooth out jaggedness considerably, particularly for distant objects. Note that if you have any level of Antialiasing enabled in your graphics card control panel, they can add to or override these settings. If you want to use Antialiasing in ET:QW I recommend disabling any forced Antialiasing in your graphics card's control panel and then setting the AA level in-game here.
Vertical Sync: Vertical Synchronization (also called Vertical Sync, or simply VSync) is the synchronization of your graphics card and monitor's abilities to redraw the screen a number of times each second. It is covered in more detail on this page of my Gamer's Graphics & Display Settings Guide. If VSync is unticked you may see some image 'tearing' as your monitor and graphics card go slightly out of synchronization at times, however this will give you the best performance and also reduce mouse lag. When VSync is enabled (ticked), your FPS will be capped at your monitor's refresh rate, but more importantly your overall FPS can also be reduced by up to half, though you can offset this impact by enabling Triple Buffering. Note that ET:QW is an OpenGL game, so you need only enable Triple Buffering in the graphics card control panel for it to work.
Importantly in ET:QW the game engine is effectively capped at 30FPS on most machines, and you cannot normally exceed this framerate regardless of your VSync setting. You can however remove/adust this framerate cap and increase your framerate - see the last page of this guide for more details, as well as the com_unlockFPS, com_unlock_timingMethod and com_unlock_maxFPS variables under the Advanced Tweaking section.
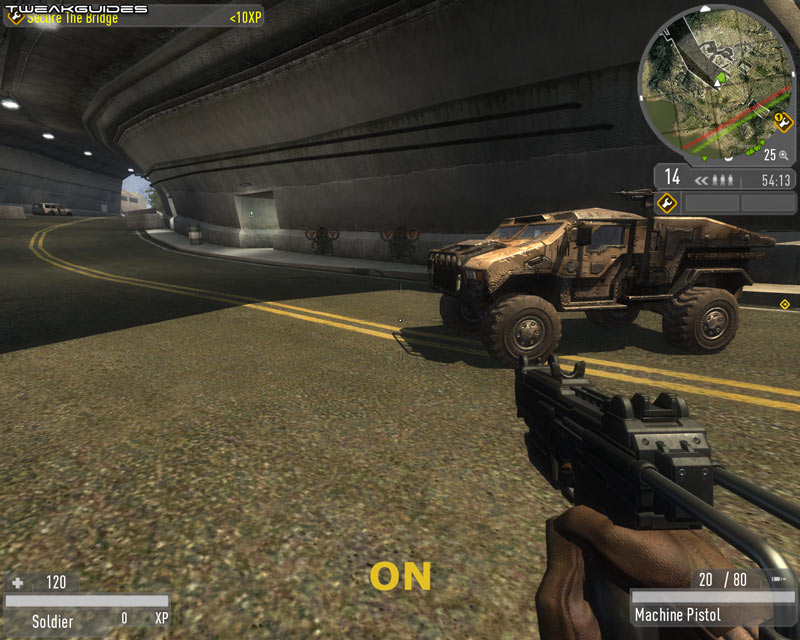
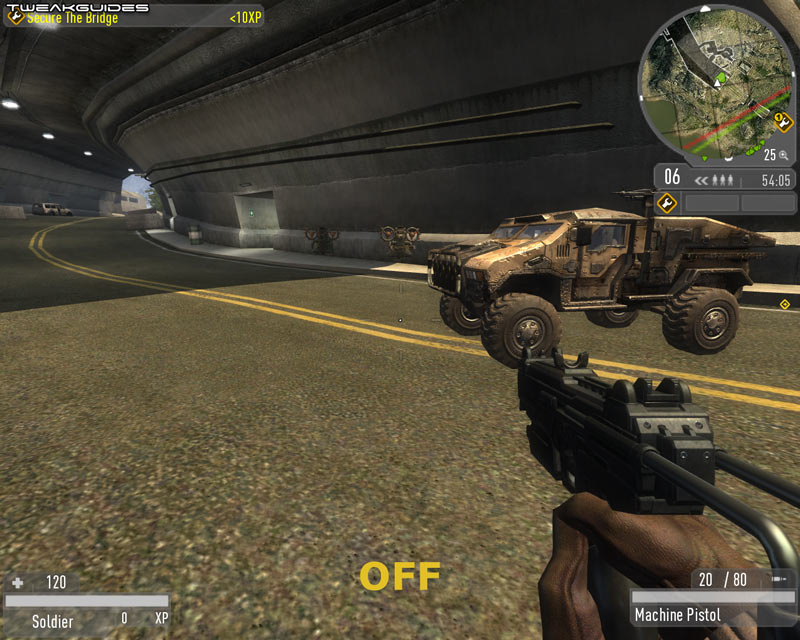
Shadows: This setting controls whether dynamic shadows are enabled or not. As with most games, this can have a noticeable impact on performance, as dynamic shadows require additional calculation. However as the screenshot comparison above shows, disabling shadows does not disable all shadows, as static shadows cast by fixed objects such as buildings remain. So disabling shadows does not necessarily give a major gameplay advantage, but if you need extra FPS it is worth unticking this setting.
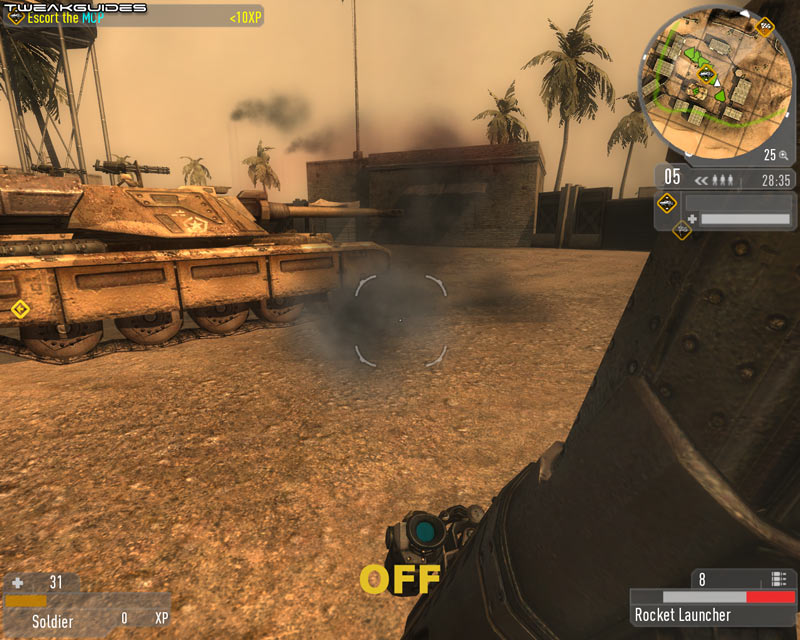
Soft Particles: This option controls whether soft particle effects are used to make things like smoke, steam and dust appear more realistic, softening their edges when they clip other objects for example. The screenshot comparison above shows this - with Soft Particles disabled on the left, the smoke from the explosion shows clear clipping against the ground, with it enabled the smoke blends cleanly with its surroundings. However in practice it's difficult to note any difference, as the effect is extremely subtle. If you want maximum FPS with no significant decline in image quality untick this option. Note that this option doesn't work for ATI graphics cards at the moment, and is a known issue, so it is greyed out for ATI users.
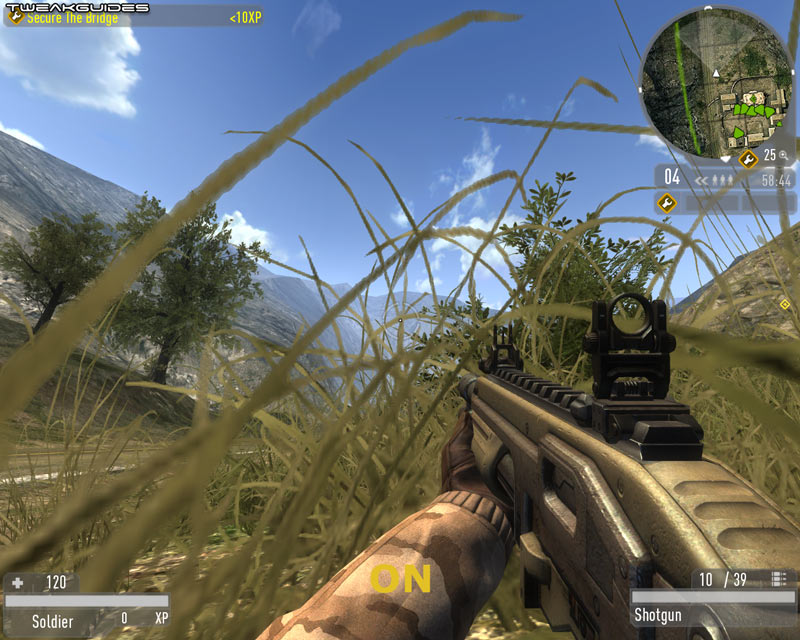
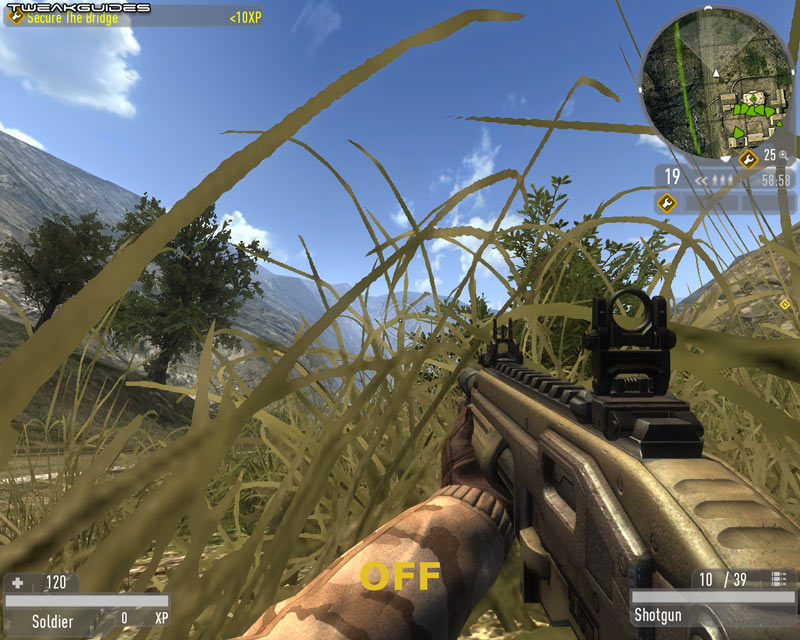
Smooth Foliage: When enabled, this option makes the edge of foliage such as grass and trees slightly hazy, to enhance realism. It is normally difficult to see, but in the screenshot comparison above the difference is quite clear - look at the blades of grass and you can clearly see that with this setting enabled, the edges are not as harsh as with it disabled. In general it should be left on for optimal image quality, but it can reduce FPS in outdoor areas so disable it if you need the extra performance without any major decline in image quality.
Once you've adjusted all your settings, make sure to click the Apply button and restart your system if required. Remember however that there are a large number of tweaks you can undertake using command variables which can further customize the settings in the game, and these are covered starting on the next page.
The next section looks at advanced tweaking for Enemy Territory: Quake Wars.
|
|