
Dark Messiah of Might & Magic Tweak Guide
[Page 10] Neat Stuff & Conclusion
This page finalizes the guide by spelling out a couple of handy tips and tweaks before bringing the whole thing to a conclusion.
Speeding Up Startup Time
While this is covered under the relevant command variables in the Advanced Tweaking section, I thought I'd spell this one out here for those that may have missed it. You can greatly speed up the time it takes to load up Dark Messiah, also reducing memory usage at the same time by doing the following (See the Advanced Tweaking section for details):
1. Go to your Dark Messiah singleplayer launch icon, right-click on it and select Properties. If you are running the game through Steam, instead right-click on the game's name under My Games, select Proprties and then click on the 'Set launch options'.
2. In the Target box, after the last " mark, add a single space then add the following text:
-novid +map_background none
Then click OK and you're done. Using this launch icon will mean the game loads much faster. The first command skips the startup videos, and the second one removes the animated image of the mage and smoke in the background of the main menu screen.
Dual Core Issues
The Source engine as it currently stands is not optimized to take advantage of dual core or hyperthreading CPUs. However if you have an AMD Dual Core CPU, to prevent any problems make sure to download and install the AMD Dual Core Optimizer. This can resolve slowdowns and strange/skipping stuttering on AMD Dual Cores. Intel Dual Core CPUs do not require this fix, however if you still believe you have Dual Core related issues with Dark Messiah, see the Task Manager chapter of the TweakGuides Tweaking Companion for further fixes.
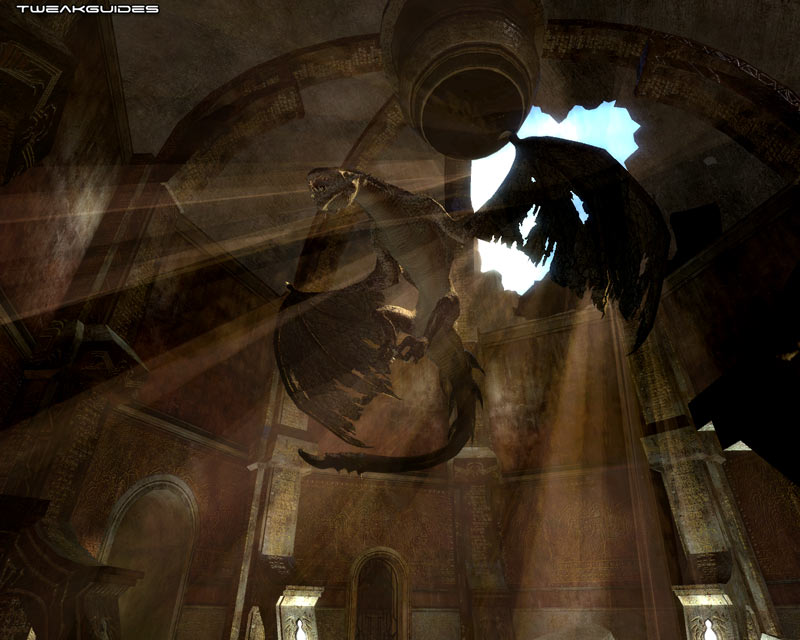
Taking Cool Screenshots
Dark Messiah really does have some detailed and beautiful scenery and characters. If you want to take some amazing screenshots of these, here's a way you can do it. Note that all the commands below are detailed in the Advanced Tweaking section of the guide. Load up your favorite level then open up the console and type the following commands:
sv_cheats 1
god
noclip
cl_drawhud 0
The above commands will remove the HUD overlay, and turn on God mode (so you can't get hurt) and also disable clipping, meaning you can fly around the map. To place an NPC into a specific location for a shot, you can then use the various mm_npc_create_ commands - type cvarlist mm_npc_create in the console and you'll quickly see a list of the monsters/NPCs you can summon with the relevant commands. For example to summon a lich, aim your crosshair towards the location where you want it to spawn, then type mm_npc_create_lich and it will appear. Note that NPCs which are usually hostile will start attacking you, so use the ai_disable command to freeze them in place (you can freeze/unfreeze them using ai_disable again).
Now all that remains is to stage the shot you want, and then either use FRAPS (see below), or type jpeg in the console, or bind the jpeg command to a particular key e.g. Bind F10 Jpeg to bind it to the Function 10 key, and you will take a screenshot saved to your Program Files\Ubisoft\Dark Messiah of Might and Magic\mm\screenshot\ directory. You can even specify the quality of the Jpeg images using the jpeg_quality command, e.g. jpeg_quality 60 to set 60% quality. In general anything over 51% quality looks fine.
Benchmarking, Video Capture and Screenshots
To run benchmarks of the game's performance see the Benchmarking section on page 9, although note that the demo record/playback commands appear broken at the moment. To take screenshots of the game, use the jpeg [filename, quality] command as detailed on page 8. However to make both of these much easier to do, and to allow you to easily capture fullscreen video of the game, I recommend the FRAPS utility. The free version does all this, allowing up to 30 seconds of video capture.
Conclusion
Well that brings this guide to a close, and although I was able to complete it relatively quickly because of my earlier work on the Half Life 2 Tweak Guide, I can promise you that I had to spend quite a lot of time retesting everything as Dark Messiah is not exactly the same as Half Life 2, and various things have changed or have been added - from the in-game settings to the command variables. Some of the in-game settings in particular proved very troublesome to work out as they appear to have no effect. As always, please Email Me if you want to give me feedback or have any corrections/suggestions/additions for the guide, however please keep in mind that I can't provide personal tech or tweaking support. I hope you've found the guide useful.
Until next time, take care!
|
|