
STALKER: Clear Sky Tweak Guide
[Page 10] Neat Stuff & Conclusion
This section brings the guide to a conclusion, but has some important tips and tweaks, so it should not be skipped.

Disabling Introductory Movies
If you find the introductory movies/logos which play at STALKER: Clear Sky's startup annoying, unfortunately unlike the original STALKER: Shadow of Chernobyl, you can't simply use the -nointro command line switch to disable them; this option has been removed from Clear Sky. However there is a way you can skip these movies using a small modified ui_movies.xml file. Follow these instructions:
1. Download the following file (right-click on it and 'Save Target/Link As'): ClearSky_NoIntro.zip (2 KB).
2. Extract the contents of the .zip file directly to your \Program Files\Deep Silver\S.T.A.L.K.E.R. - Clear Sky directory and it should create the appropriate subdirectories and place the file in the right location. If it doesn't and you need to create the subdirectories manually, or if you want to double check if it's correctly located, it should look like this:
\Program Files\Deep Silver\S.T.A.L.K.E.R. - Clear Sky\Gamedata\configs\ui\ui_movies.xml
3. Once the file is in the right location, you will need to make a small edit to your fsgame.ltx file found under the \Program Files\Deep Silver\S.T.A.L.K.E.R. - Clear Sky directory using a text editor like Notepad. This is necessary for the game to recognize and use this modified .xml file. Full details on what you should do are at the bottom of Page 4 of this guide, however briefly it just involves changing the following line in the file:
$game_data$ = false| true| $fs_root$| gamedata\
Change the false to true, i.e.:
$game_data$ = true| true| $fs_root$| gamedata\
Close and save the file, and once all the above is done, the next time you launch STALKER: Clear Sky, it will eventually open at the main menu, bypassing any startup movies. Thanks to Jonas Beckman for preparing this modified file.
Performance Issues
One of the very first things that STALKER: Clear Sky players will experience if they choose to use either of the new 'Enhanced Full Dynamic Lighting' modes is much lower framerates than they ever expected. Clear Sky seems at first to be as system-intensive as Crysis, if not more, when it doesn't necessarily look quite as good in many respects. You might think that the additional DirectX 10 effects might account for this performance hit, however in practice even the DX9 version of the 'Enhanced Full Dynamic Lighting' mode has much the same performance. The reason is relatively straightforward in terms of the source of the slowdowns: the 'god rays' visible in the early morning scene at the start of the game are almost entirely to blame for the major drop in performance on even high-end machines.
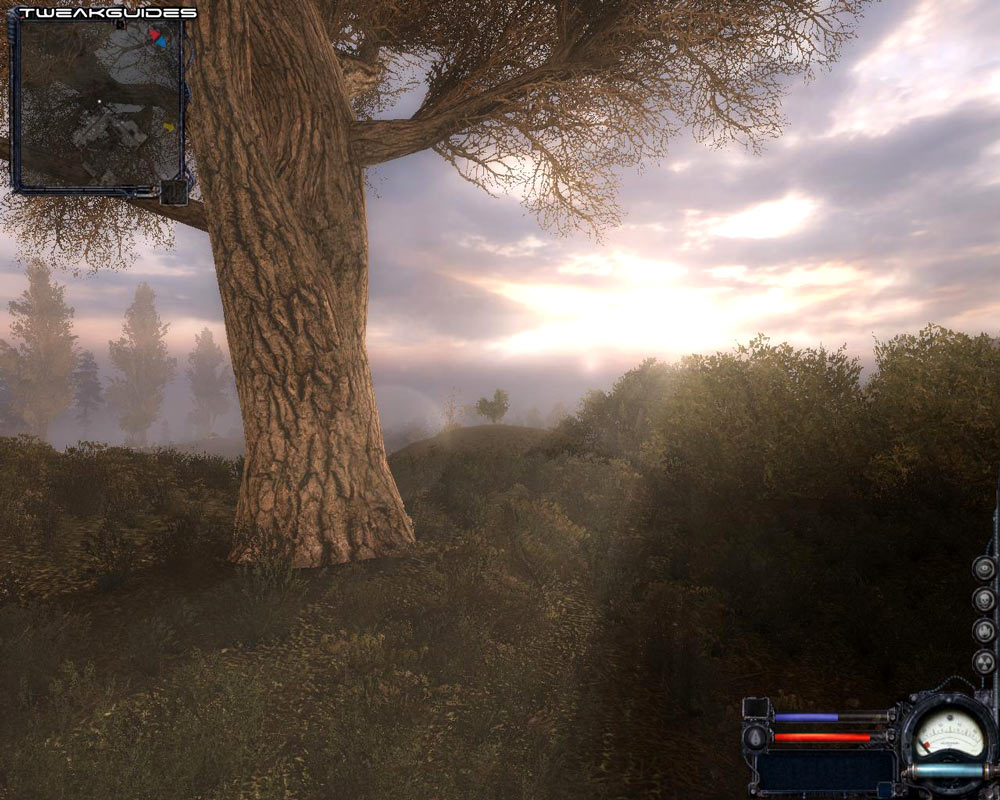
While it is a spectacular effect to be sure, unfortunately it doesn't really warrant almost halving your FPS. What's even more odd is that whether these rays of sunlight are visible or not, your performance will remain much lower than usual from between around 6:00am to 8:00am every morning in the game. This appears to be as much a bug as anything else, because even when the rays disappear, performance will continue to be low for a further few minutes until suddenly, once the Sun reaches a certain point in the sky, it's almost as though a magic switch is flicked and your FPS dramatically improves with no obvious change in visual quality.
Fortunately, as covered in the In-Game Settings section of this guide, there is a workaround to this dramatic slowdown which doesn't sacrifice much in the way of image quality: simply lower your 'Sun Rays' setting in the Advanced graphics options. Lowering it to Medium or Low will noticeably improve your framerate, and although it does thin out the sun ray effect slightly, it's nothing noticeable, and it makes early mornings playable again for most people. If absolutely necessary, disable this effect altogether, as it is by far the most performance-sapping option in the new Enhanced render modes.
Because of the undue performance impact of Sun Rays, I don't recommend adjusting your other graphics settings or trying to measure your general performance until after around 8:00am, as otherwise the effect of the sun rays will mean your results will not be representative of how the game runs 90% of the time. In general the game will perform quite well in DX10 mode using maximum settings (except Antialiasing) at a reasonable resolution on an 8800GT or higher, as long as you lower Sun Rays, along with a few other minor tweaks or changes of your choice as covered in this guide.
Also note that for some reason, unlike Shadow of Chernobyl, in Clear Sky you will need to quit and restart the game to implement a change in most of the graphics settings, even when this is not noted by the game itself. Everything from changing the Grass Density slider to adjusting the Sun Quality setting will require a quit and restart, so don't get confused if you change a setting and don't see any immediate impact; quit and restart to see the impact. This is very annoying to be sure but there is no way around it at the moment.
DirectX 9 vs. DirectX 10
A common question people will have regarding Clear Sky is what the difference is between DX9 and DX10 mode. This is a relatively simple question to answer: the new DX9 and DX10 'Enhanced Full Dynamic Lighting' modes are very similar in visual quality and performance, except for the following enhancements which are only possible in DX10 mode:
The above settings are explained fully - along with comparitive screenshots - in the In-Game Settings section, as well as a comparison of all the render modes, so check there for more details. In short if you hear people say that the DX10 mode in Clear Sky has no real benefit, this is not actually true. The Wet Surfaces effect in particular makes a significant difference to image quality and realism during the rain, and is a worthwhile addition in DX10 mode. Aside from the Wet Surfaces comparison picture on page 6, check out the picture of the Stalker on the first page of this guide - it was taken in the rain in DX10 mode, and that helps make it look much more realistic. For those with high-end graphics cards, the ability to apply proper Multisampling Antialiasing is also a handy feature that's not possible in DX9 mode. So if DX10 mode is available to you - i.e. if you run Clear Sky under Vista with a DX10-capable graphics card - then I strongly recommend giving it a try, as the visual improvements over DX9 mode are worth it, at minimal performance cost.
In general however, the DX9 'Enhanced Full Dynamic Lighting' mode is already quite good, even the original 'Full Dynamic Lighting' mode in Clear Sky still holds up quite well visually. And of course there are a range of tweaking options as covered in the Advanced Tweaking section of this guide which allow you to further improve the quality in all the available render modes.
The one major drawback to both the new DX9 and DX10 'Enhanced Full Dynamic Lighting' modes in my opinion is that they don't allow the use of Motion Blur using the -mblur command line switch along with the r2_mblur variable. In both cases enabling motion blurring results in glitches. This is unfortunate as use of motion blurring in Shadow of Chernobyl made the game much nicer visually, but sadly it only works in 'Full Dynamic Lighting' mode at best in Clear Sky.
Update: As of the 1.5.06 patch, DX10 mode now also allows the ability to apply MSAA to foliage, which greatly reduces the jaggedness of grass and trees in Clear Sky. If your graphics card supports DX10.1 mode, you can now also enable support for this render path to improve quality and also potentially improve performance in DX10 mode as well.
Clear Sky & Dual Core CPUs
In testing STALKER: Clear Sky on a dual core CPU, I've found that it doesn't seem to utilize both cores completely; at best it seems to use around 60% of both cores. This is confirmed by performance reviews such as this one. This is unfortunate, but is not surprising given the original STALKER: Shadow of Chernobyl did not properly utilize dual core CPUs either. What this means in practical terms is that Clear Sky is highly dependent on your graphics card, not your CPU.
Measuring FPS, Taking Screenshots & Capturing Movies
If you want to measure FPS or take screenshots in STALKER, you can use the rs_stats on console command to bring up an FPS/Statistical display, and you can use the F12 key or the screenshot console command to take screenshots, which will then be stored under your \STALKER-STCS\screenshots directory in .JPG format (or use the -ss_tga command line switch to take them in both .JPG and high quality .TGA format).
However if you wish to do all of the above, and also capture in-game movies in .AVI format in a much easier way, you can use the free FRAPS utility instead.
Recording Demos & Benchmarking
The demo_record console command allows you to record custom timedemos for benchmarking purposes. Use the demo_record [demoname] command in the console, and the game will begin recording your demo - you can then use left mouse button to move the camera forward, right mouse button to move it back, and A and D to move the camera left or right, W or S to move it up or down. You must press SPACE to regularly append key frames, and then press ESC when you want to finish recording. The demo is saved with the .xrdemo extension under your \STALKER-STCS\savedgames\ directory. To play it back, first load up the relevant saved game you used to record the demo, then type demo_play [demoname].
Now to play back a time demo in Clear Sky, launch the game and load up the saved game under which you recorded the demo above. Next open the console and type demo_play [savename]. The game will run through a preset demo, and at the end you will have to open up the console to see the minimum, maximum and average FPS figures for the demo run.
Conclusion
That brings the STALKER: Clear Sky Tweak Guide to a conclusion, and I hope you've found some useful pieces of information in this guide. If you believe there are any significant tips or tweaks missing from this guide, please Email Me with the details and I will look into it further, updating the guide as required. Unfortunately I can't provide personal tech/tweak support and I also don't provide permission for the guide to be reproduced elsewhere for several reasons.
In any case, thanks for taking the time to read the guide, and until next time take care!
|
|