
Assassin's Creed Tweak Guide
[Page 5] In-Game Settings
This section contains full descriptions and recommendations for all of Assassin's Creeds major in-game settings. You can use these to get a good balance between image quality and performance on your machine, however I can't give you precise performance impacts or specific instructions on what to turn on or off. It all depends on your particular hardware combination, and more importantly your personal taste for the trade-off between performance and image quality.
To access all the in-game settings, during an active game press ESC and select Options, then refer to the relevant sections below. Make sure to click the Apply button any time you change a setting if it is available.
Profiles: Before changing any settings, you will have to create a new profile, or select an existing one to continue with. It is important to understand that the game automatically saves your progress regularly as you reach certain points and achieve certain tasks, and this is saved against your profile. By default your profile and saved games are found under the Documents and Settings\Username\Application Data\Ubisoft\Assassin's Creed\Saved Games directory in Windows XP, and \Users\Username\AppData\Roaming\Ubisoft\Assassin's Creed\Saved Games in Windows Vista. Each set of profile files is identified by a string of numbers - to see which set of numbers relates to which profile, open a file ending in .hdr with a text editor like Notepad, and the name of the profile which corresponds to that numberical string will be shown. Note that the profiles/saved games are interchangable with all modes of Assassin's Creed; you can move them between XP and Vista, and also use the same profile in either DX9 or DX10 mode within Vista.
Graphic
Resolution: This option lets you choose the resolution of the game image, measured in pixels wide by pixels high. The higher the resolution, the more detailed the image on screen, but the lower your performance. For more details see the Resolution section of my Gamer's Graphics & Display Settings Guide. The number of resolutions available here are limited by what both your graphics card and monitor can handle. There are some important things to note about Resolution in Assassin's Creed:
You will also notice that each resolution has a particular Refresh Rate shown (a number in Hz), and this is described in more detail in the Refresh Rate section of my Gamer's Graphics & Display Settings Guide. Note: If you wish to set a different resolution and/or refresh rate than is allowed here, you can do so by changing the DisplayHeight, DisplayWidth and RefreshRate .ini variables covered in the Advanced Tweaking section.
Vertical Sync: This option controls whether Vertical Synchronization (VSync) is enabled or disabled in Assassin's Creed, and is described in more detail in the VSync section of my Gamer's Graphics & Display Settings Guide. It is strongly recommended that you set VSync to Off for the highest performance, however if you find that 'tearing' is annoying you too much, you can enable it, but you should then also enable Triple Buffering as described here to offset the negative performance impact.
Brightness: This slider simply controls the overall level of brightness in the game. Set it to suit your taste, it has no performance impact.
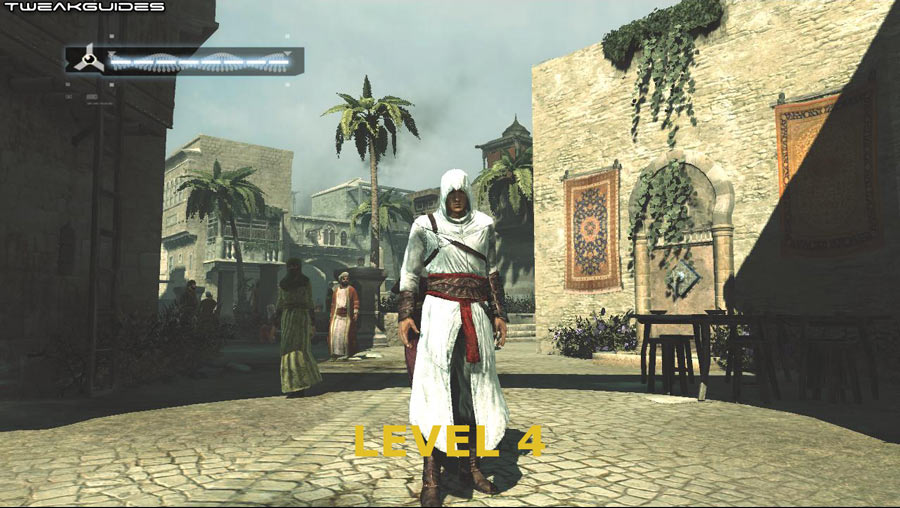

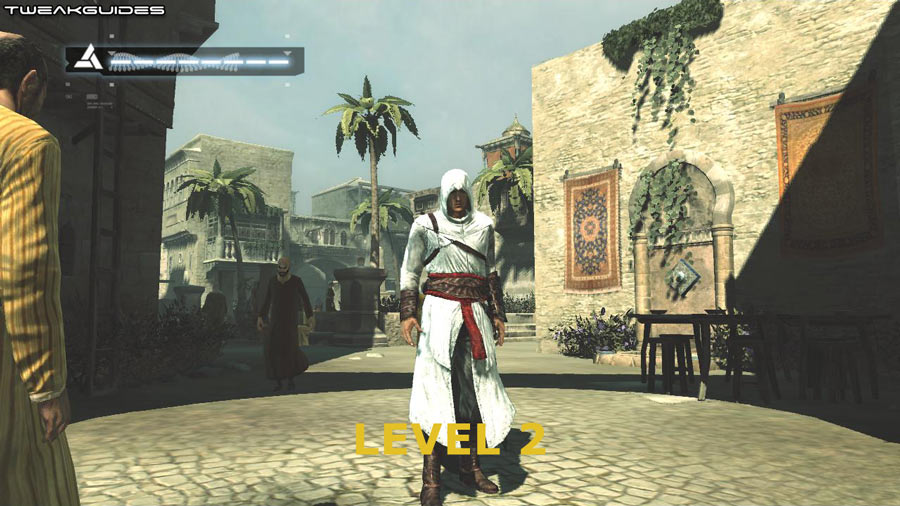
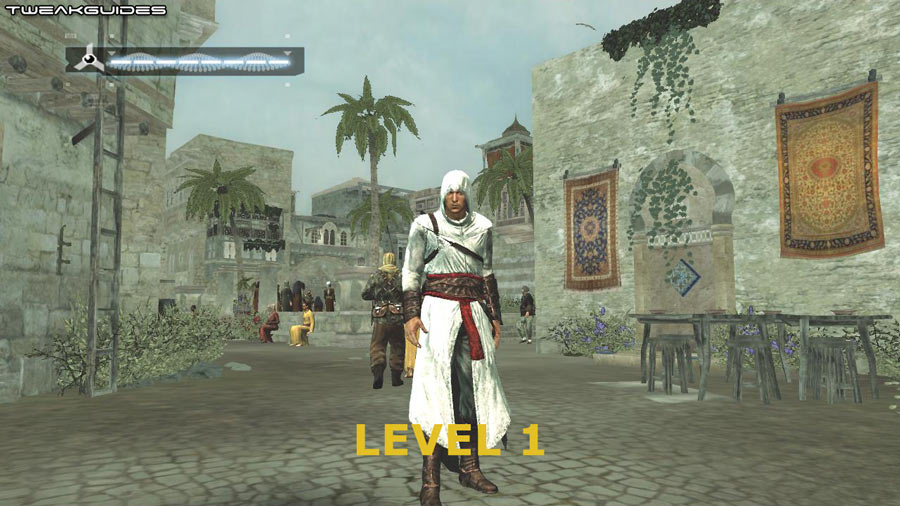
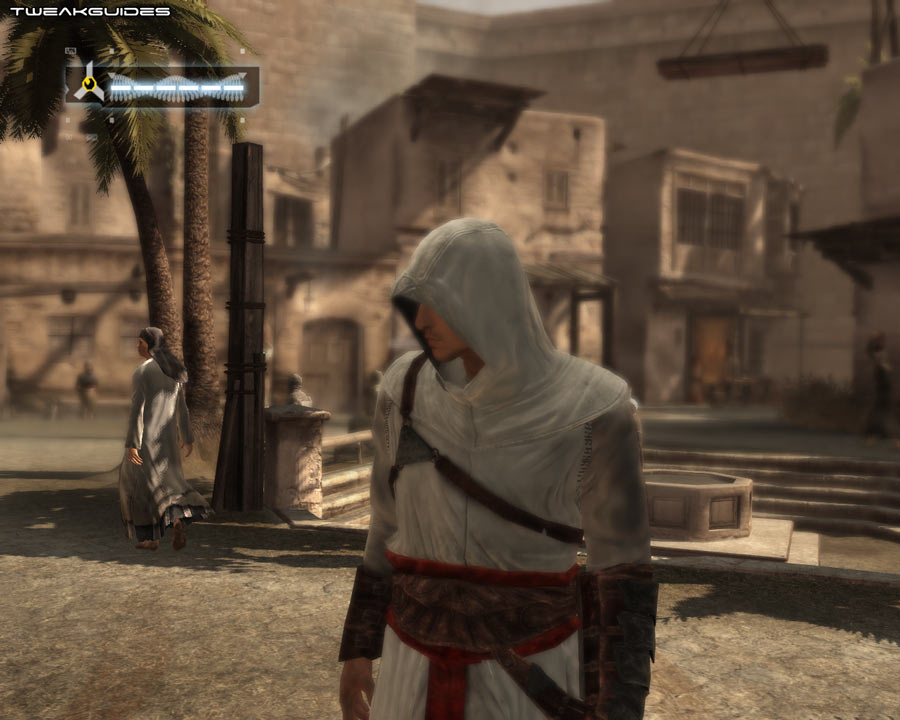
Graphic Quality: This option controls the overall level of graphics quality in the game. There are four levels available, with higher values providing better image quality at the cost of performance. A screenshot comparison of each of the four levels is provided above, and the significant differences are described below:
Obviously, unless you're absolutely struggling for performance, Level 1 is not recommend whatsoever. Even though it provides a significant jump in performance over Level 2, it also significantly reduces the atmosphere and visual quality of the game. Note that you can individually customize which effects are used by using the Particle, LODBlend, Clutter, Layers, Anisotropic, AlphaTest, AdvancedDynamicLighting, and ShadowMapSize .ini variables in the Advanced Tweaking section if you want to come up with a custom blend of graphics and performance for yourself.
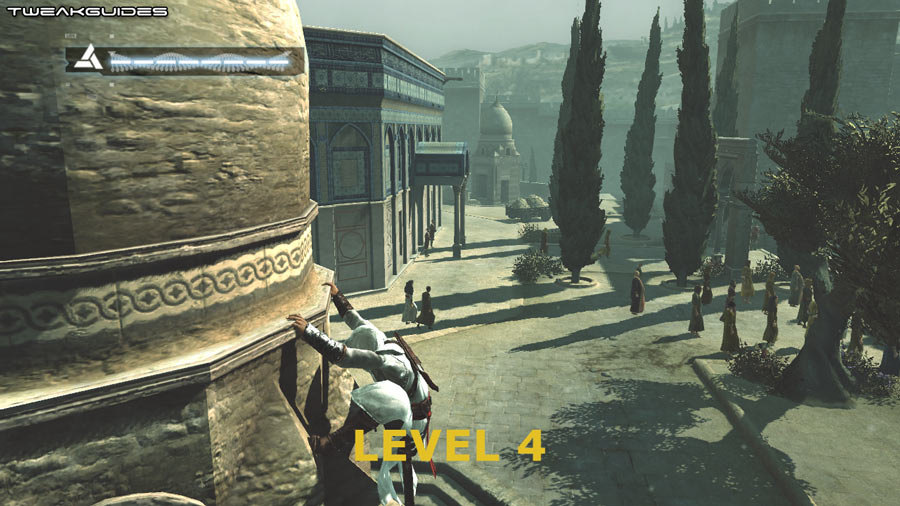
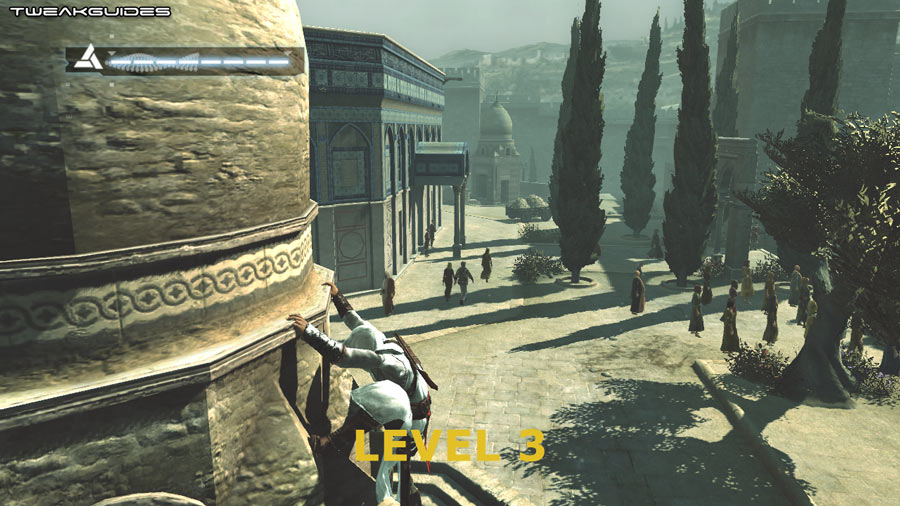
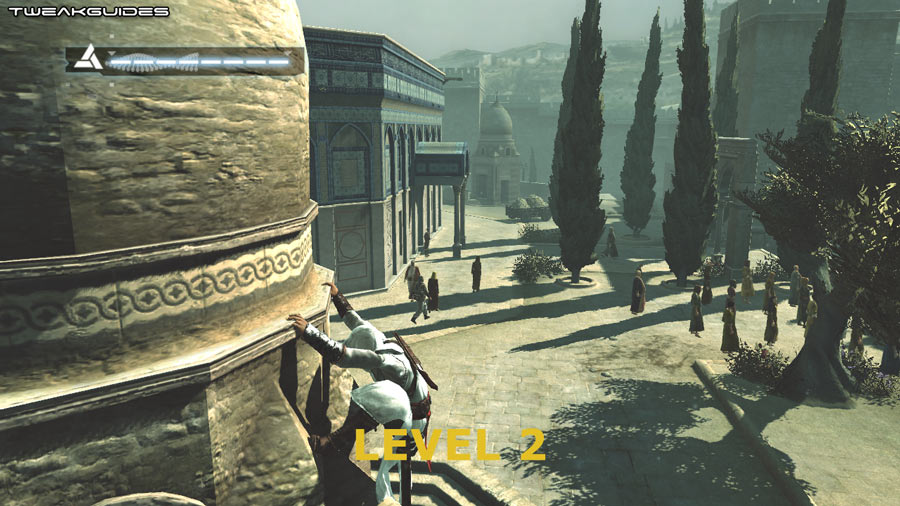
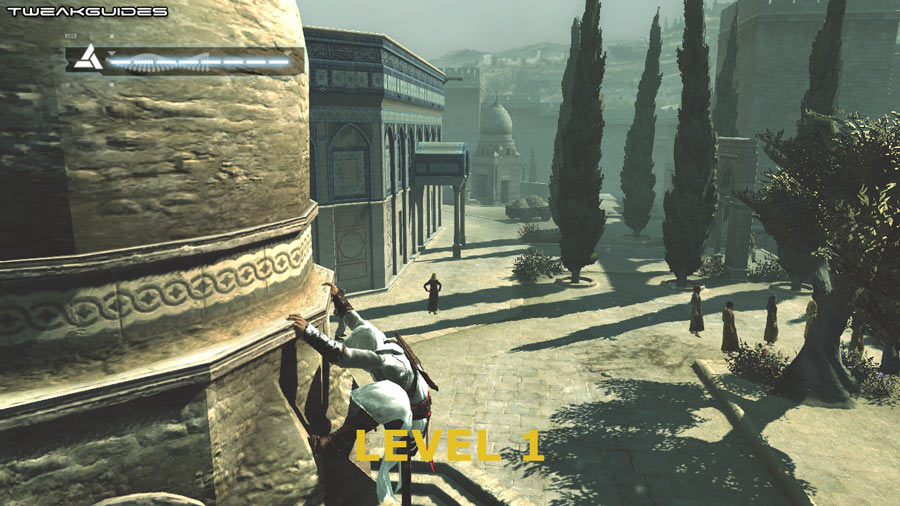
Level of Detail: This setting controls the overal Level of Detail (LOD) in the game, particularly with regards to the way NPCs appear, both the detail in their features and the number which are visible in the distance. As this setting is lowered, more details are removed, but performance will improve. A screenshot comparison of each of the four levels is provided above, and the significant differences are described below:
In general, changing the Level of Detail slider by itself will not dramatically affect the overall draw distance on Assassin's Creed. In large outdoor areas, even when looking into the far distance at LOD Level 1, you will still see most of the same objects and details as at LOD Level 4, with the exception of a few distant trees and bushes. The most significant impact of this slider actually comes in reducing the visible number and complexity of other characters, which in turn can noticeably boost performance in crowded areas, at the cost of visual quality and atmosphere. The .ini variables the Level of Detail slider affects include DistanceLOD, MaxNPCLODLevel, SmallObjectsCullDistanceModifier, MediumObjectsCullDistanceModifier, DistanceLODEnabled and ProcessBoneModifiers - see the Advanced Tweaking section for more details.
The next page continues the In-Game Settings descriptions.
|
|